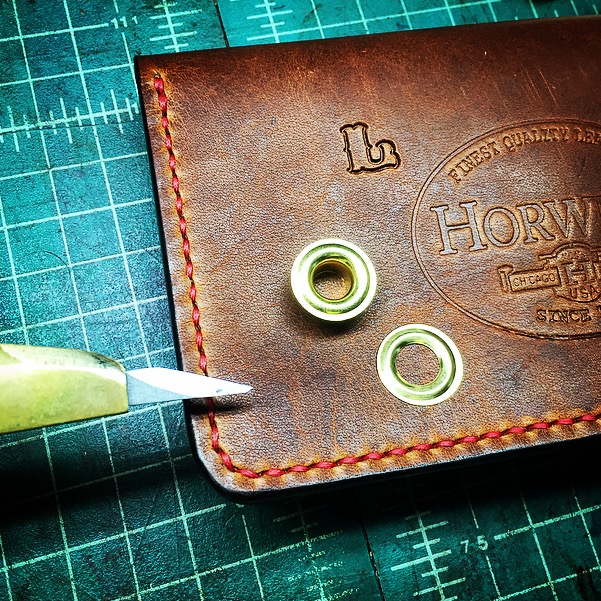
One thing I am not is a photographer. However, I do understand the importance of showing the world your products in a pleasing manner with a certain emphasis on aesthetics. And since I've been hired to do all of the leather photography (by default) for Mascon Leather, I took it upon myself to do extensive and often tiresome research.
What I’m about to show in this blog is not “proper” photography. It’s simply the way I sometimes manage while using everyday items around the house rather than spending a fortune on photography supplies.
In the photography world, there are volumes of books on 100's of topics, like camera settings (aperture, shutter speed & ISO), leading lines, focus, lighting, angles, composition, styling, etc. A simple search on Youtube will bring up 1,000s of videos on tips and tricks for photography. I am not going to touch on 99% of that. I'm simply going to show a couple "behind the scenes" or "behind the camera" photos to illustrate how a few photos achieve the look they do with simple items and practice. If I had to pick one topic for this blog, it would be "lighting".
I could do full separate blog posts on:
* Layout
* Angles, Fibonacci sequence, Leading lines
* Exposure
* Props
*Themes
* And more!
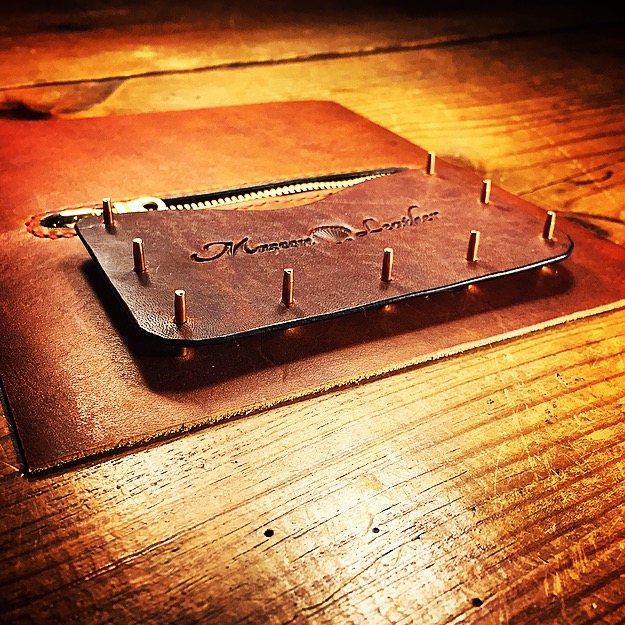
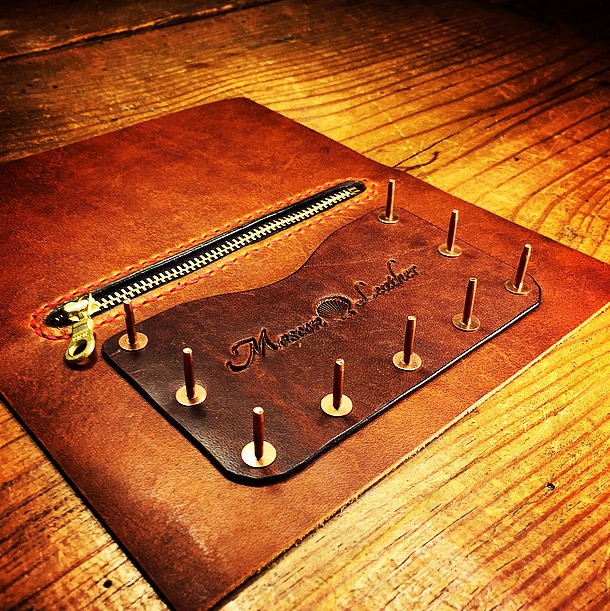
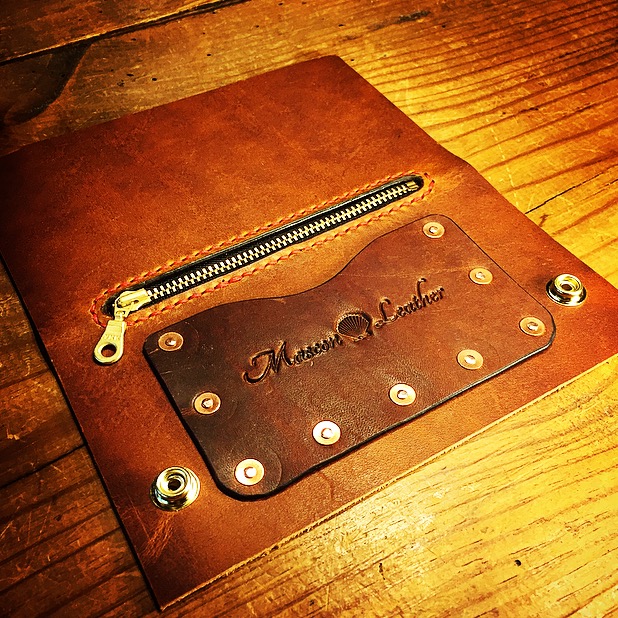
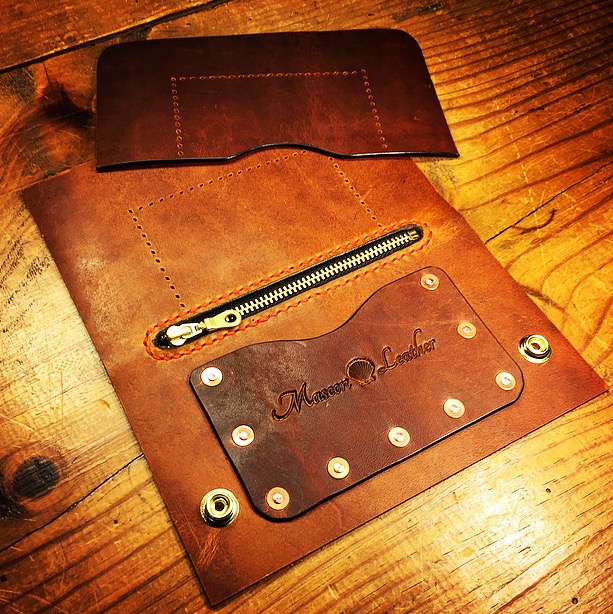
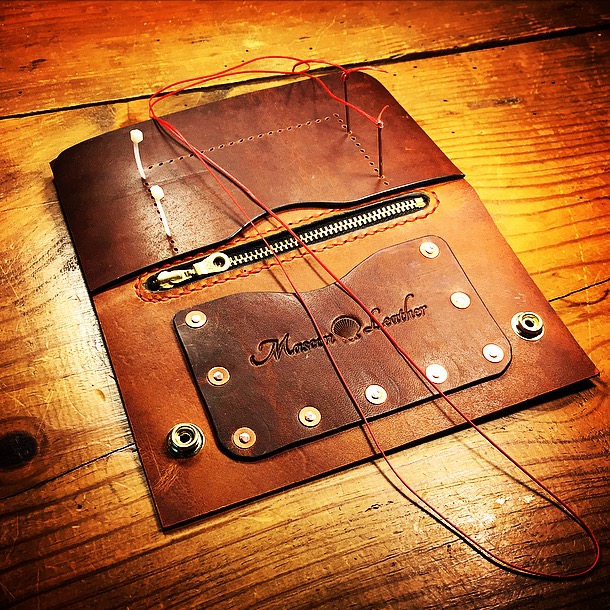
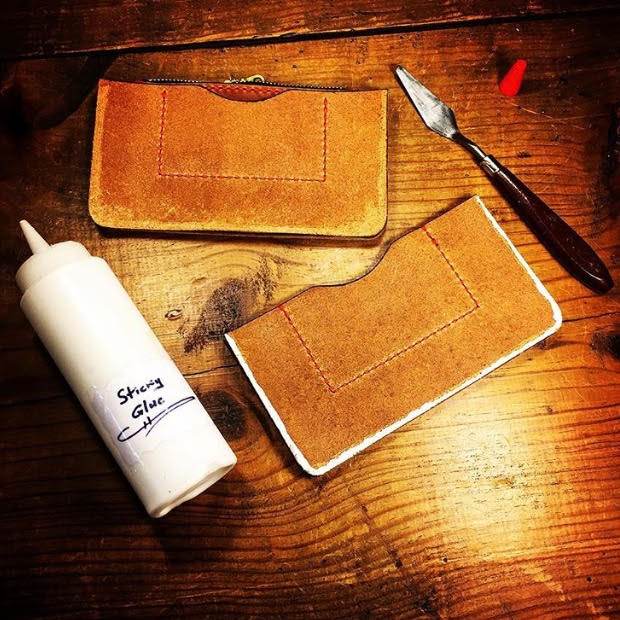
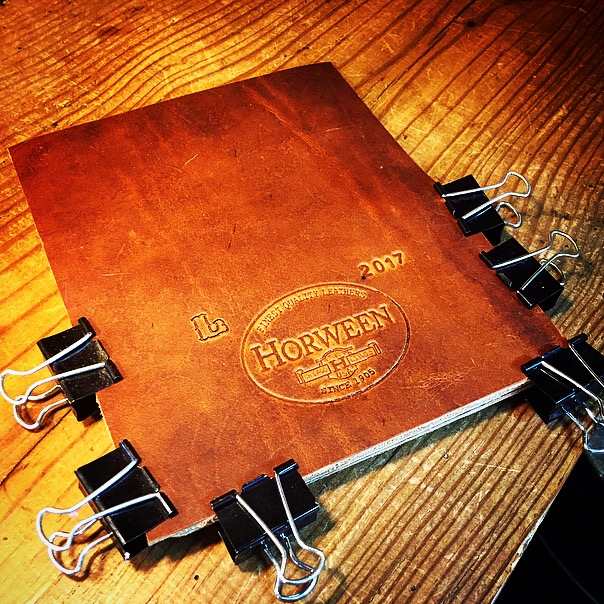
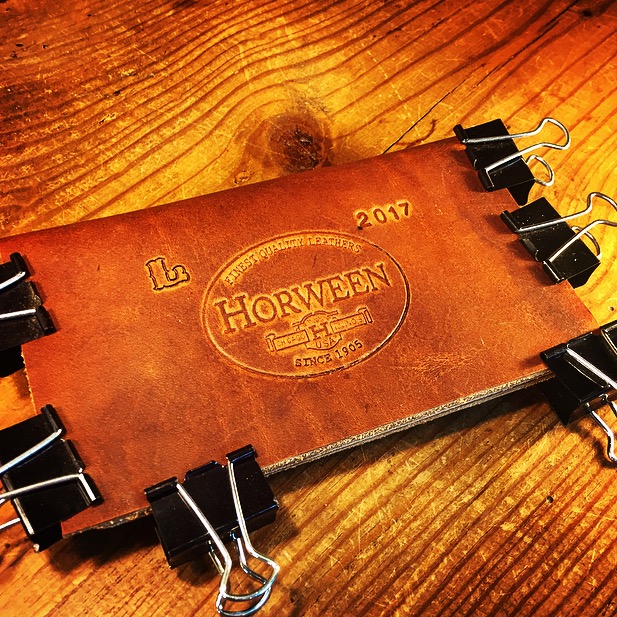
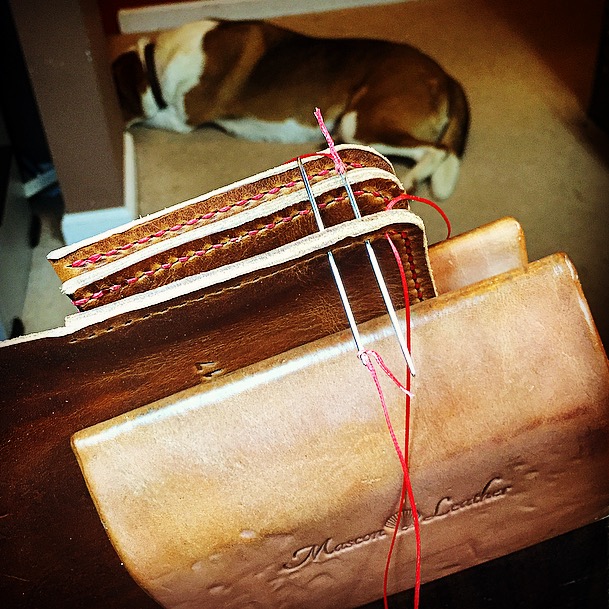
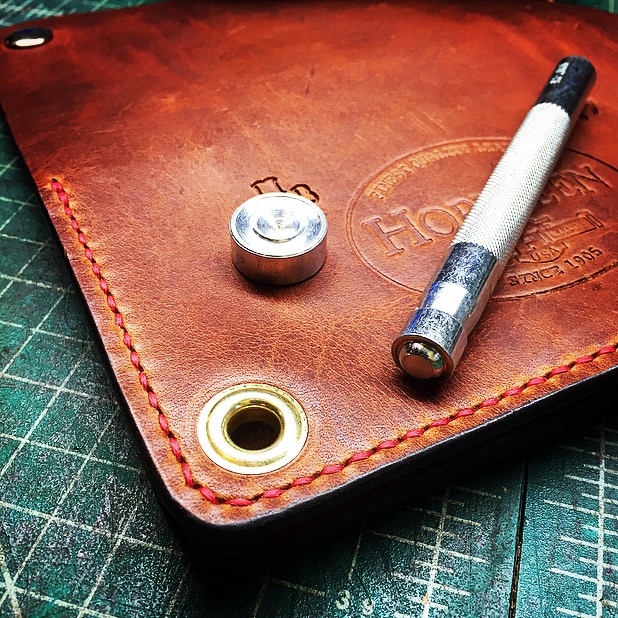
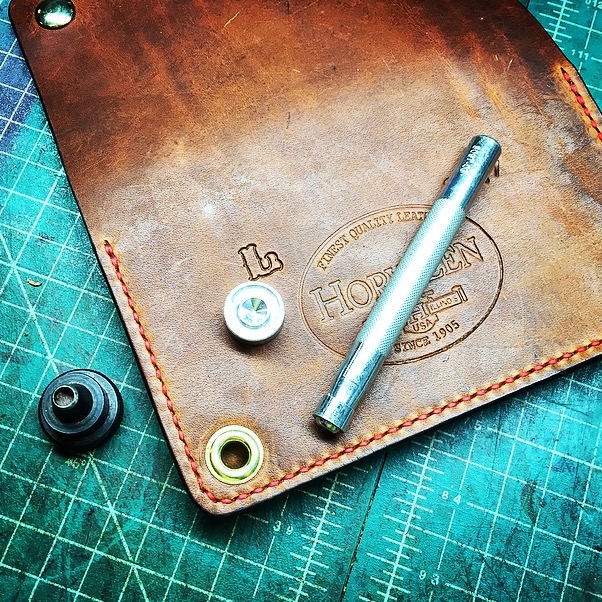
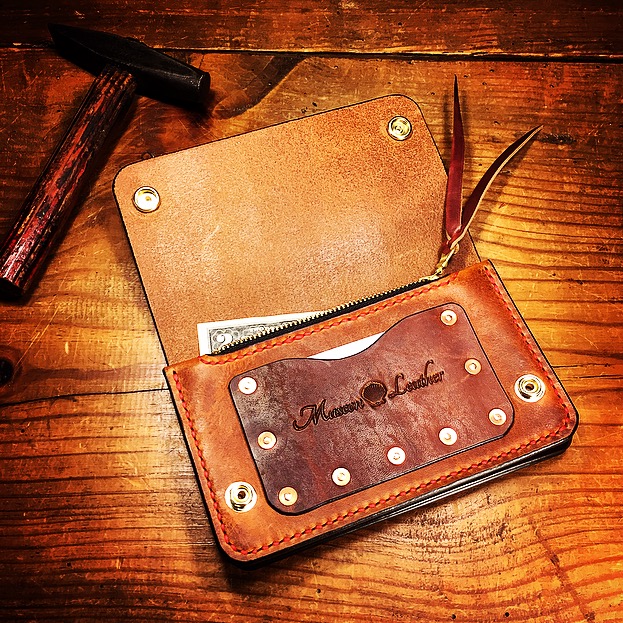
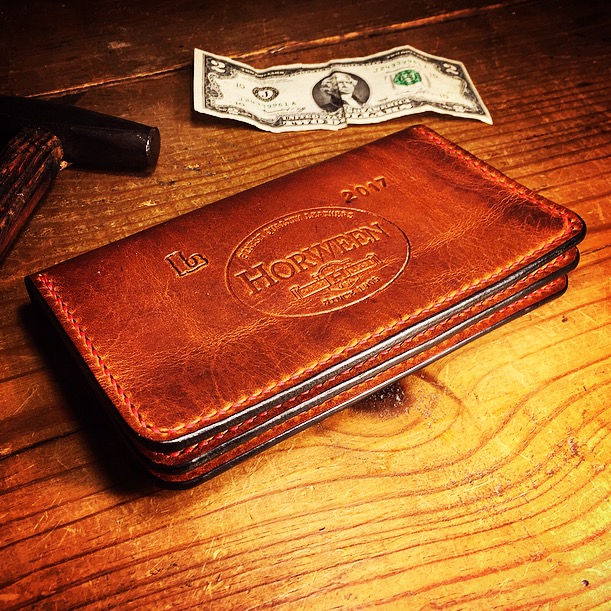
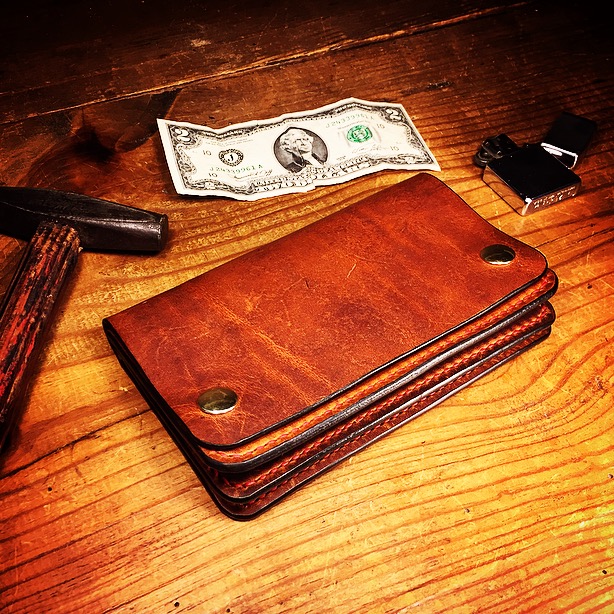
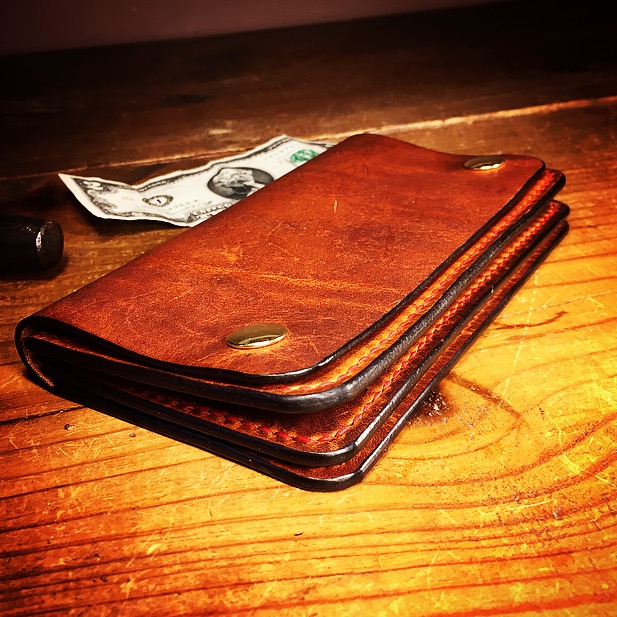
There are times when a single image (end result) will take two to three hours of total time, from backdrop construction, to prop layout, to item placement and angling, to lighting, to shooting, to post editing. Each of the photos below (three final images) took about two hours each for the entire process.
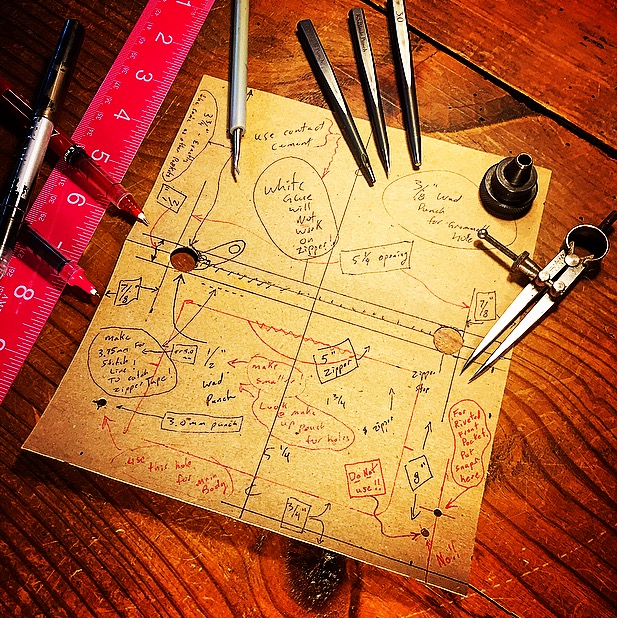
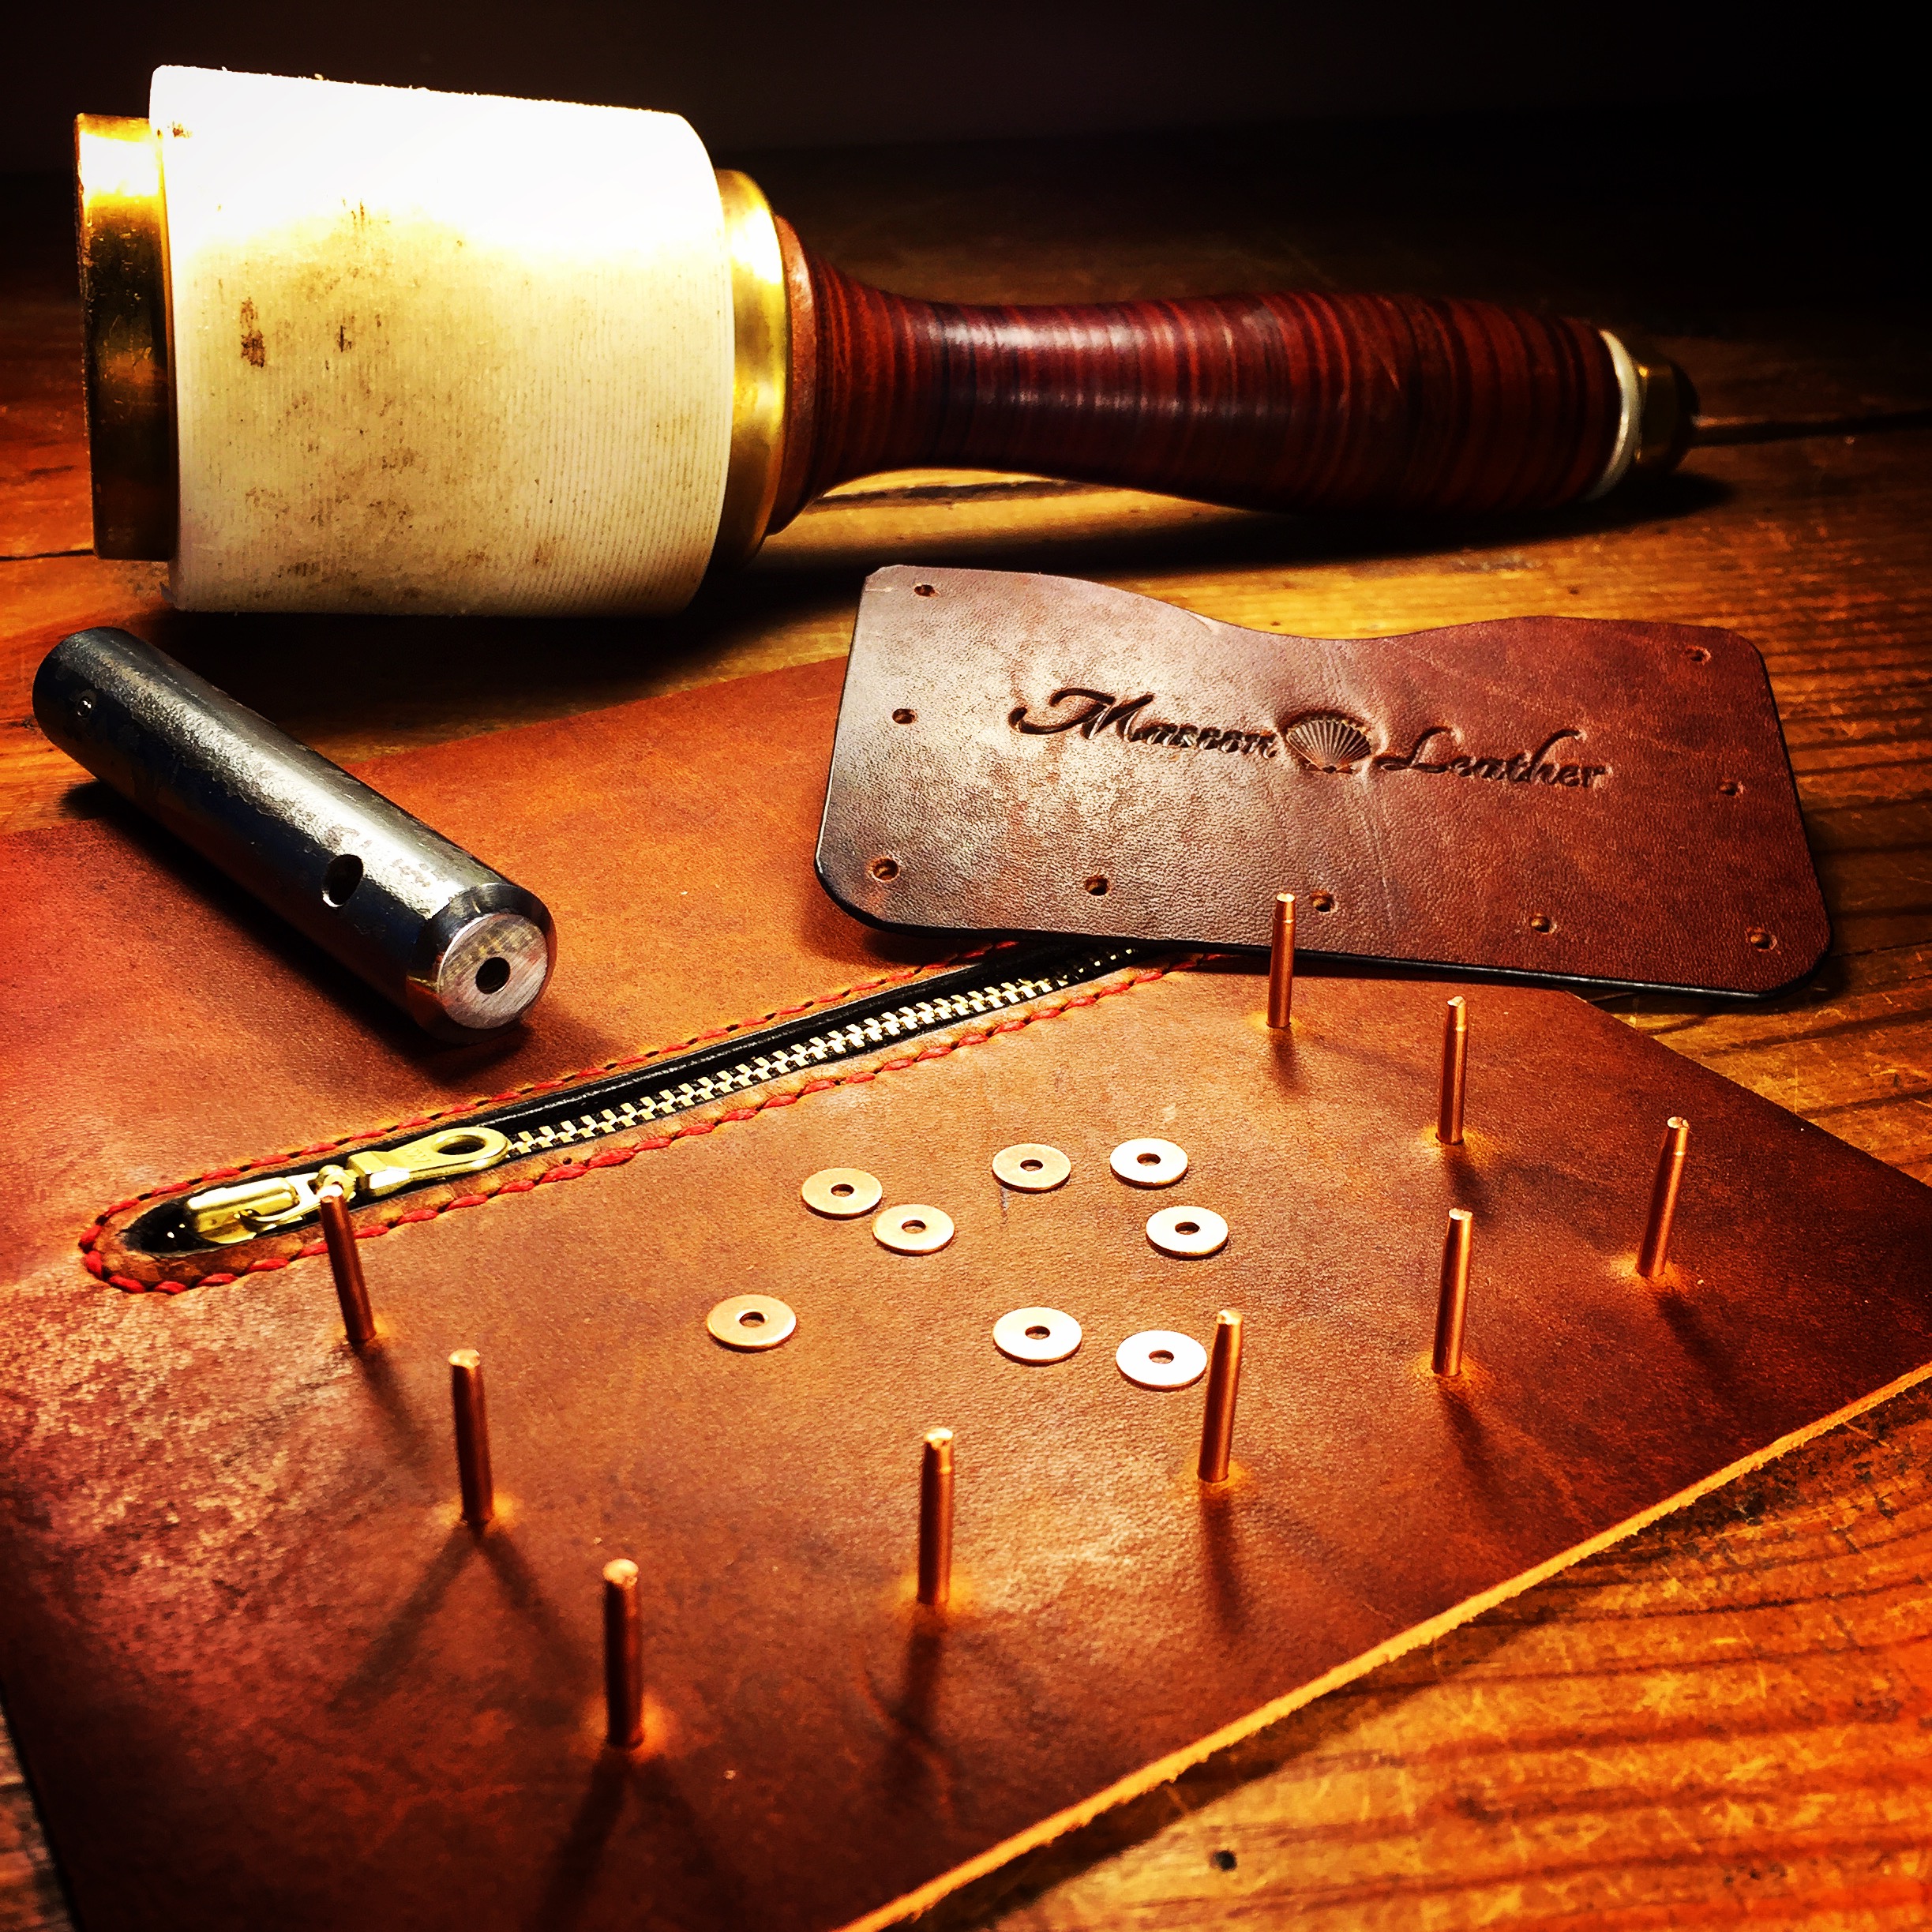
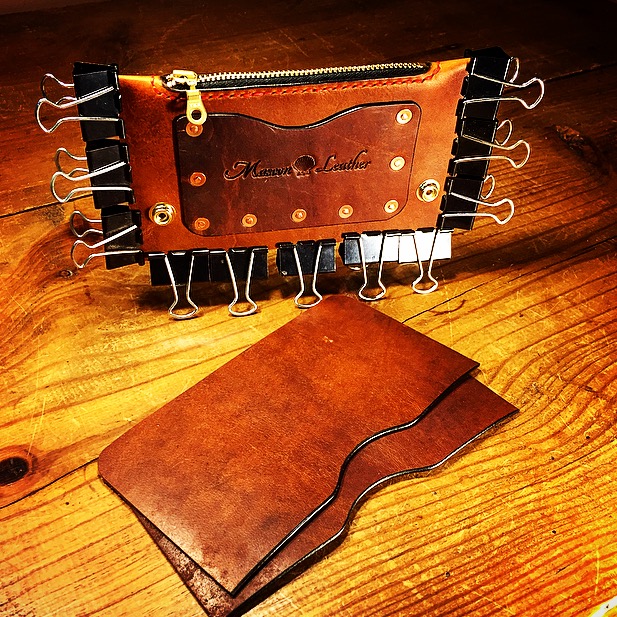
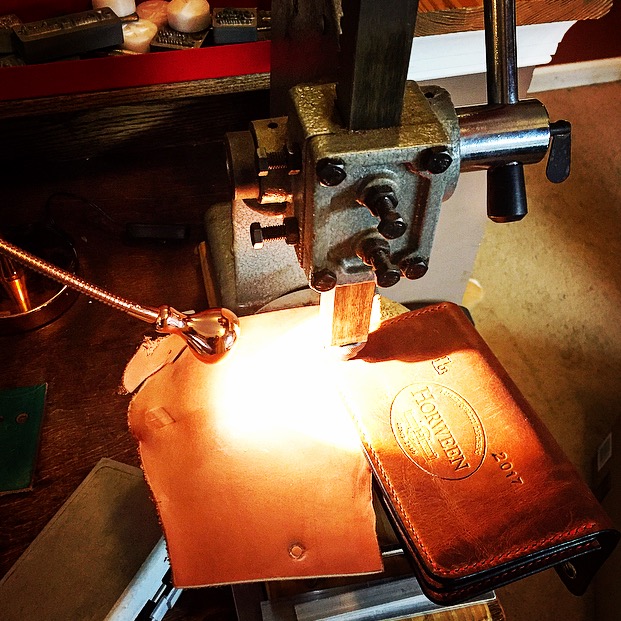
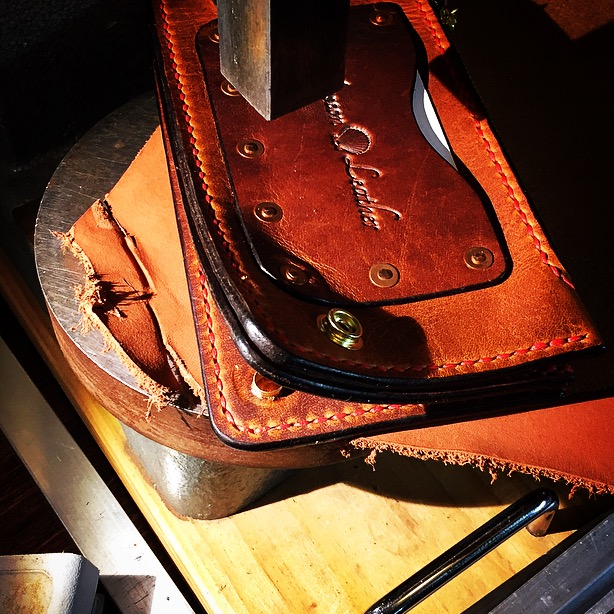
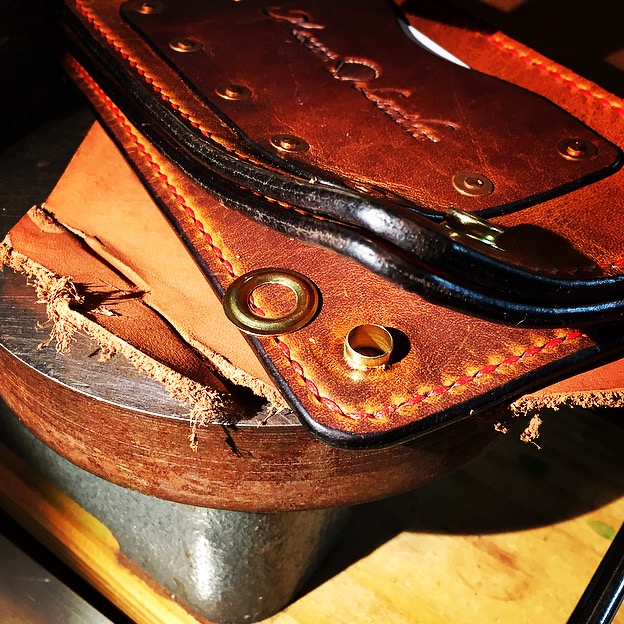
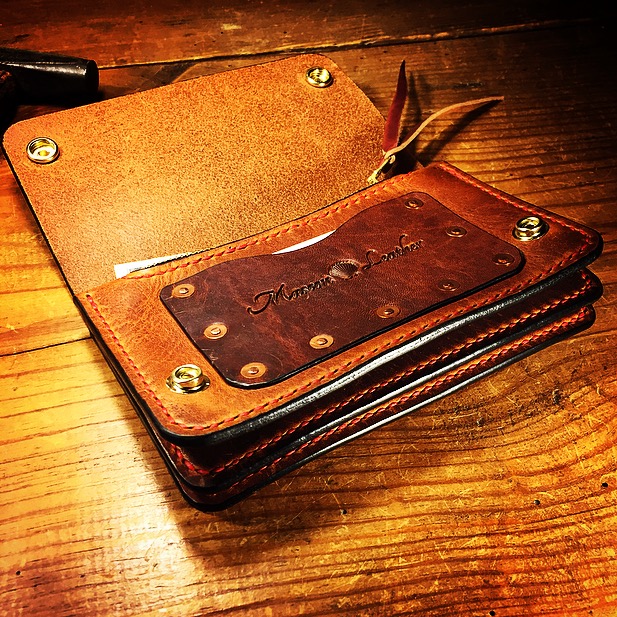
We'll start with a simple "knolling" image, followed by the "behind the camera" shot to see what all was involved. I've used every day household lights. For light diffusers, I'll use any of the following - canvas, paper towels, coffee filters, parchment paper, white T-shirt scraps, etc. (Warning: DO NOT use paper items on lights that may cause a fire!) To attach the diffusers, we've got binder clips, rubber bands, spring clamps, etc. In the third picture, the five lights used to create this photo are circled in red.


In the following four pictures, you'll see a little more.
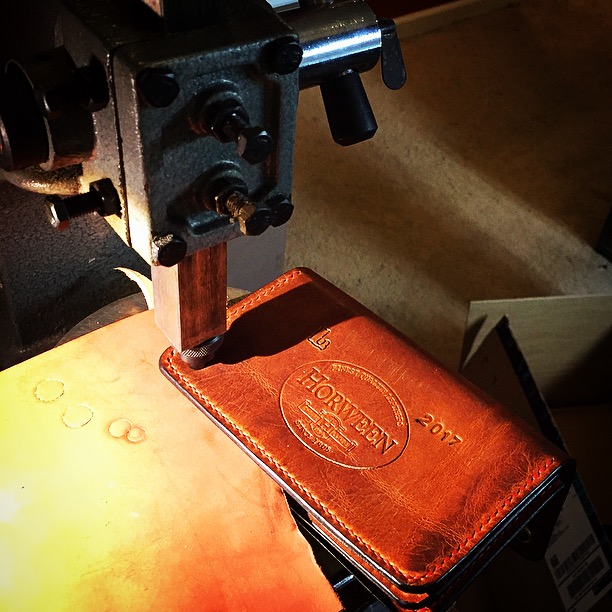
The four photos:
1. The final image
2. "Behind the camera"
3. Seven lights and their positions (circled in red)
4. Five red circles show where five specific lights are aimed to achieve the desired lighting (REFLECTION). The while circle indicates the "main" light.


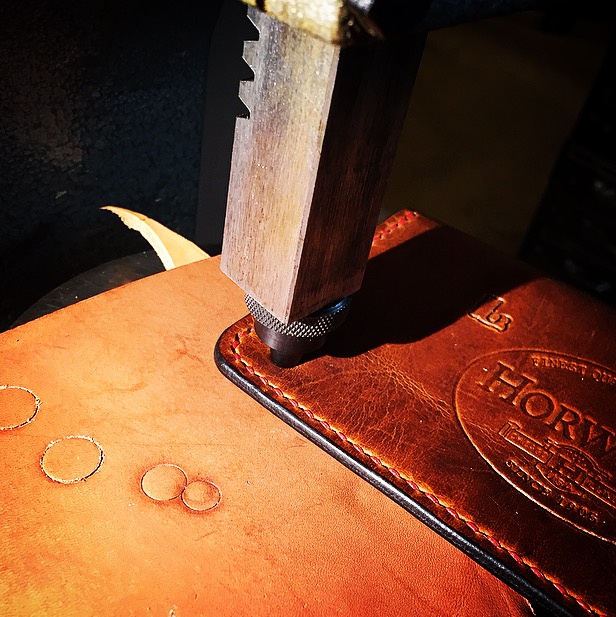
One final photo to illustrate six separate lights, where they're focused, and what their presence does in the end. The five red circles show where reflection was desired, and achieved with directional lighting focus. (I wanted the stamped letters on the knife blade to read, so an extra light was positioned to show that.) Each reflection is achieved individually with it's own light. This is not always the case. There are times when a single light source creates multiple desired reflections. The large white circle illustrates the "main" light.