What's in a Name?


What does “Mascon” mean, exactly? 

The short answer is: My grandfather, uncle, father, and myself are / were all brick masons. 

The long answer is: The story begins in the 1960s.  My grandfather had a construction company, “Mas-Con Construction”.  Where “Mas = Masonry” and “Con = Concrete”.  The company was in existence from the 60s to the 80s.  The name has been in and around the family for over four decades.  The name was simply always “around”.  And it was always pronounced as a singular word, “Mascon” (“mass” + “con”). 

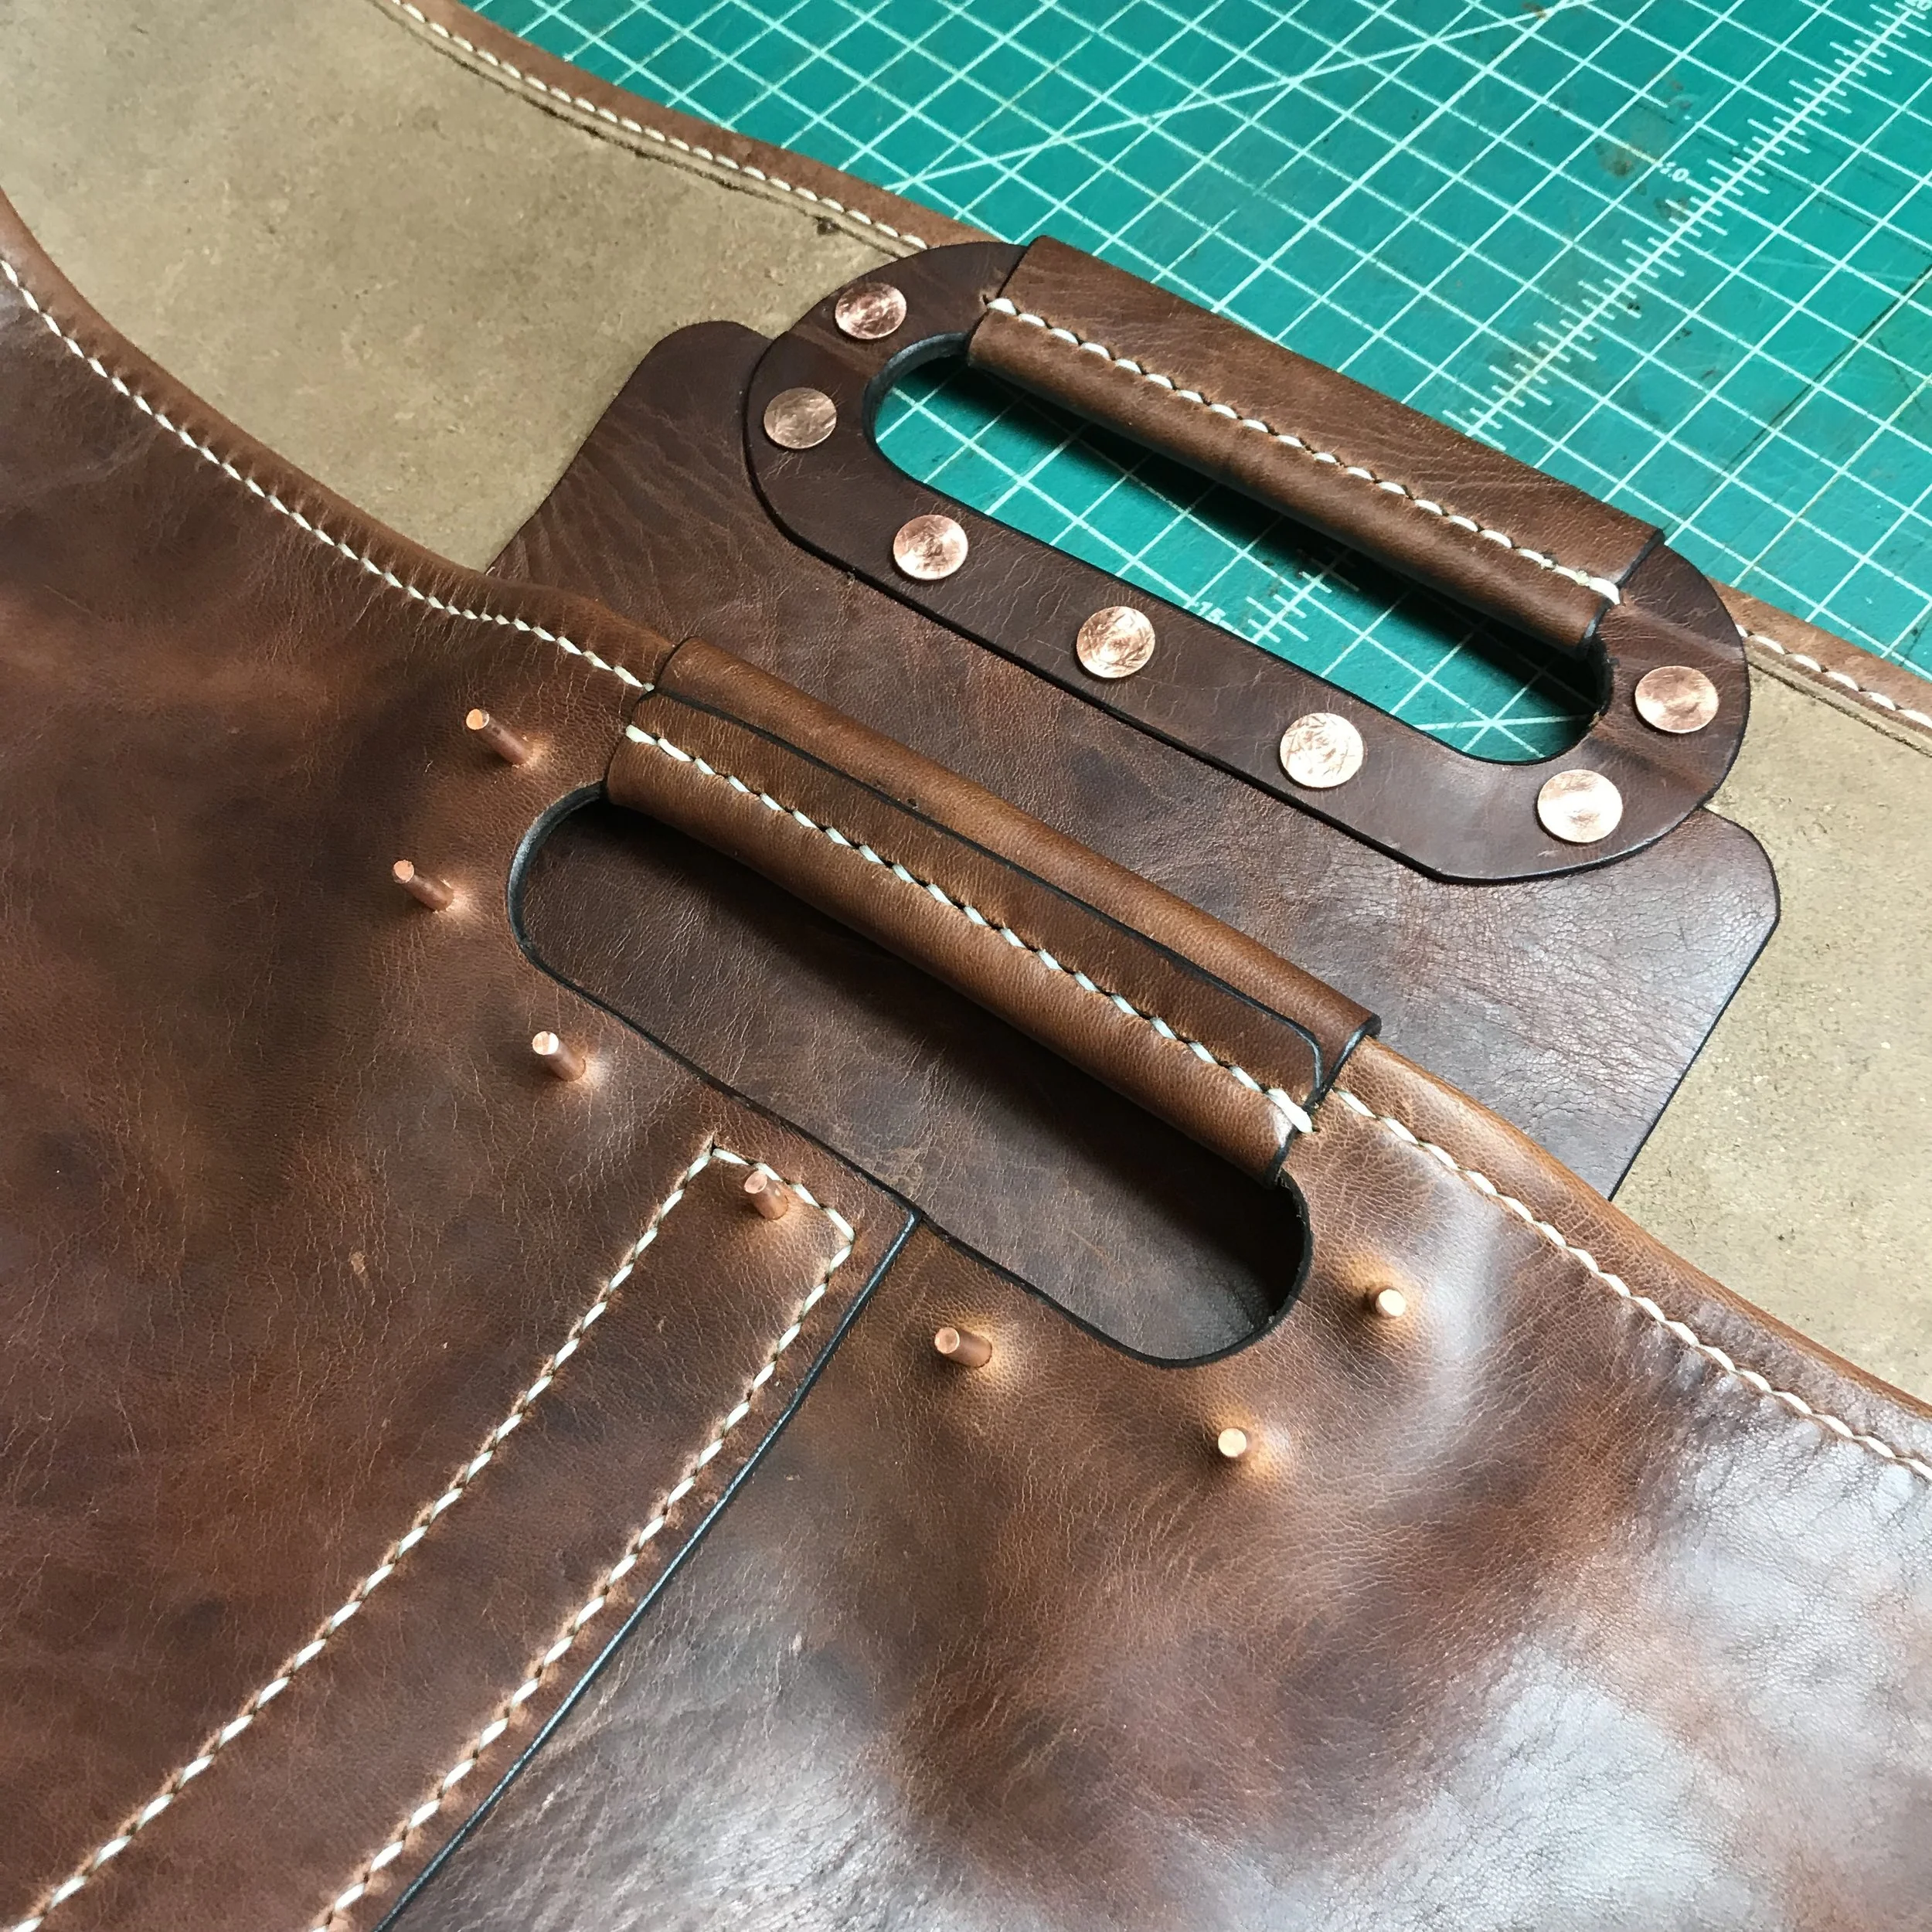
Somewhere around 2012, when the demand for my hand-crafted leather items grew beyond simply an outlet for family and friends to have an item to give for Christmas and birthday gifts, I was urged to create or come up with a name for my burgeoning brand.  At the time, it was sort of fun and cute to pretend there was a real company there.  I simply adopted the “family name”, with the hyphen dropped, as it had been pronounced verbally for so long.

And so, "Mascon Leather" was born, reviving the old family business name in a new form. 


Original "Mas-Con Construction" sign from the 1960s


Original business ink stamp from the 1960s


Source: www.masconleather.com

The Making of the Vonnegut Valise

Here is a hodgepodge collection of shots taken during the building of the Vonnegut Valise.  Some shots are in focus and aesthetically pleasing.  Others, are not.  But they're here for your viewing pleasure, regardless.  

Photography (sort of)

One thing I am not is a photographer.  However, I do understand the importance of showing the world your products in a pleasing manner with a certain emphasis on aesthetics.  And since I've been hired to do all of the leather photography (by default) for Mascon Leather, I took it upon myself to do extensive and often tiresome research.  

What I’m about to show in this blog is not “proper” photography.  It’s simply the way I sometimes manage while using everyday items around the house rather than spending a fortune on photography supplies.

In the photography world, there are volumes of books on 100's of topics, like camera settings (aperture, shutter speed & ISO), leading lines, focus, lighting, angles, composition, styling, etc.  A simple search on Youtube will bring up 1,000s of videos on tips and tricks for photography.   I am not going to touch on 99% of that.  I'm simply going to show a couple "behind the scenes" or "behind the camera" photos to illustrate how a few photos achieve the look they do with simple items and practice.  If I had to pick one topic for this blog, it would be "lighting".  

I could do full separate blog posts on:

* Layout

* Angles, Fibonacci sequence, Leading lines

* Exposure

* Props

*Themes

* And more! 


There are times when a single image (end result) will take two to three hours of total time, from backdrop construction, to prop layout, to item placement and angling, to lighting, to shooting, to post editing.  Each of the photos below (three final images) took about two hours each for the entire process. 


We'll start with a simple "knolling" image, followed by the "behind the camera" shot to see what all was involved.  I've used every day household lights.  For light diffusers, I'll use any of the following - canvas, paper towels, coffee filters, parchment paper, white T-shirt scraps, etc.  (Warning: DO NOT use paper items on lights that may cause a fire!)  To attach the diffusers, we've got binder clips, rubber bands, spring clamps, etc.    In the third picture, the five lights used to create this photo are circled in red.  


In the following four pictures, you'll see a little more.   

The four photos: 

1. The final image

2. "Behind the camera"

3. Seven lights and their positions (circled in red) 

4. Five red circles show where five specific lights are aimed to achieve the desired lighting (REFLECTION).  The while circle indicates the "main" light. 


One final photo to illustrate six separate lights, where they're focused, and what their presence does in the end.   The five red circles show where reflection was desired, and achieved with directional lighting focus.  (I wanted the stamped letters on the knife blade to read, so an extra light was positioned to show that.)  Each reflection is achieved individually with it's own light.  This is not always the case.  There are times when a single light  source creates multiple desired reflections.  The large white circle illustrates the "main" light.