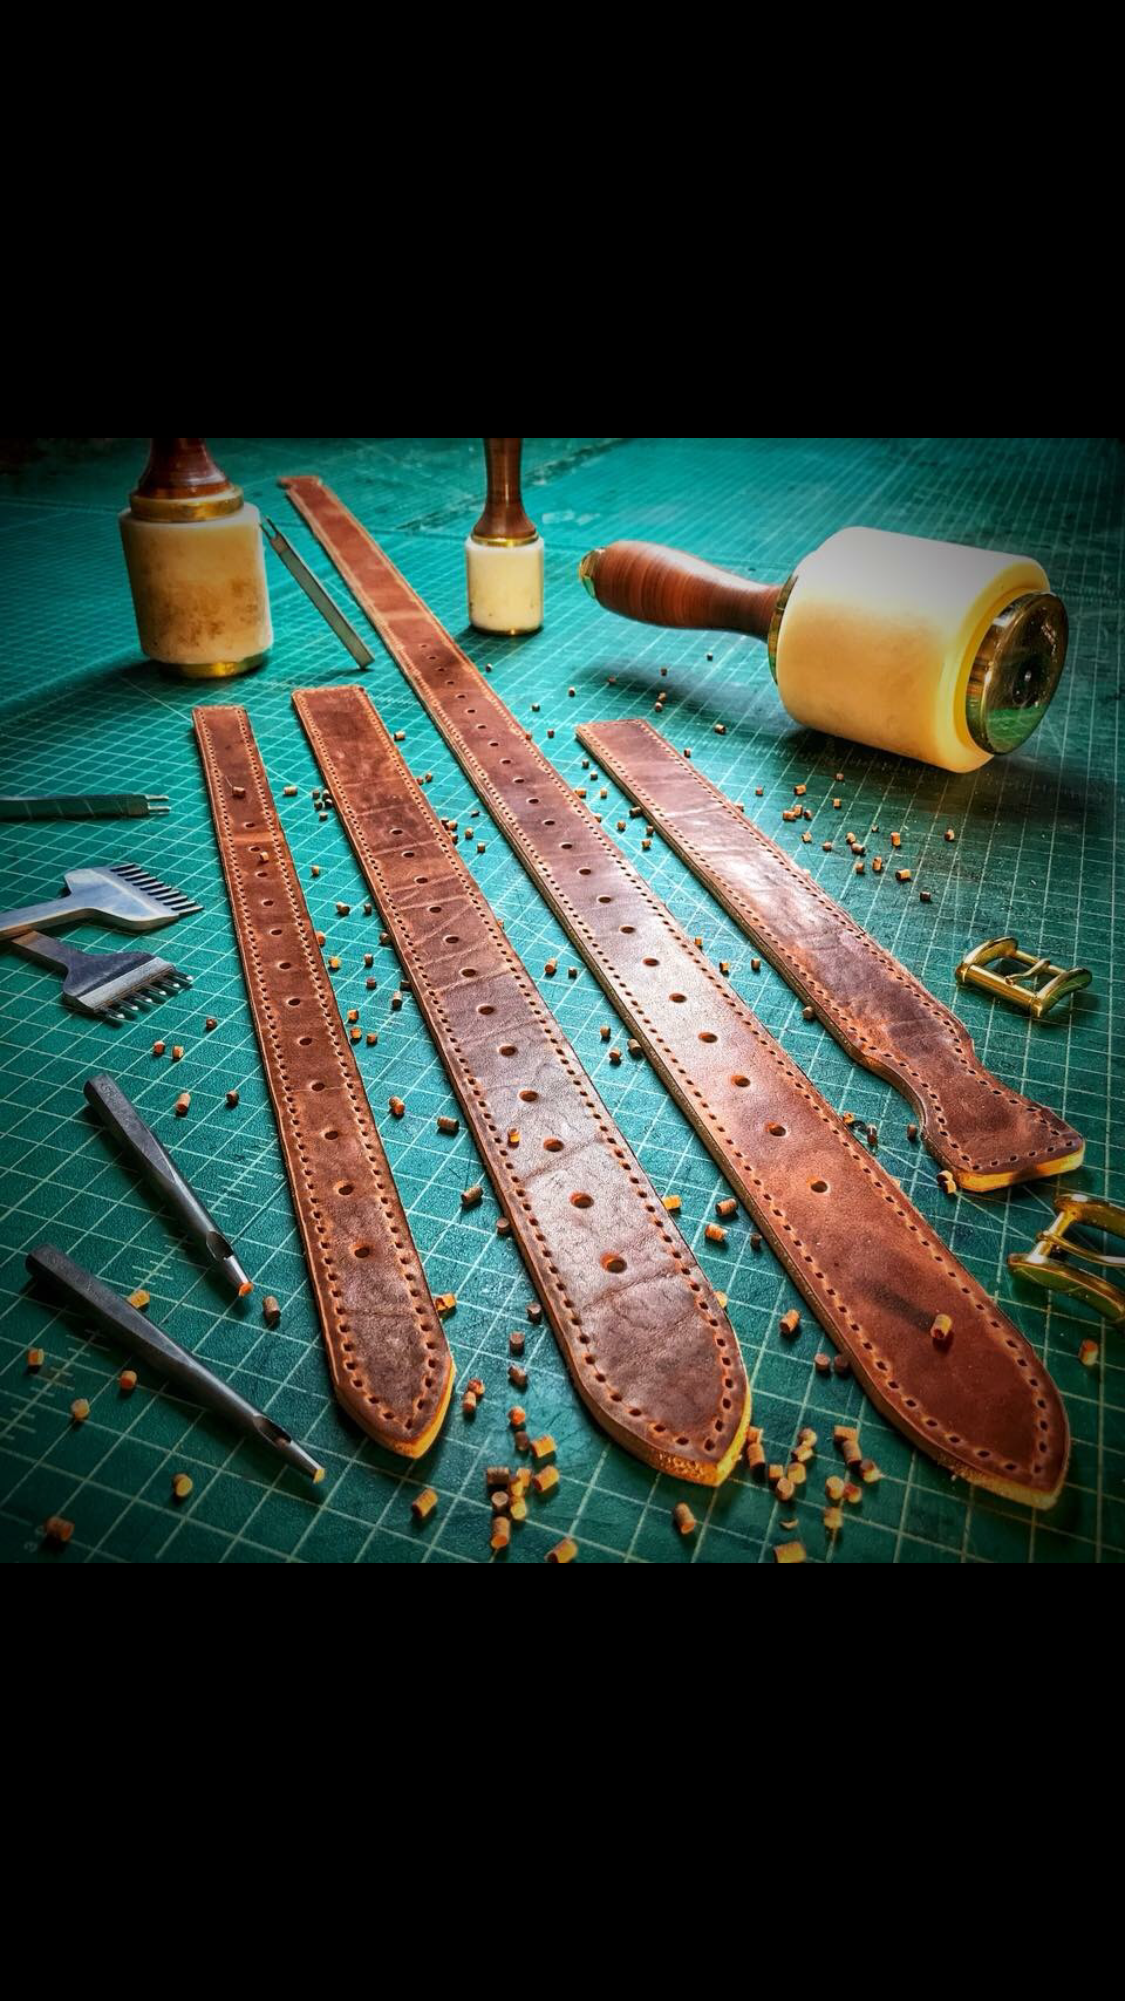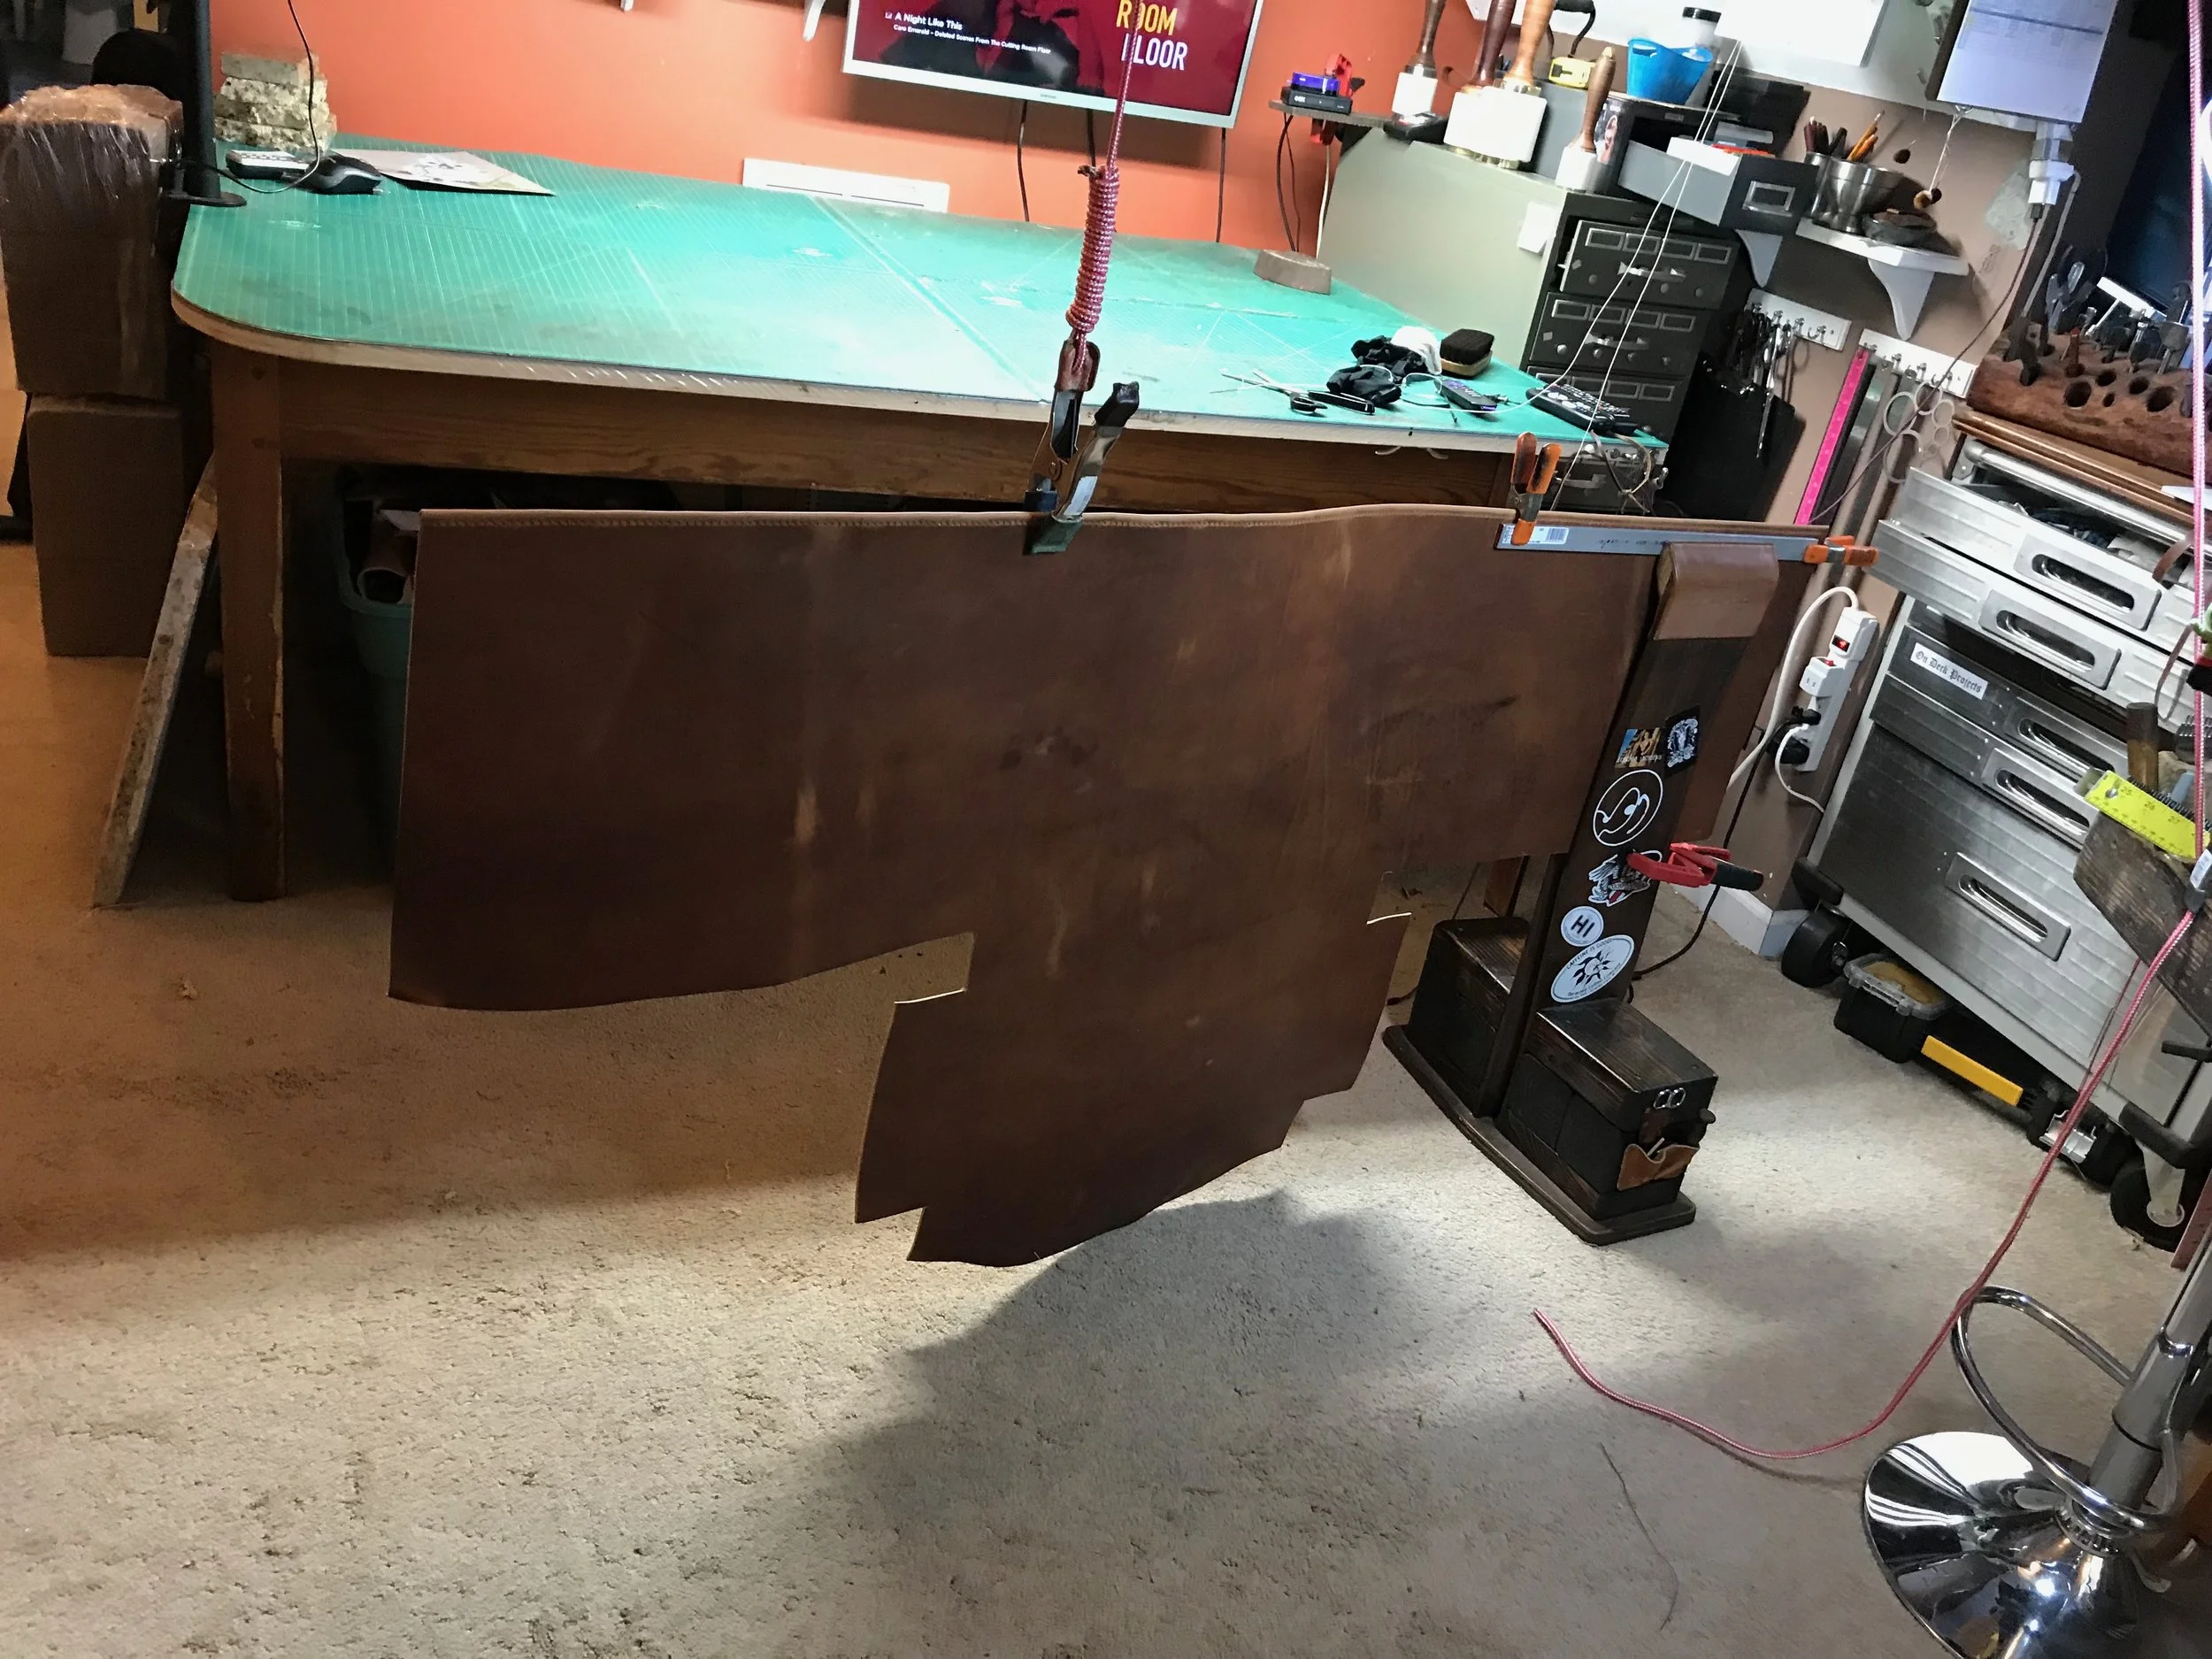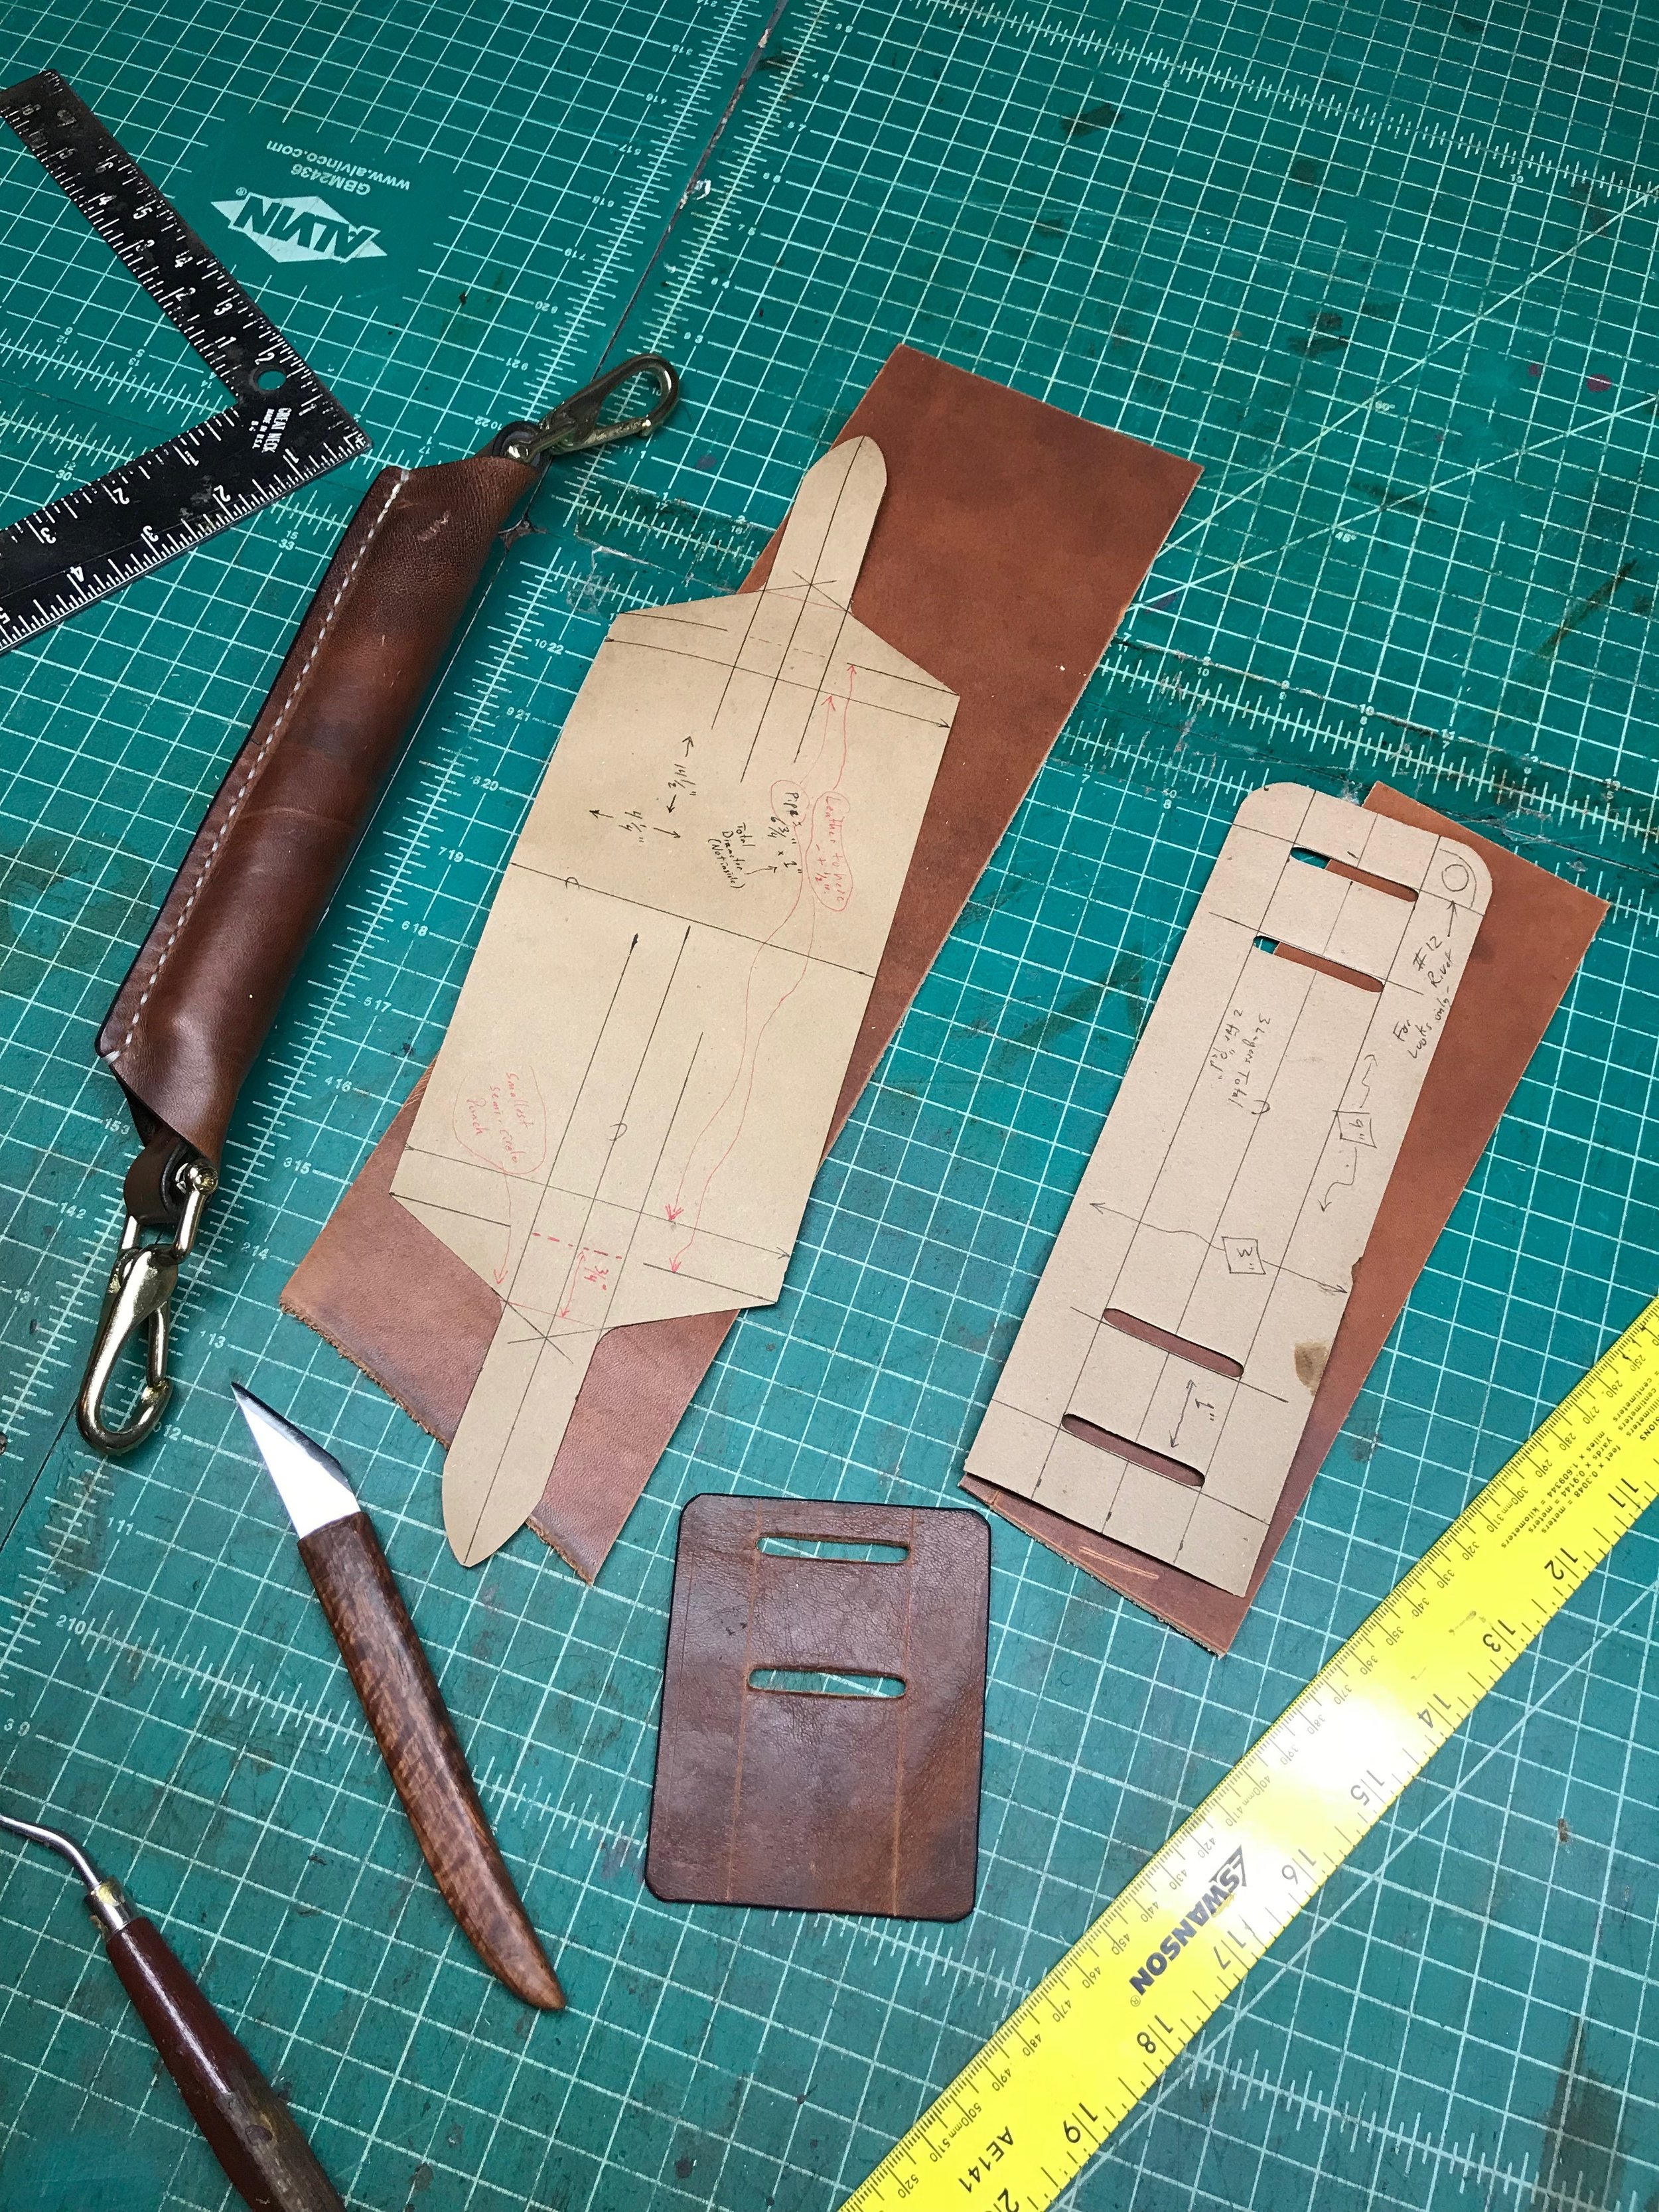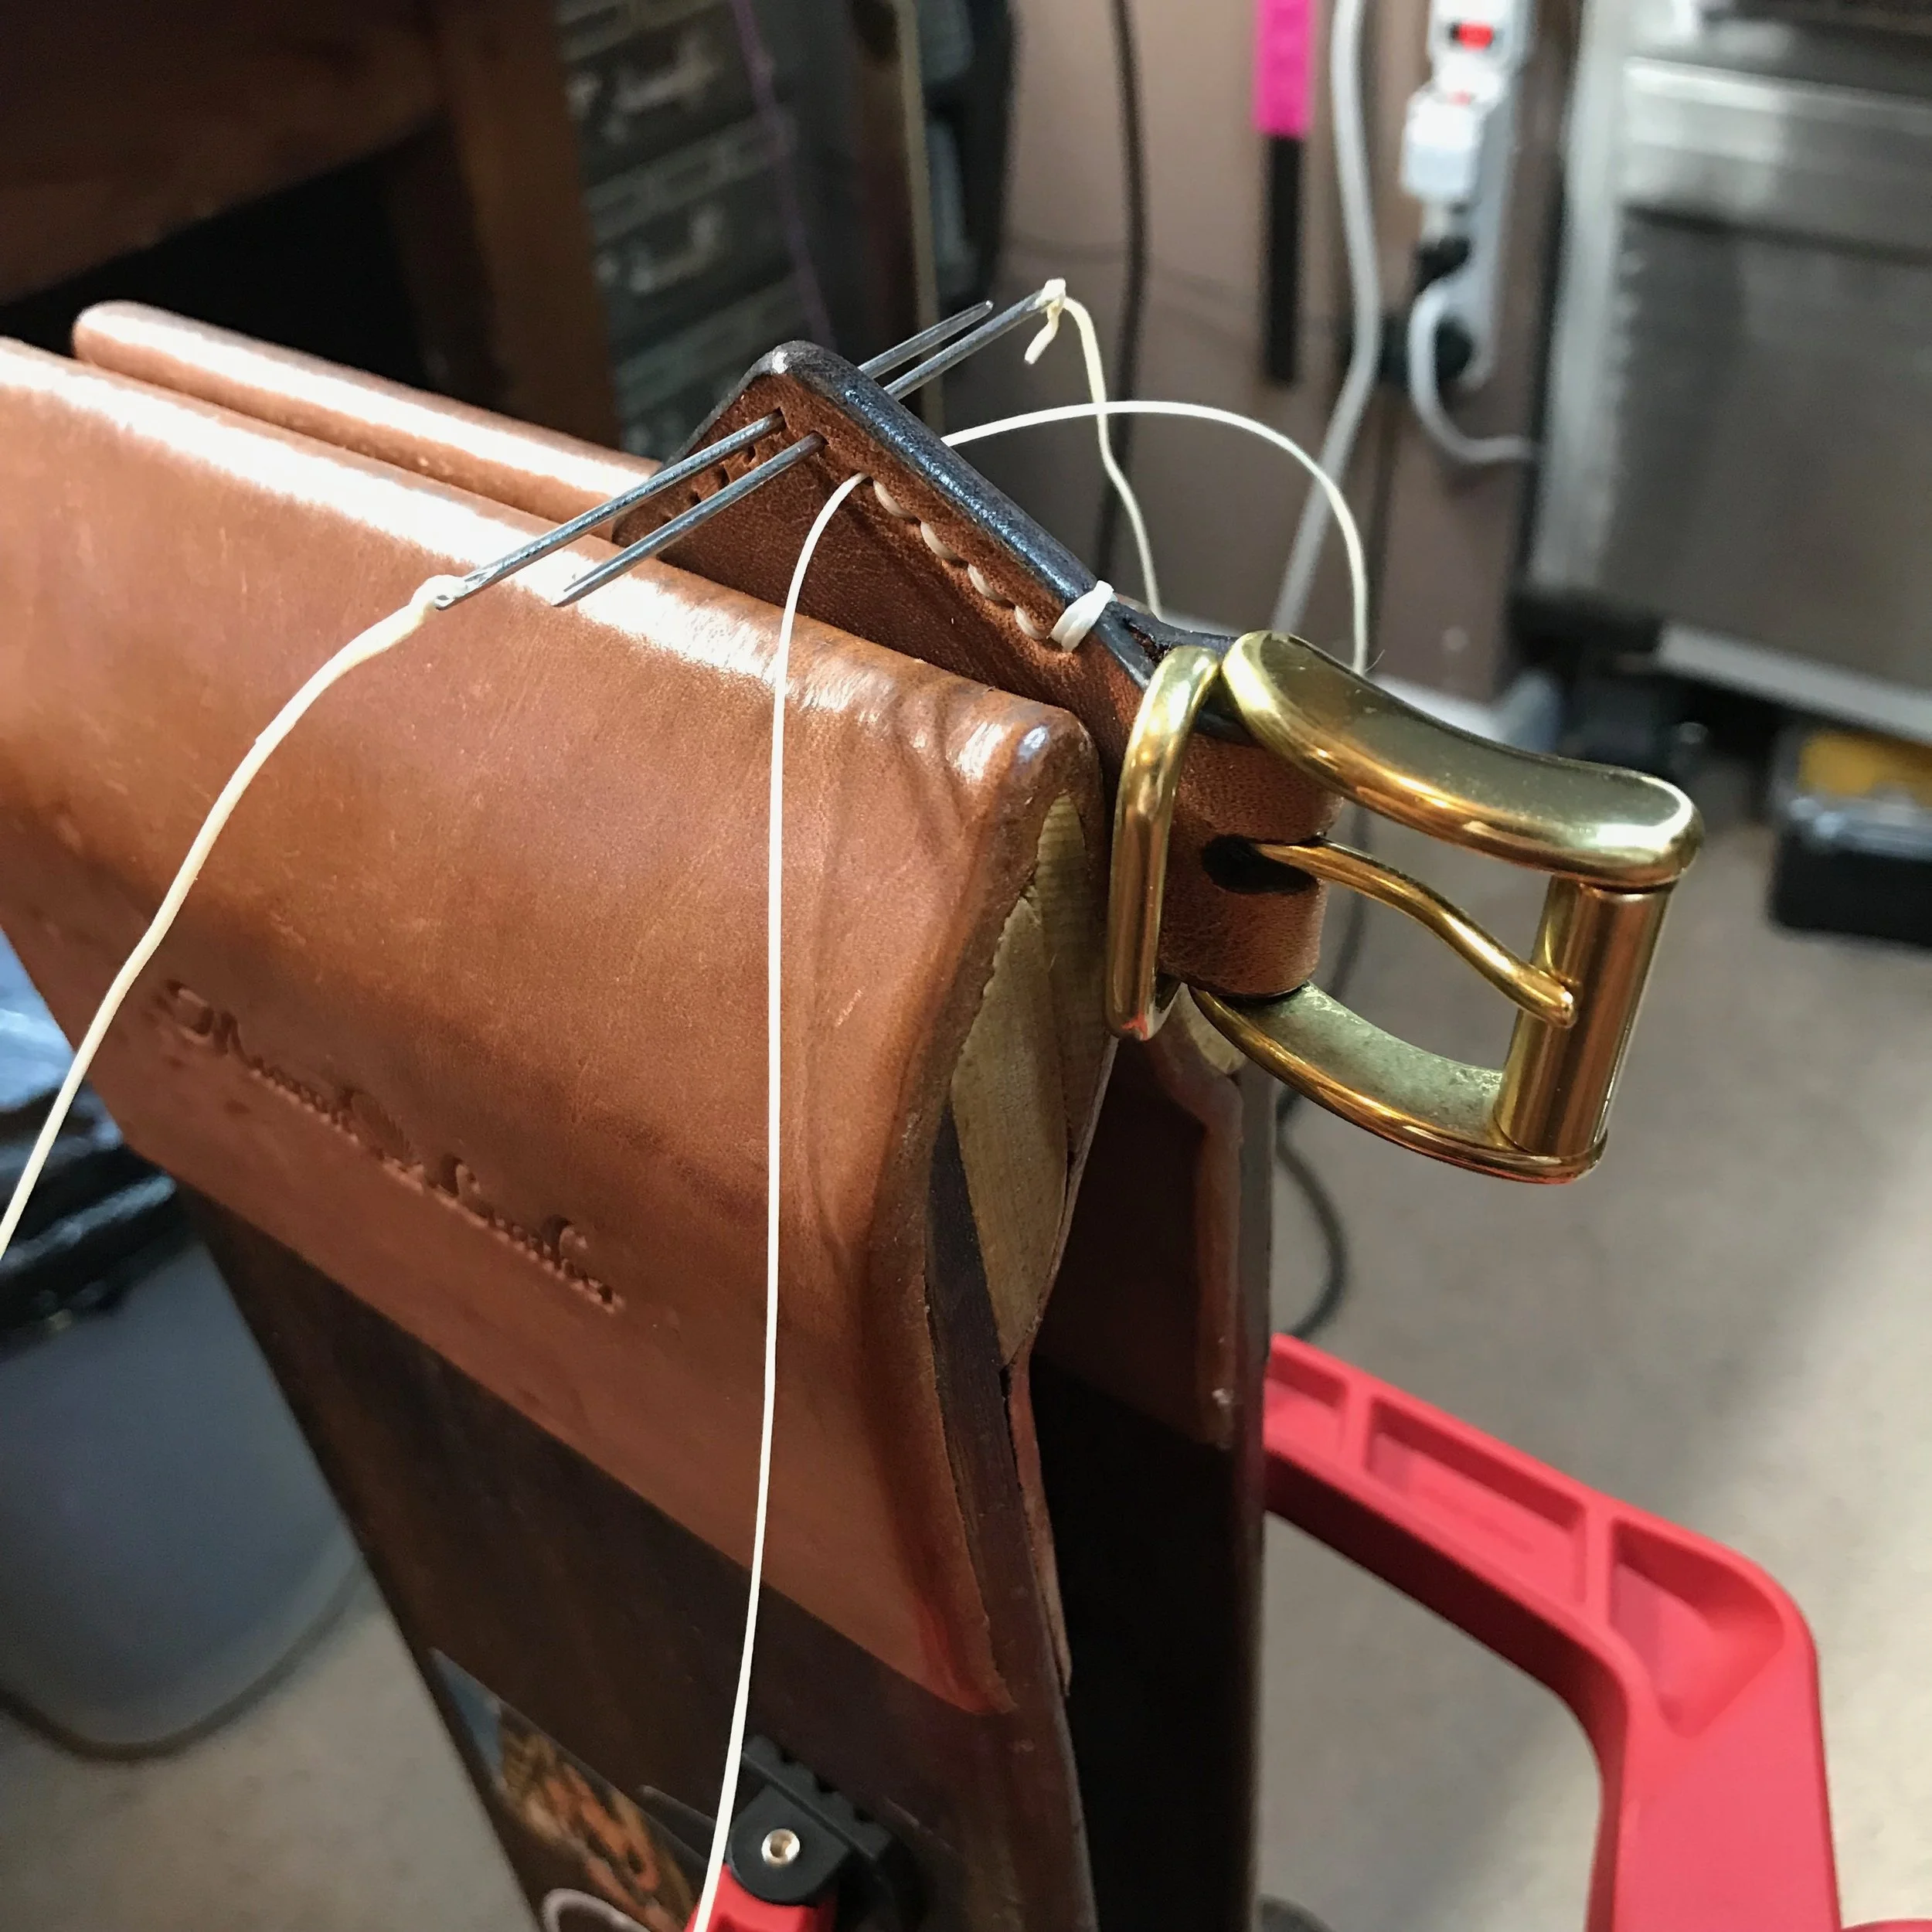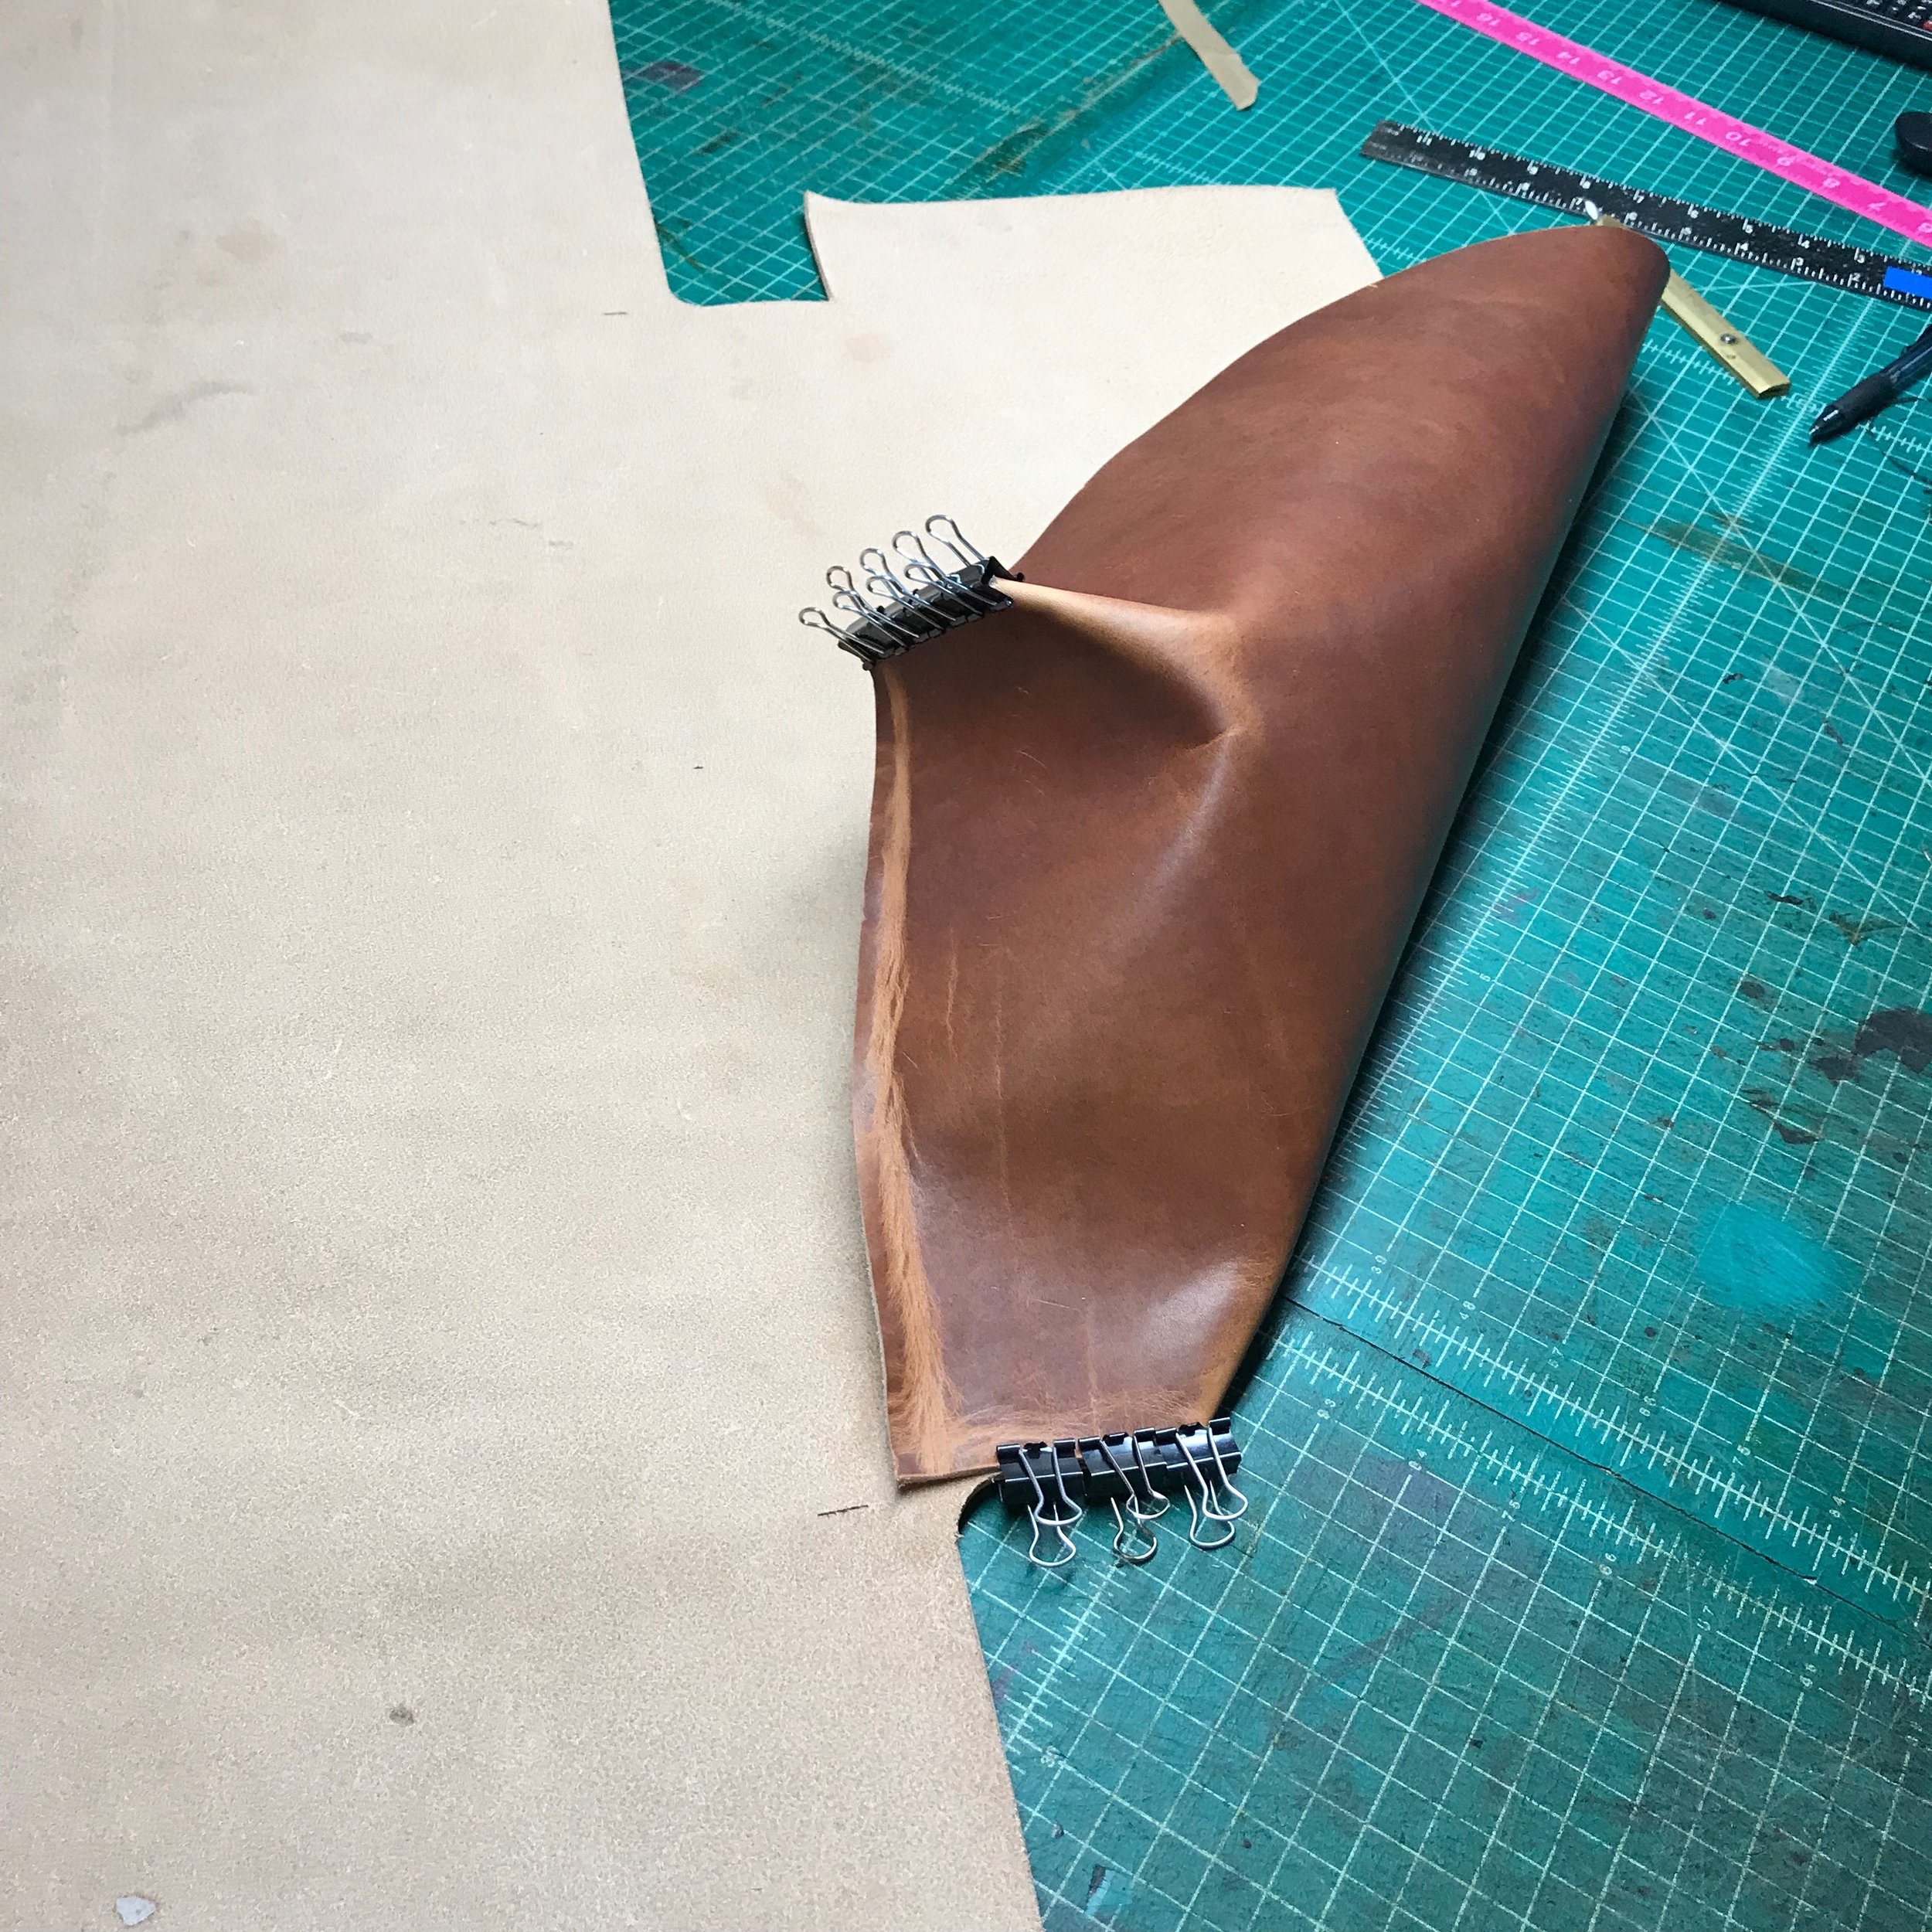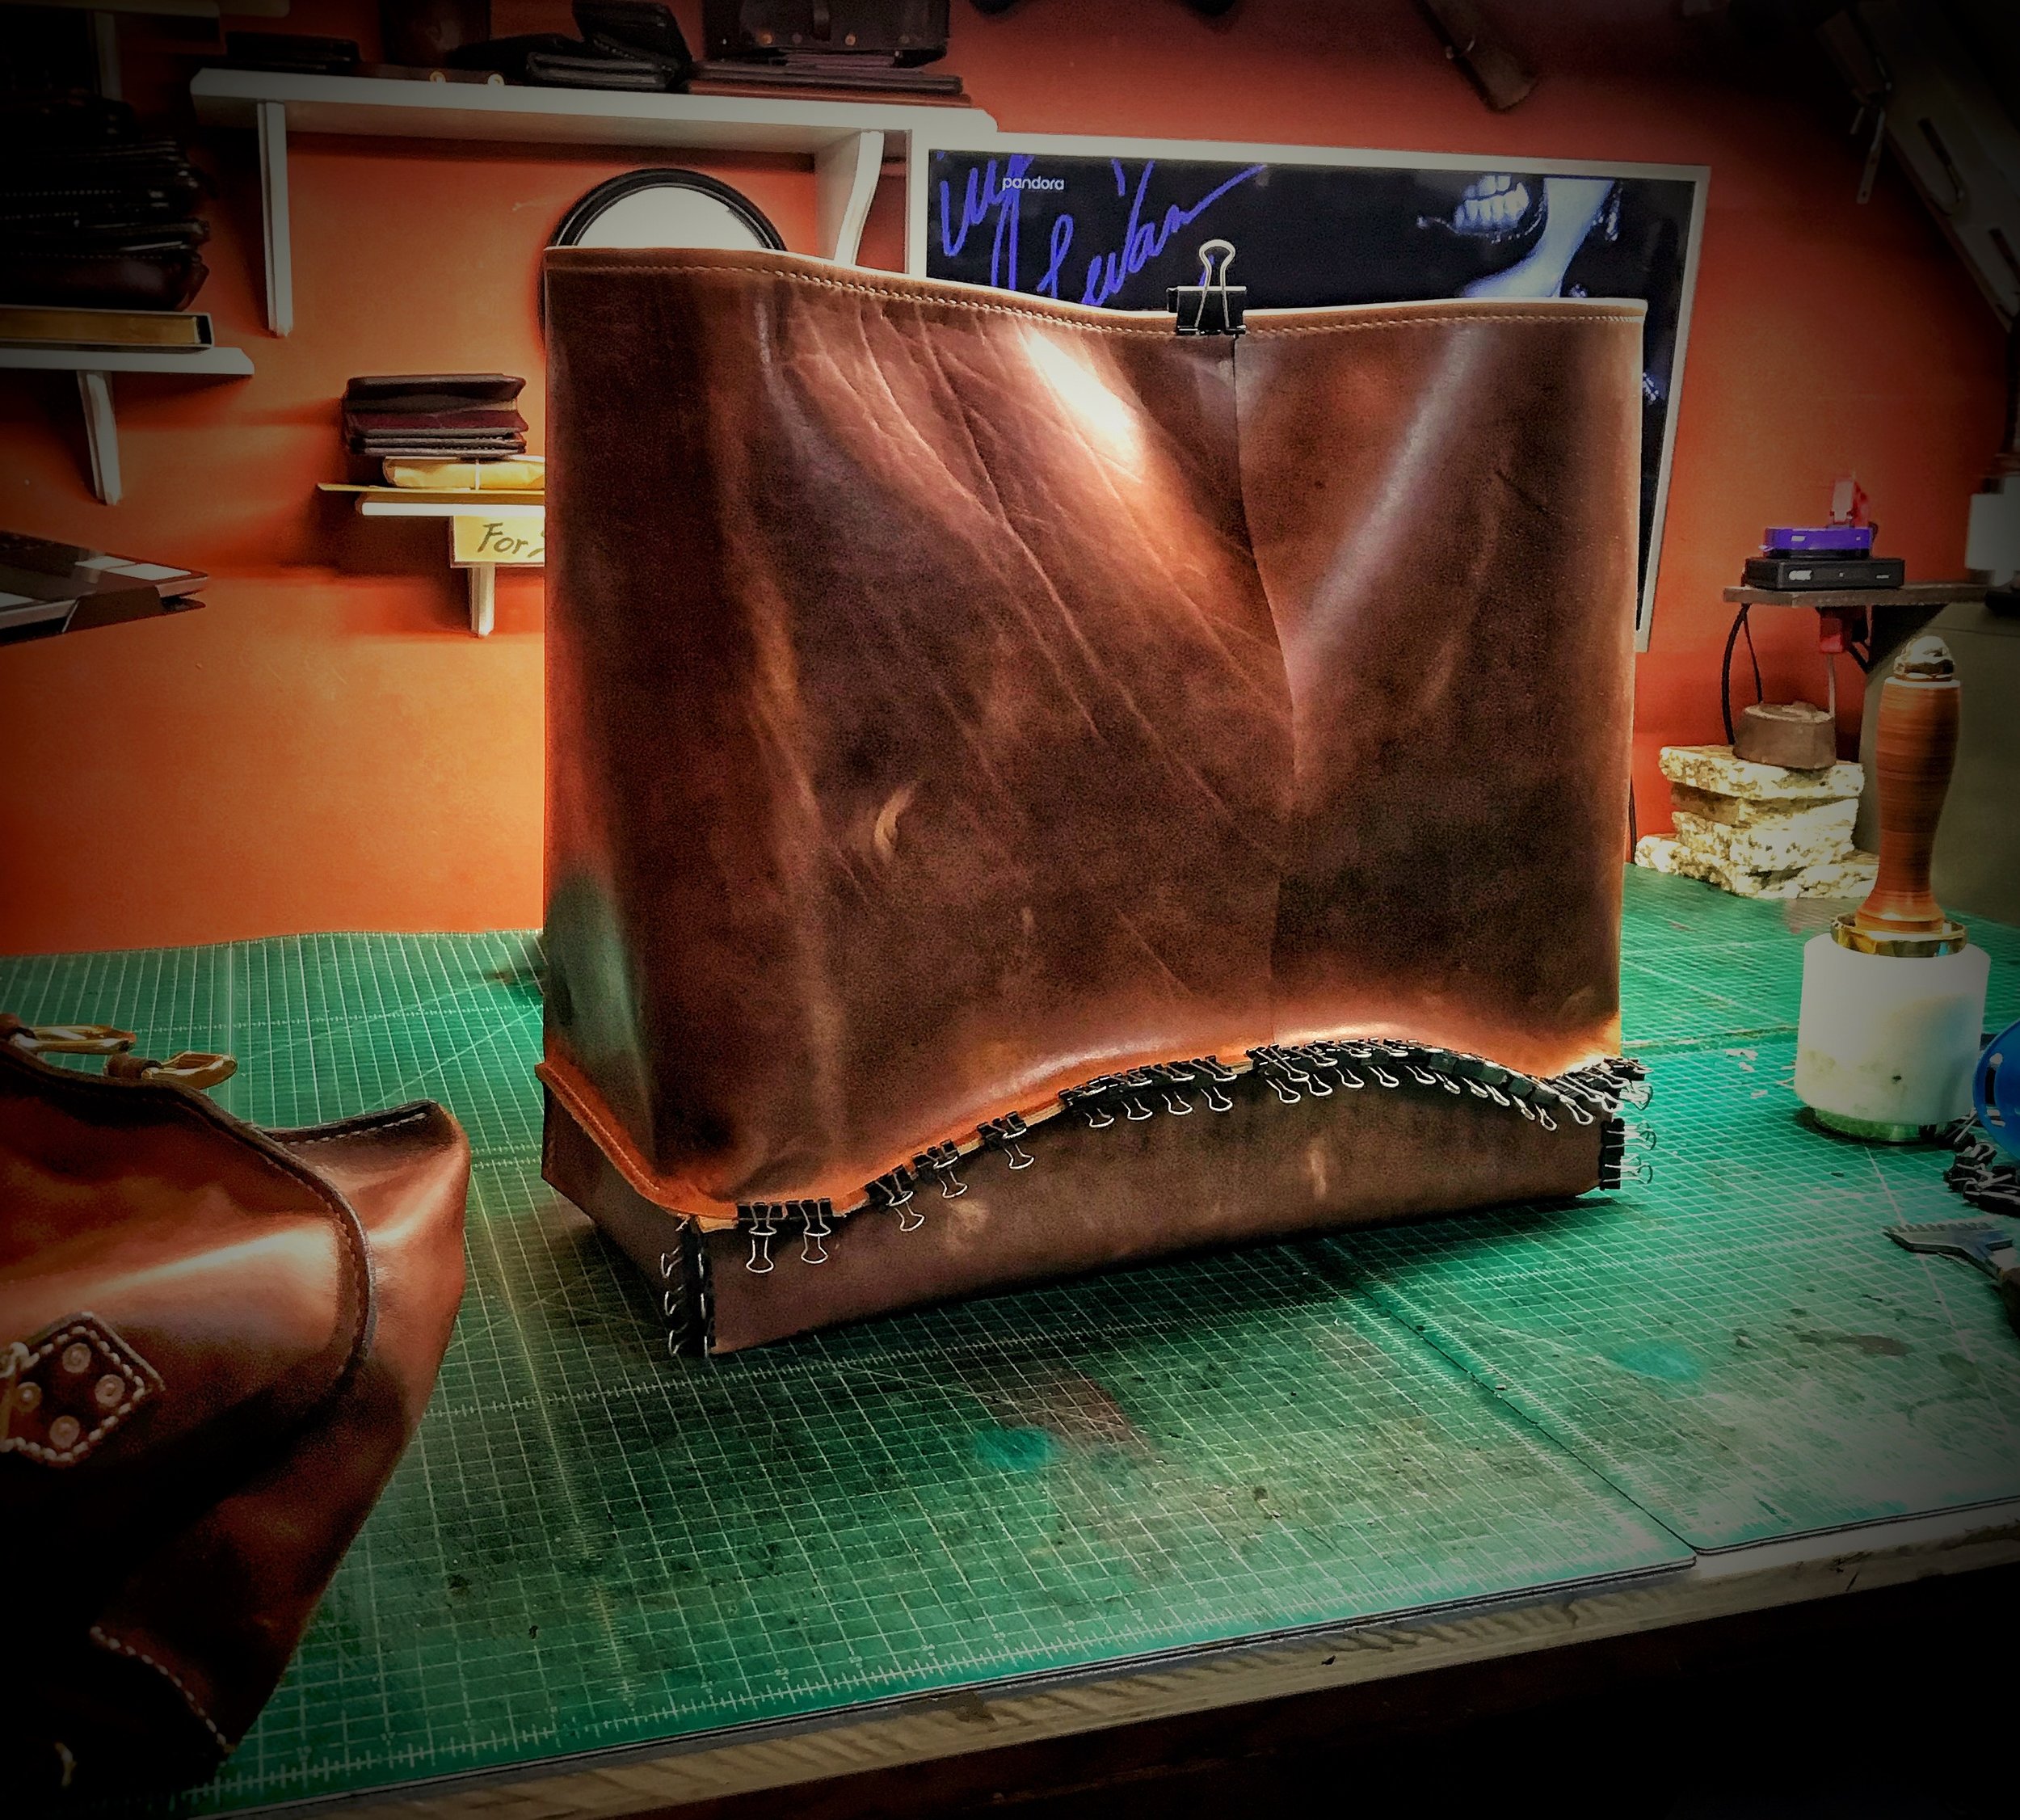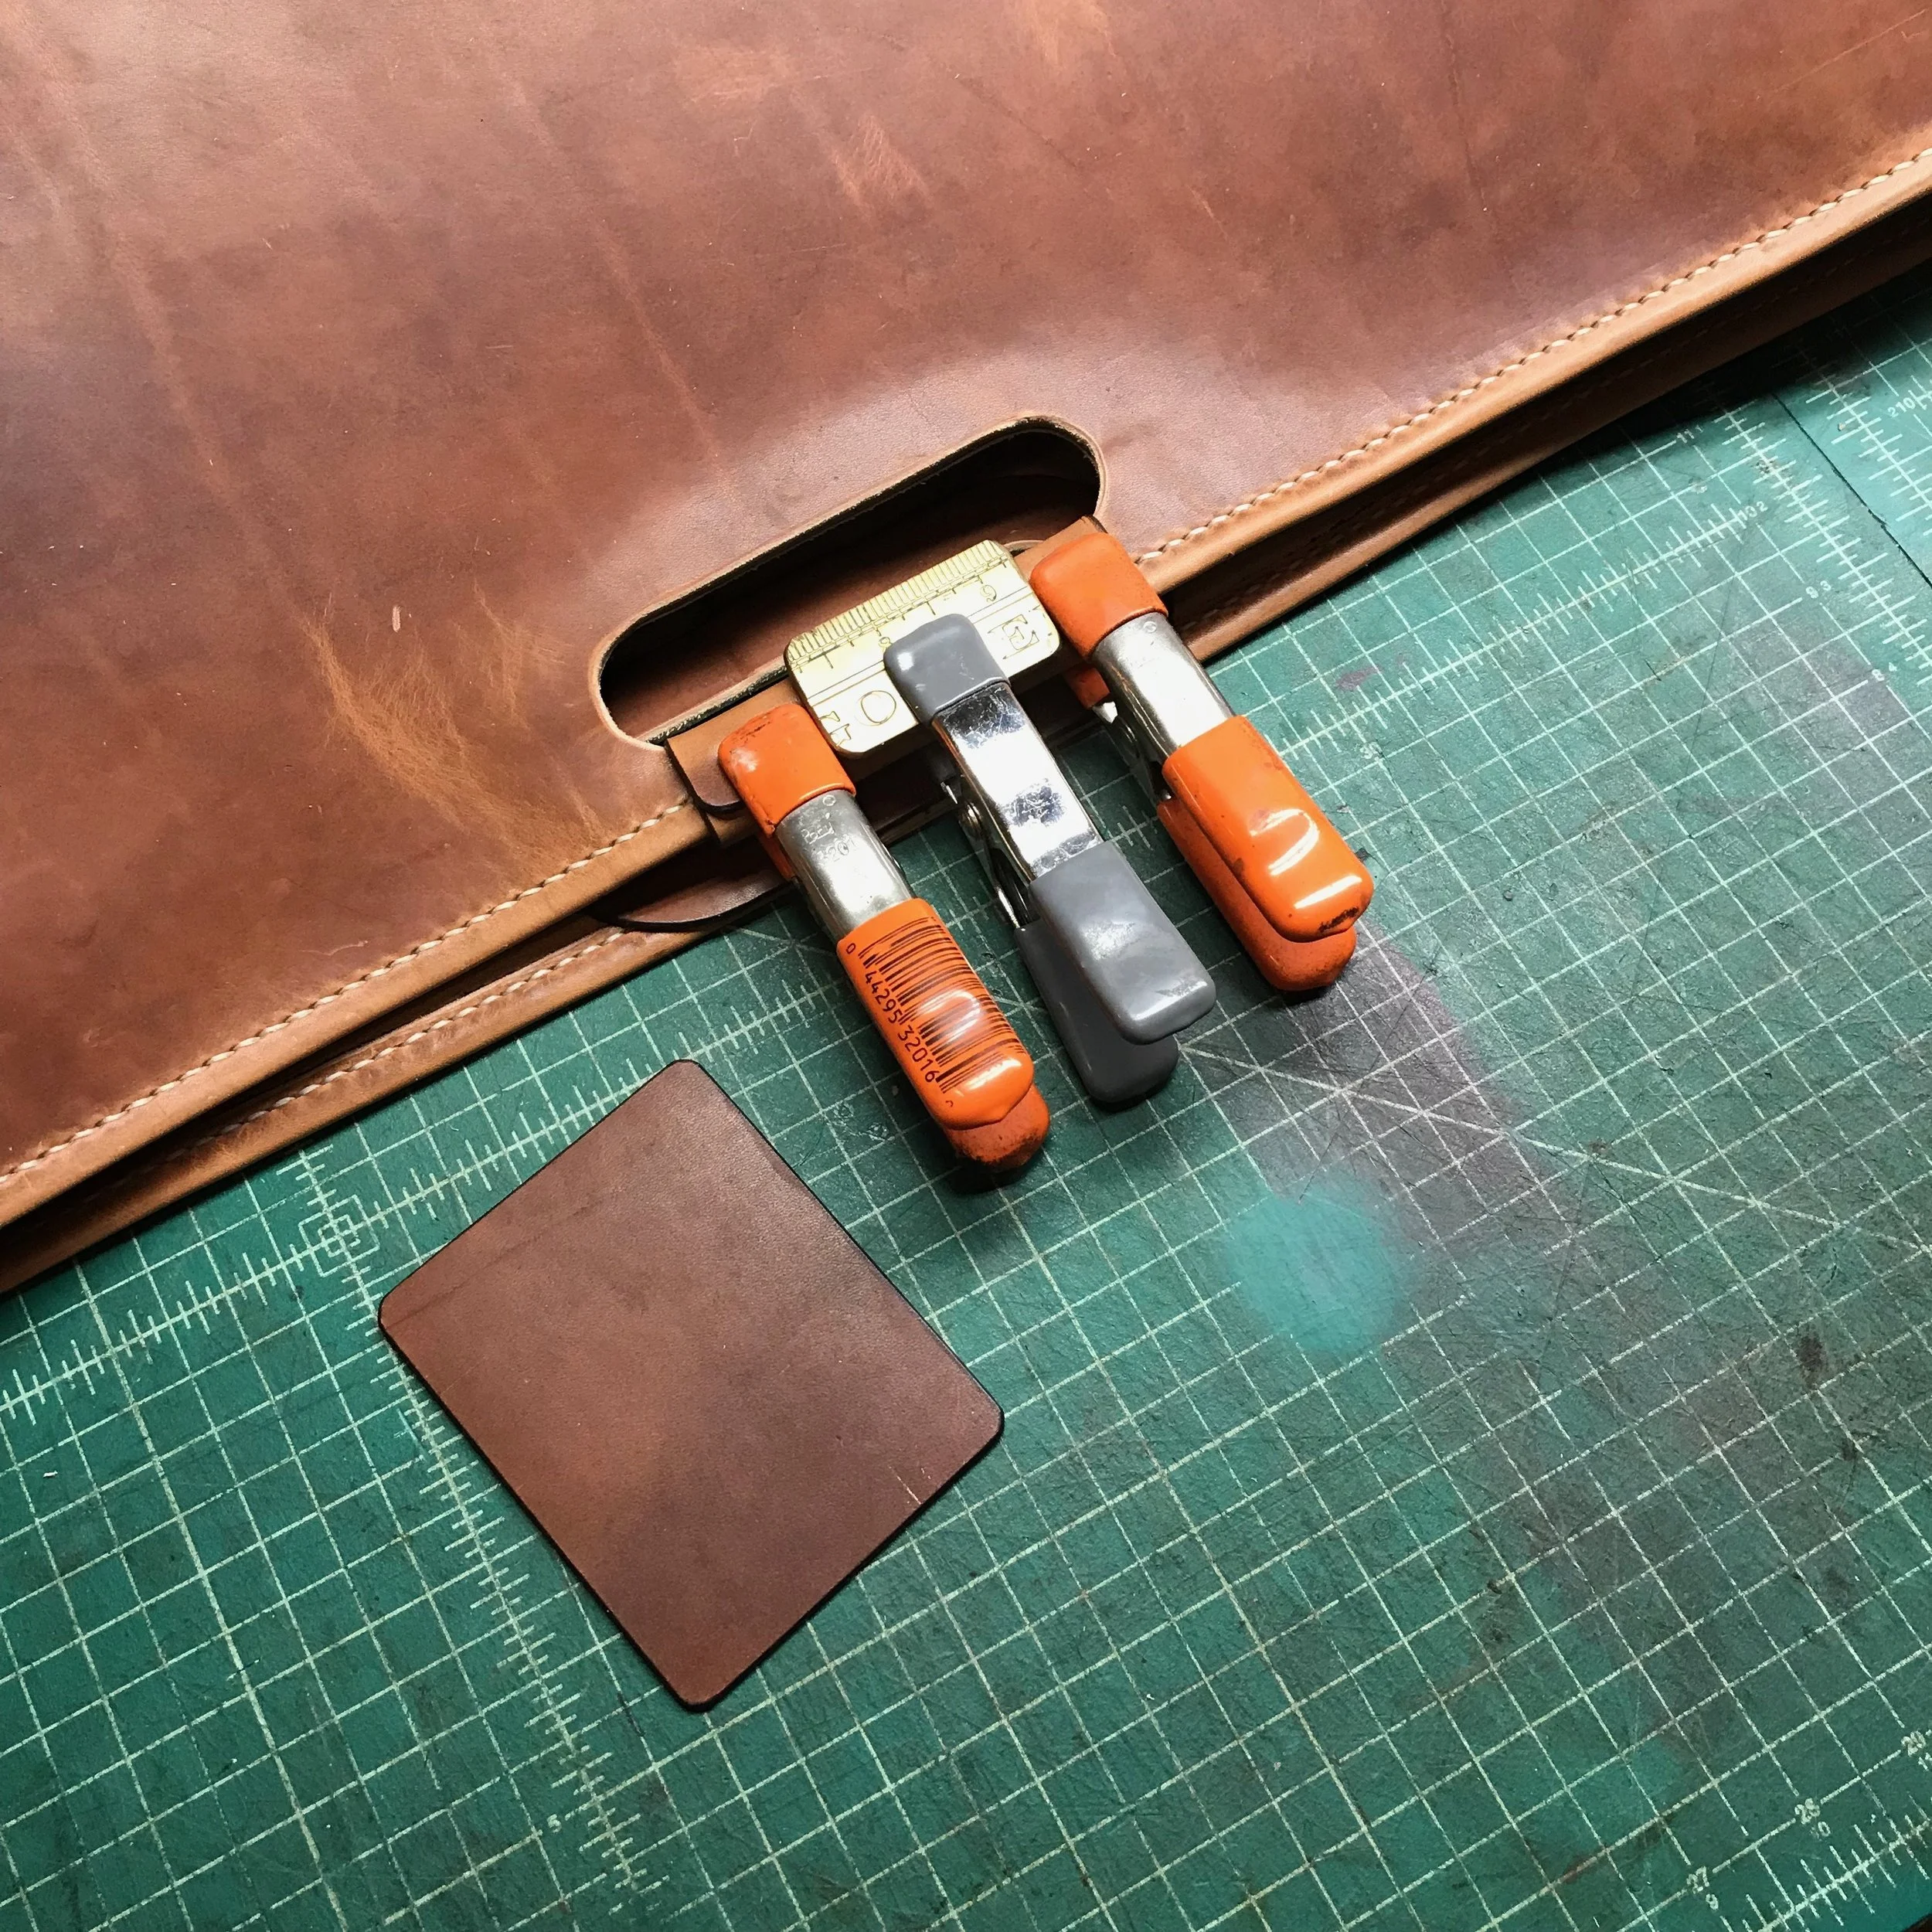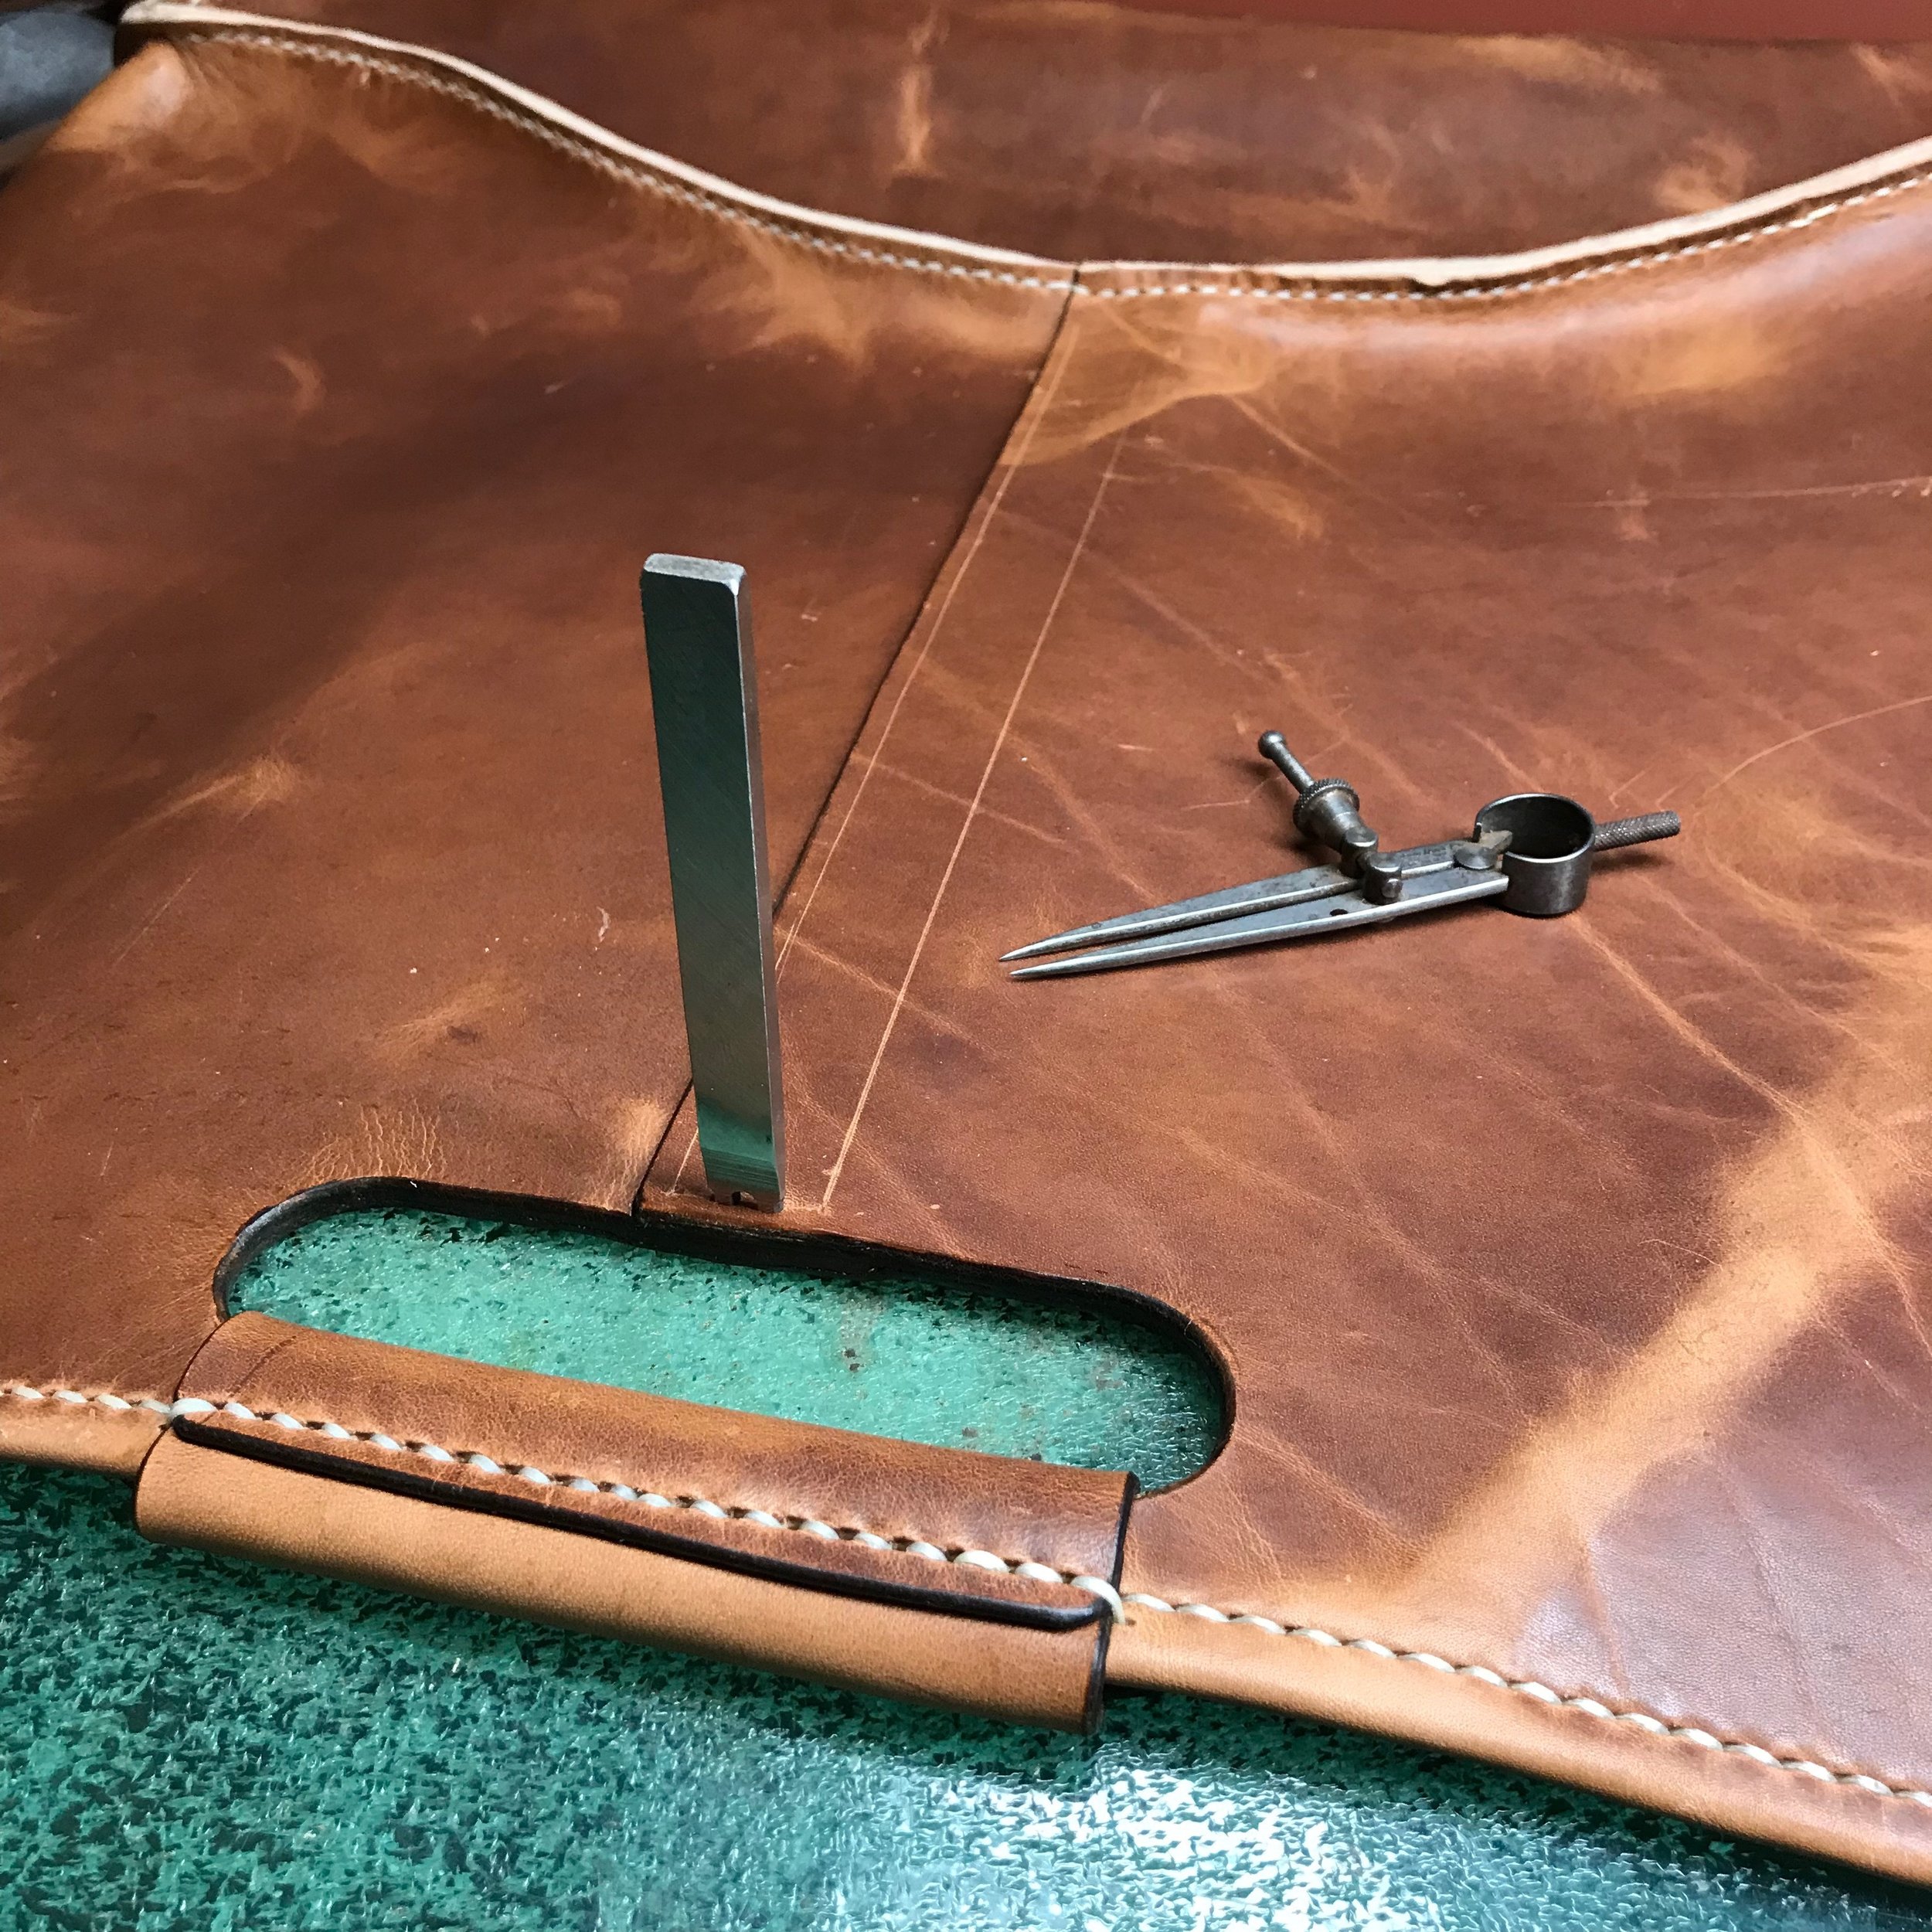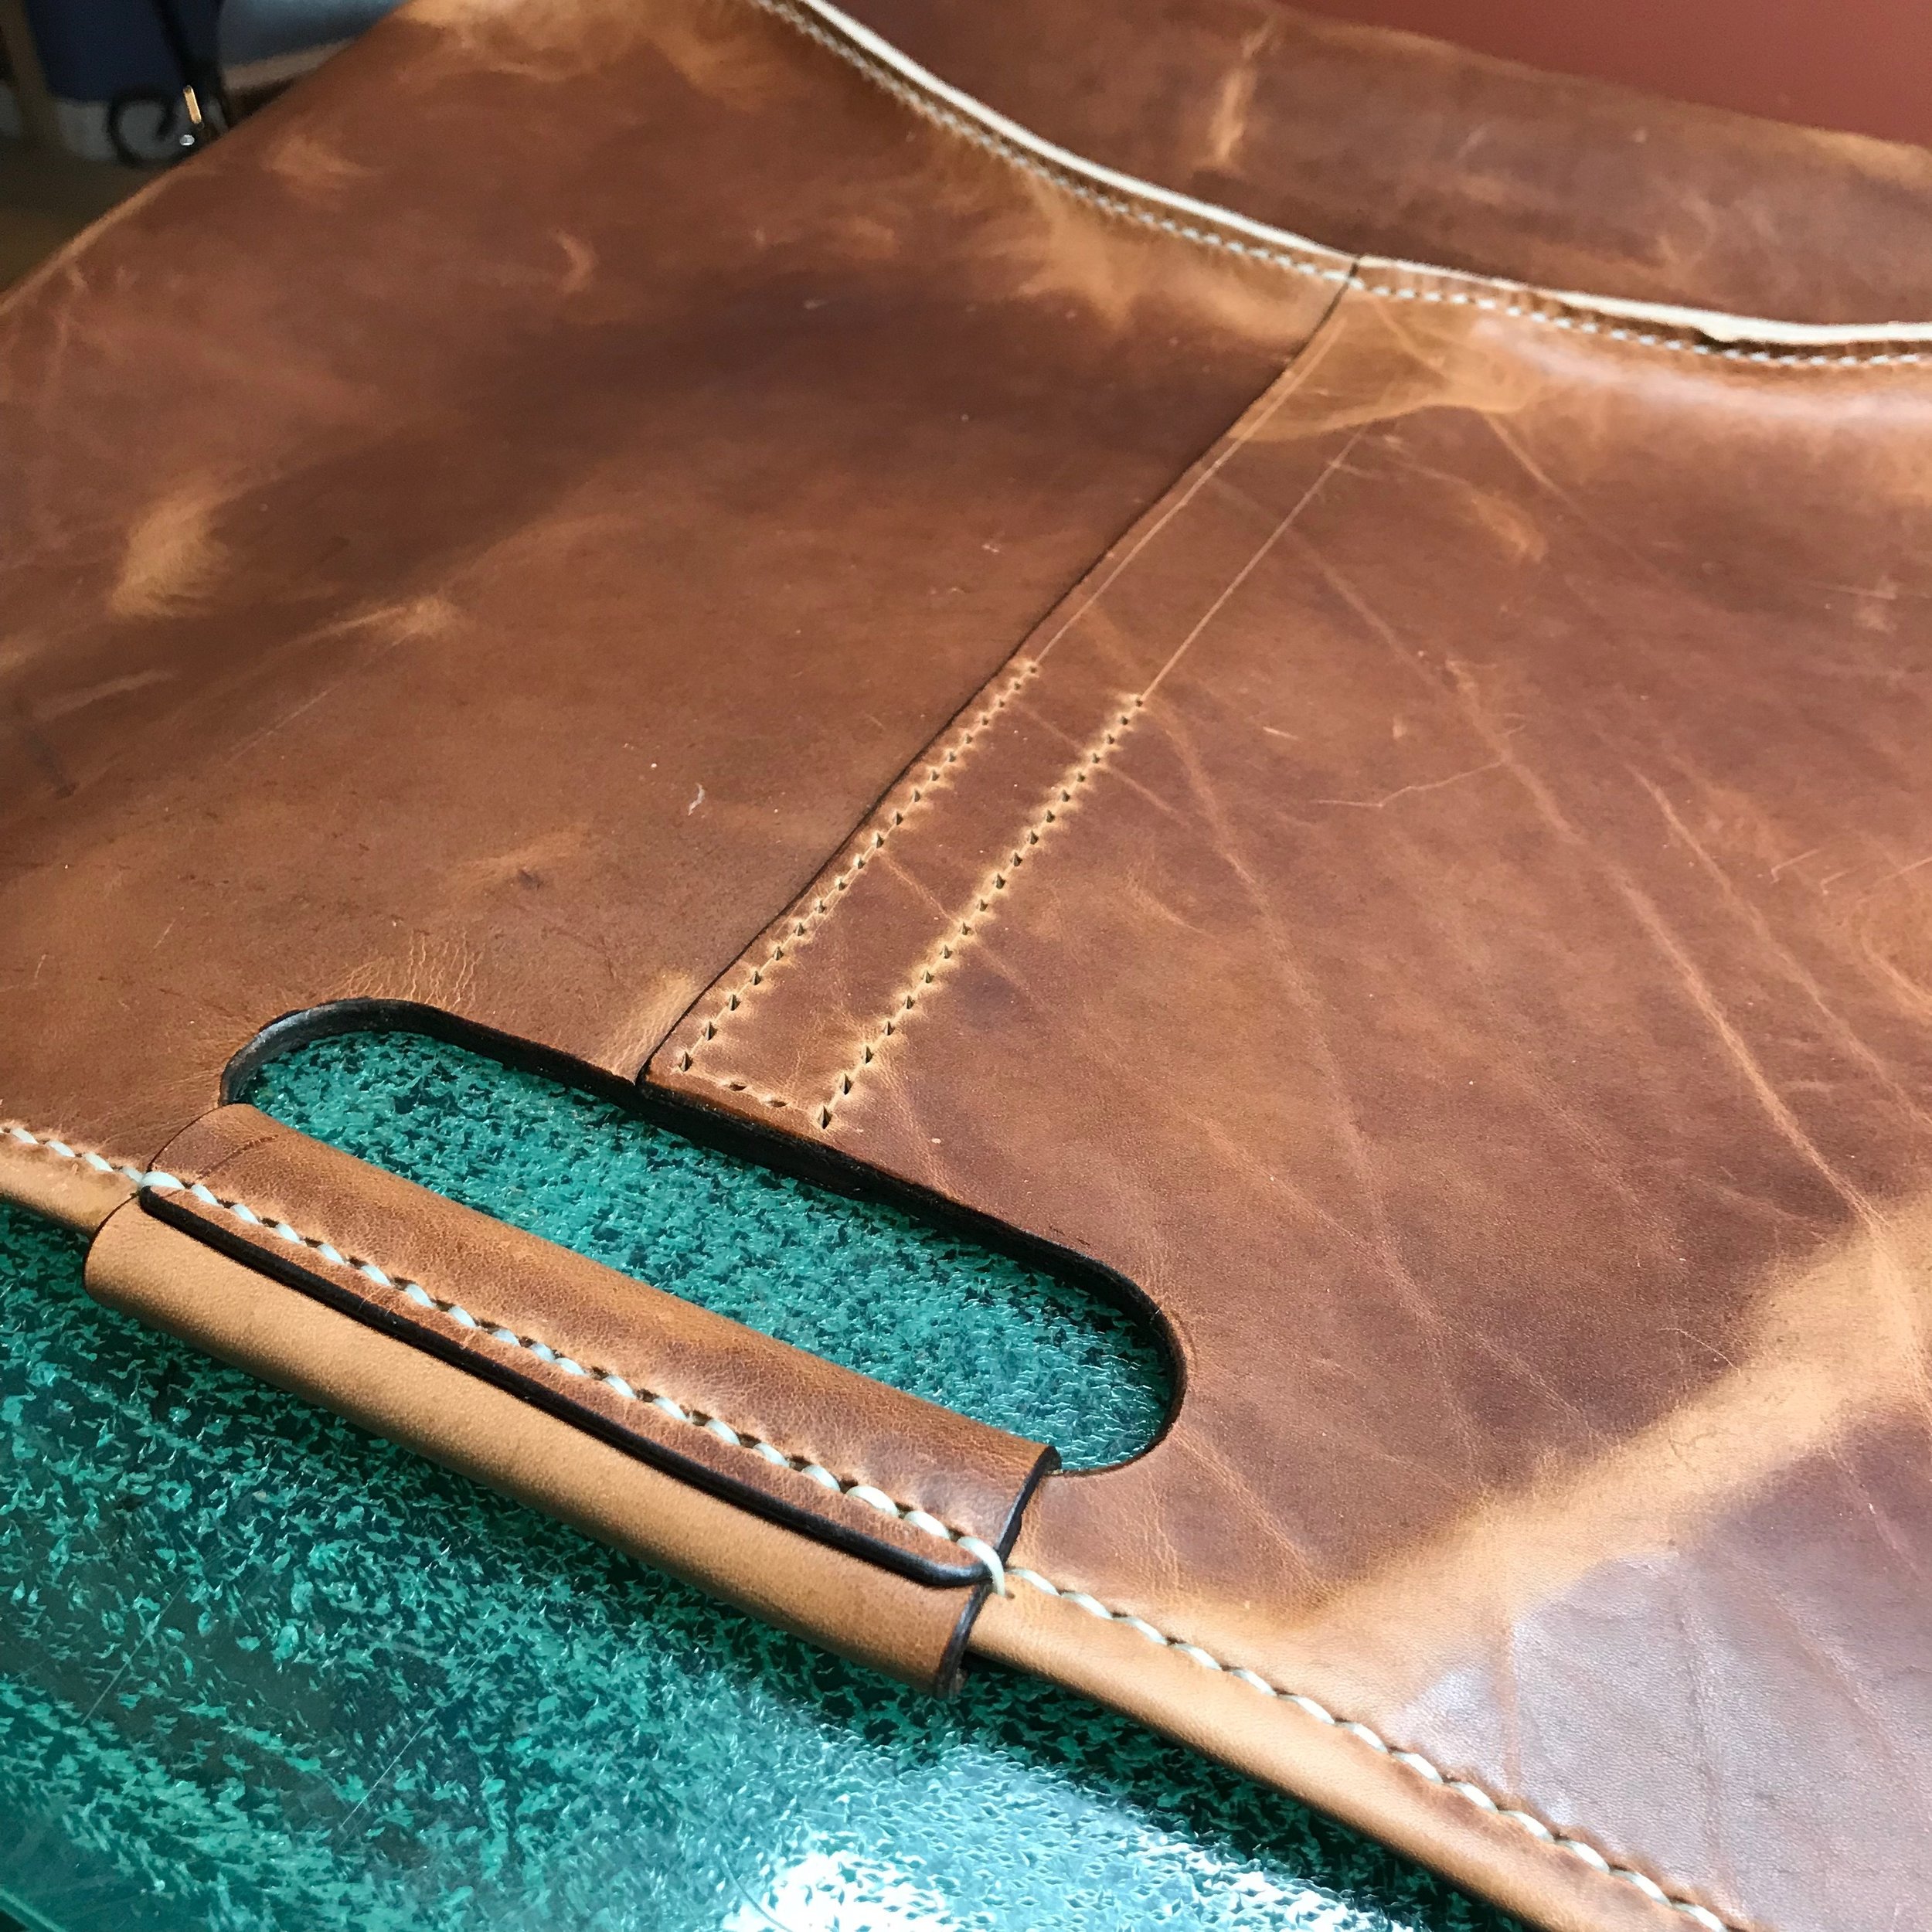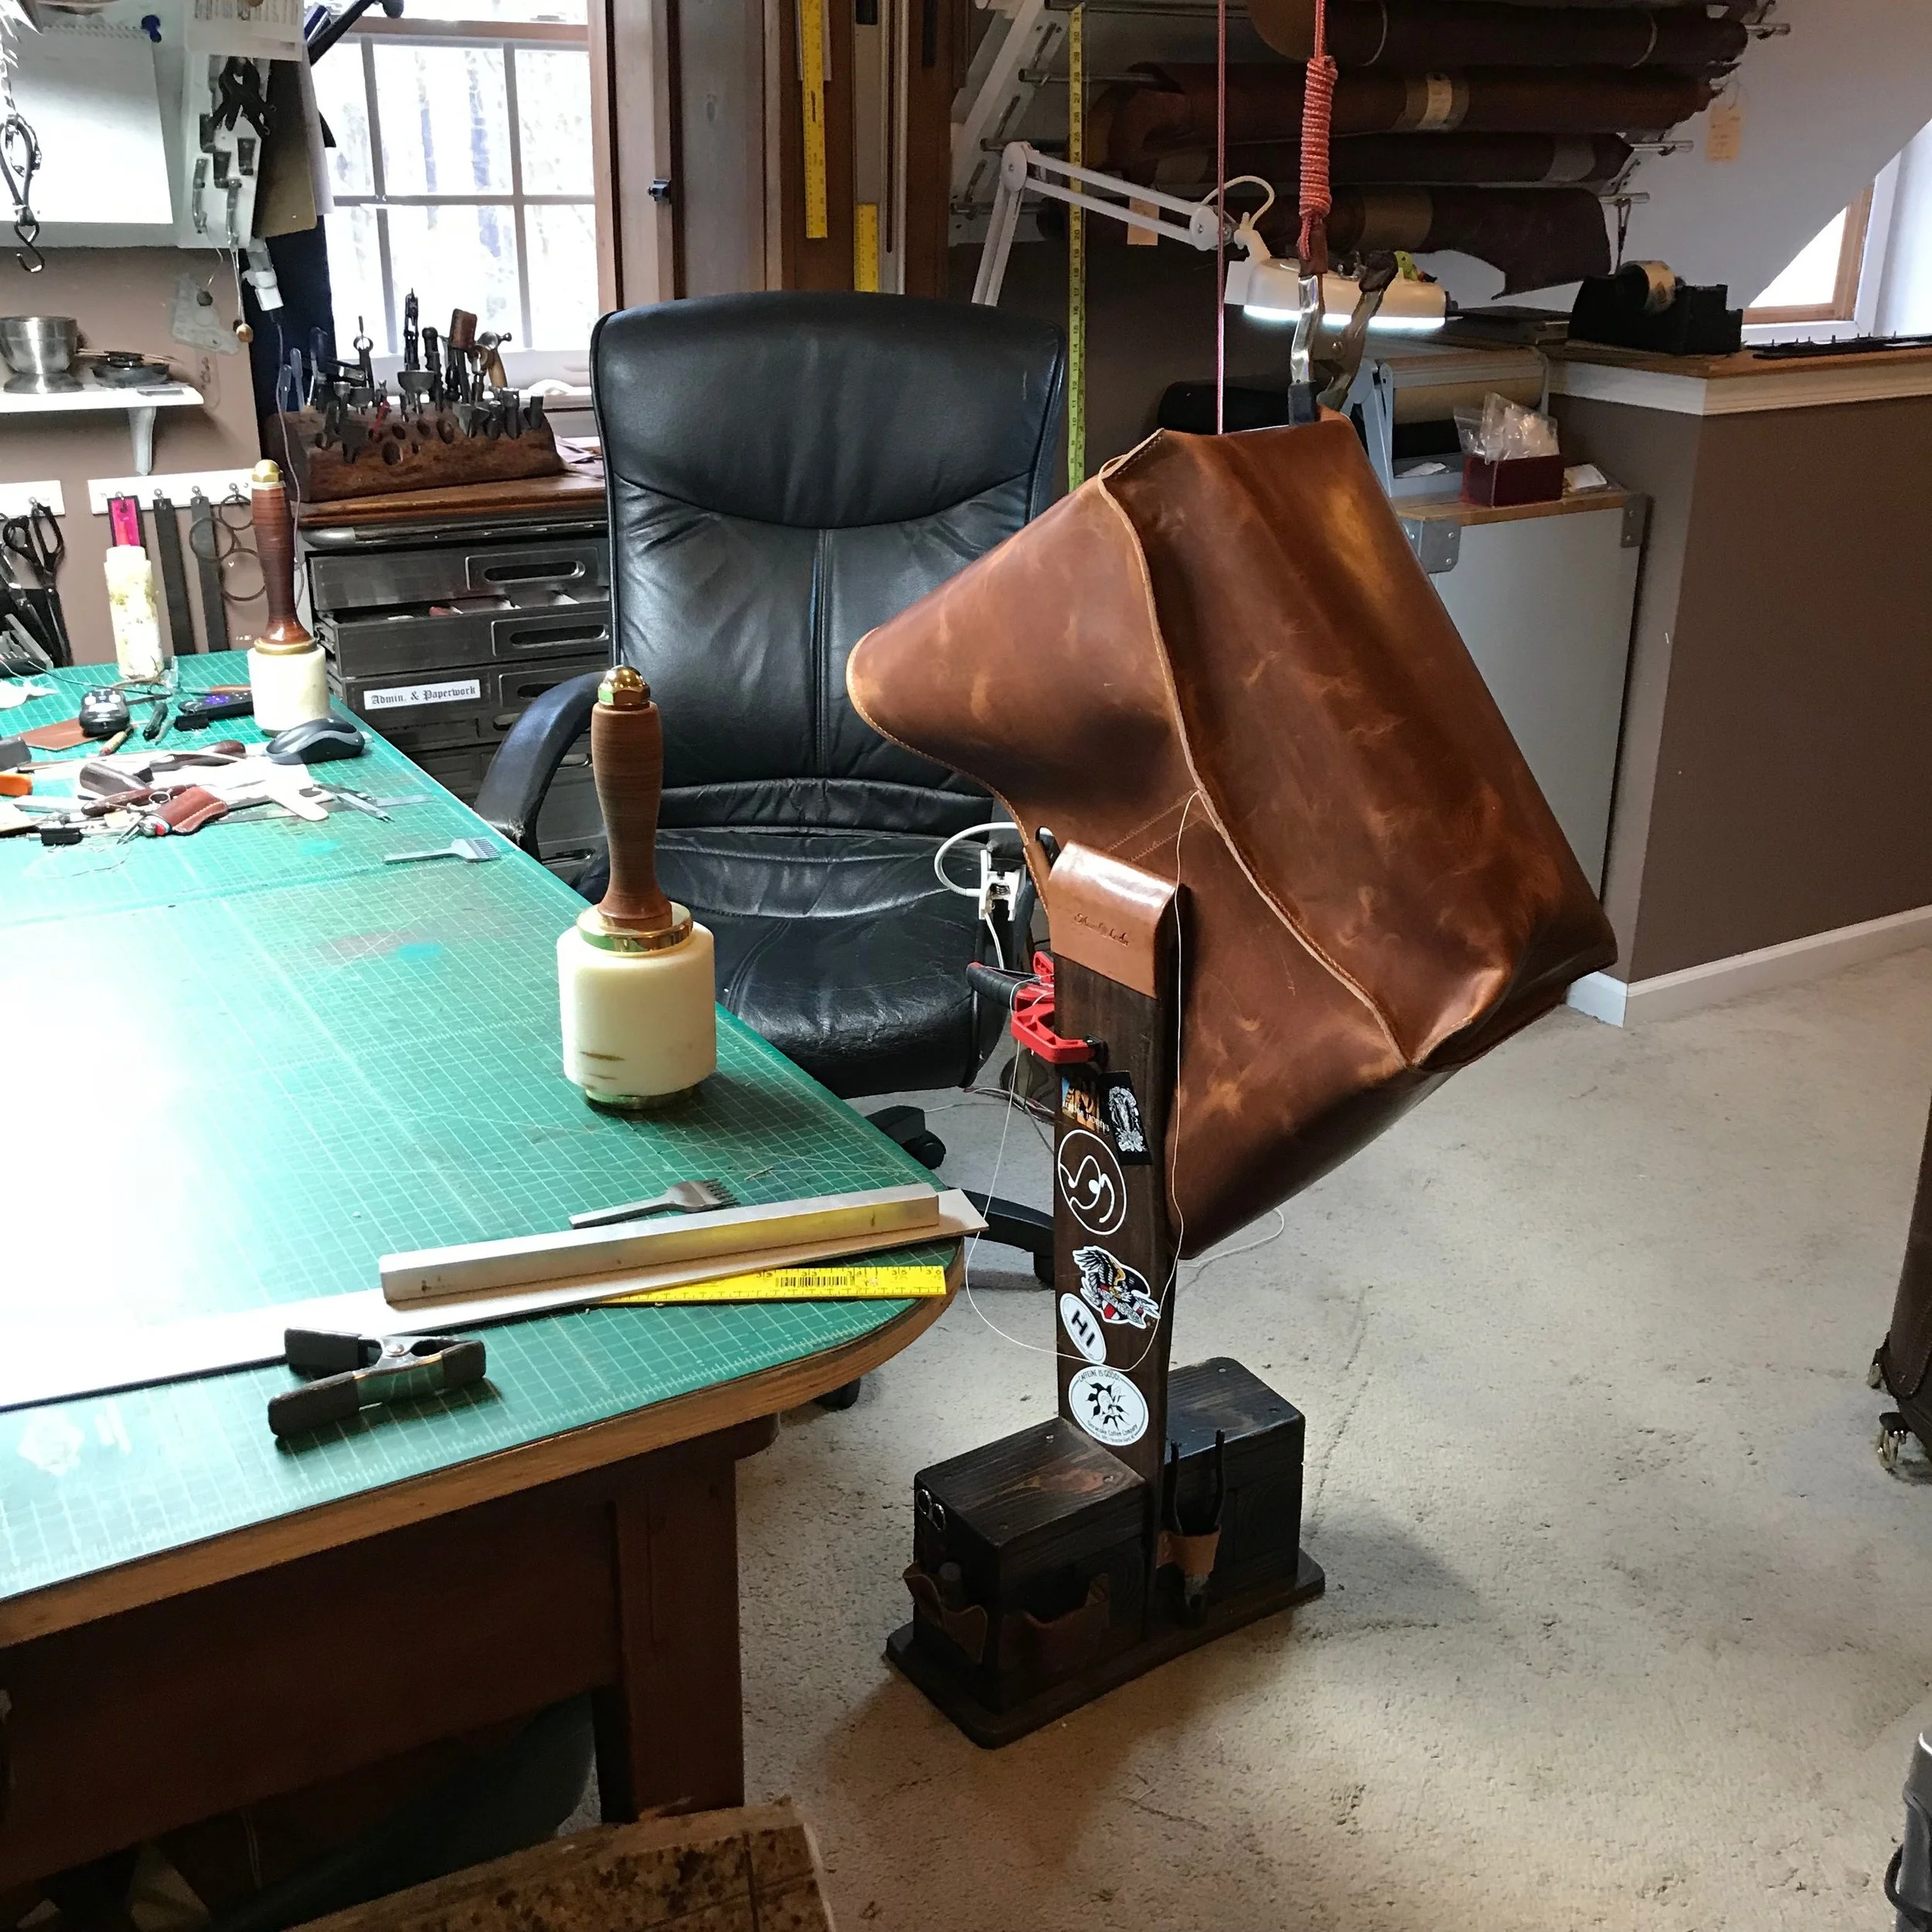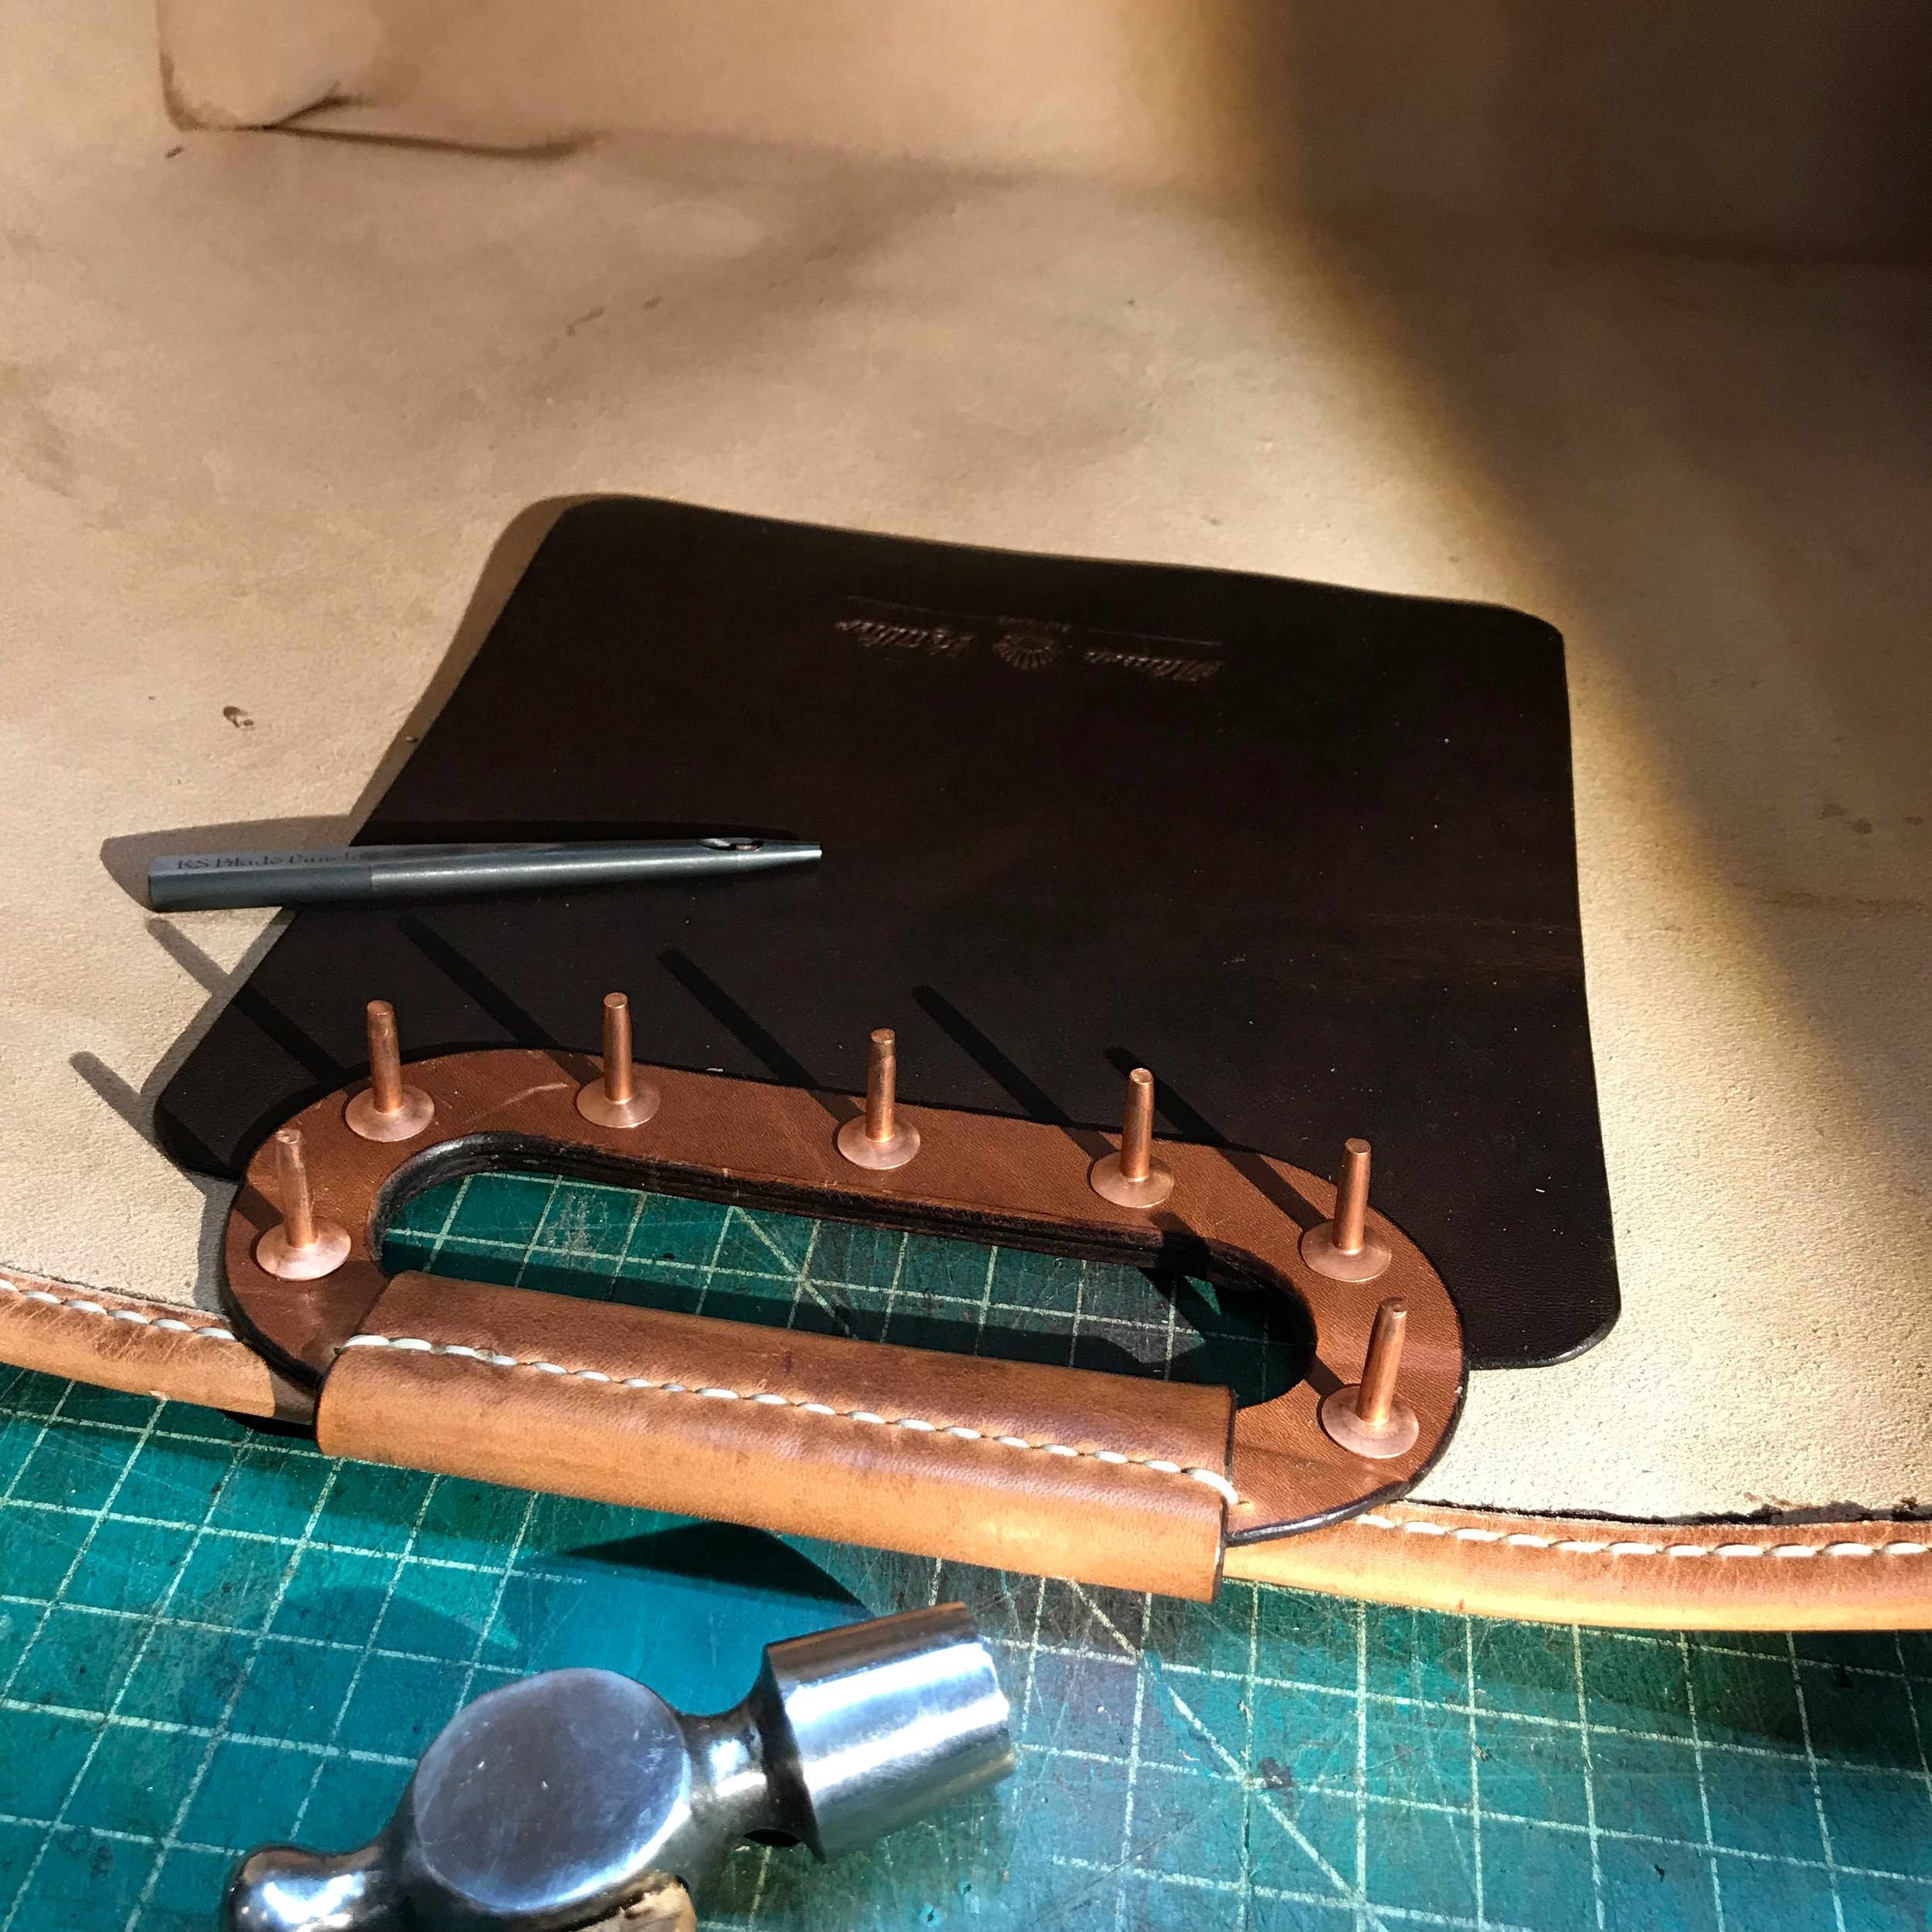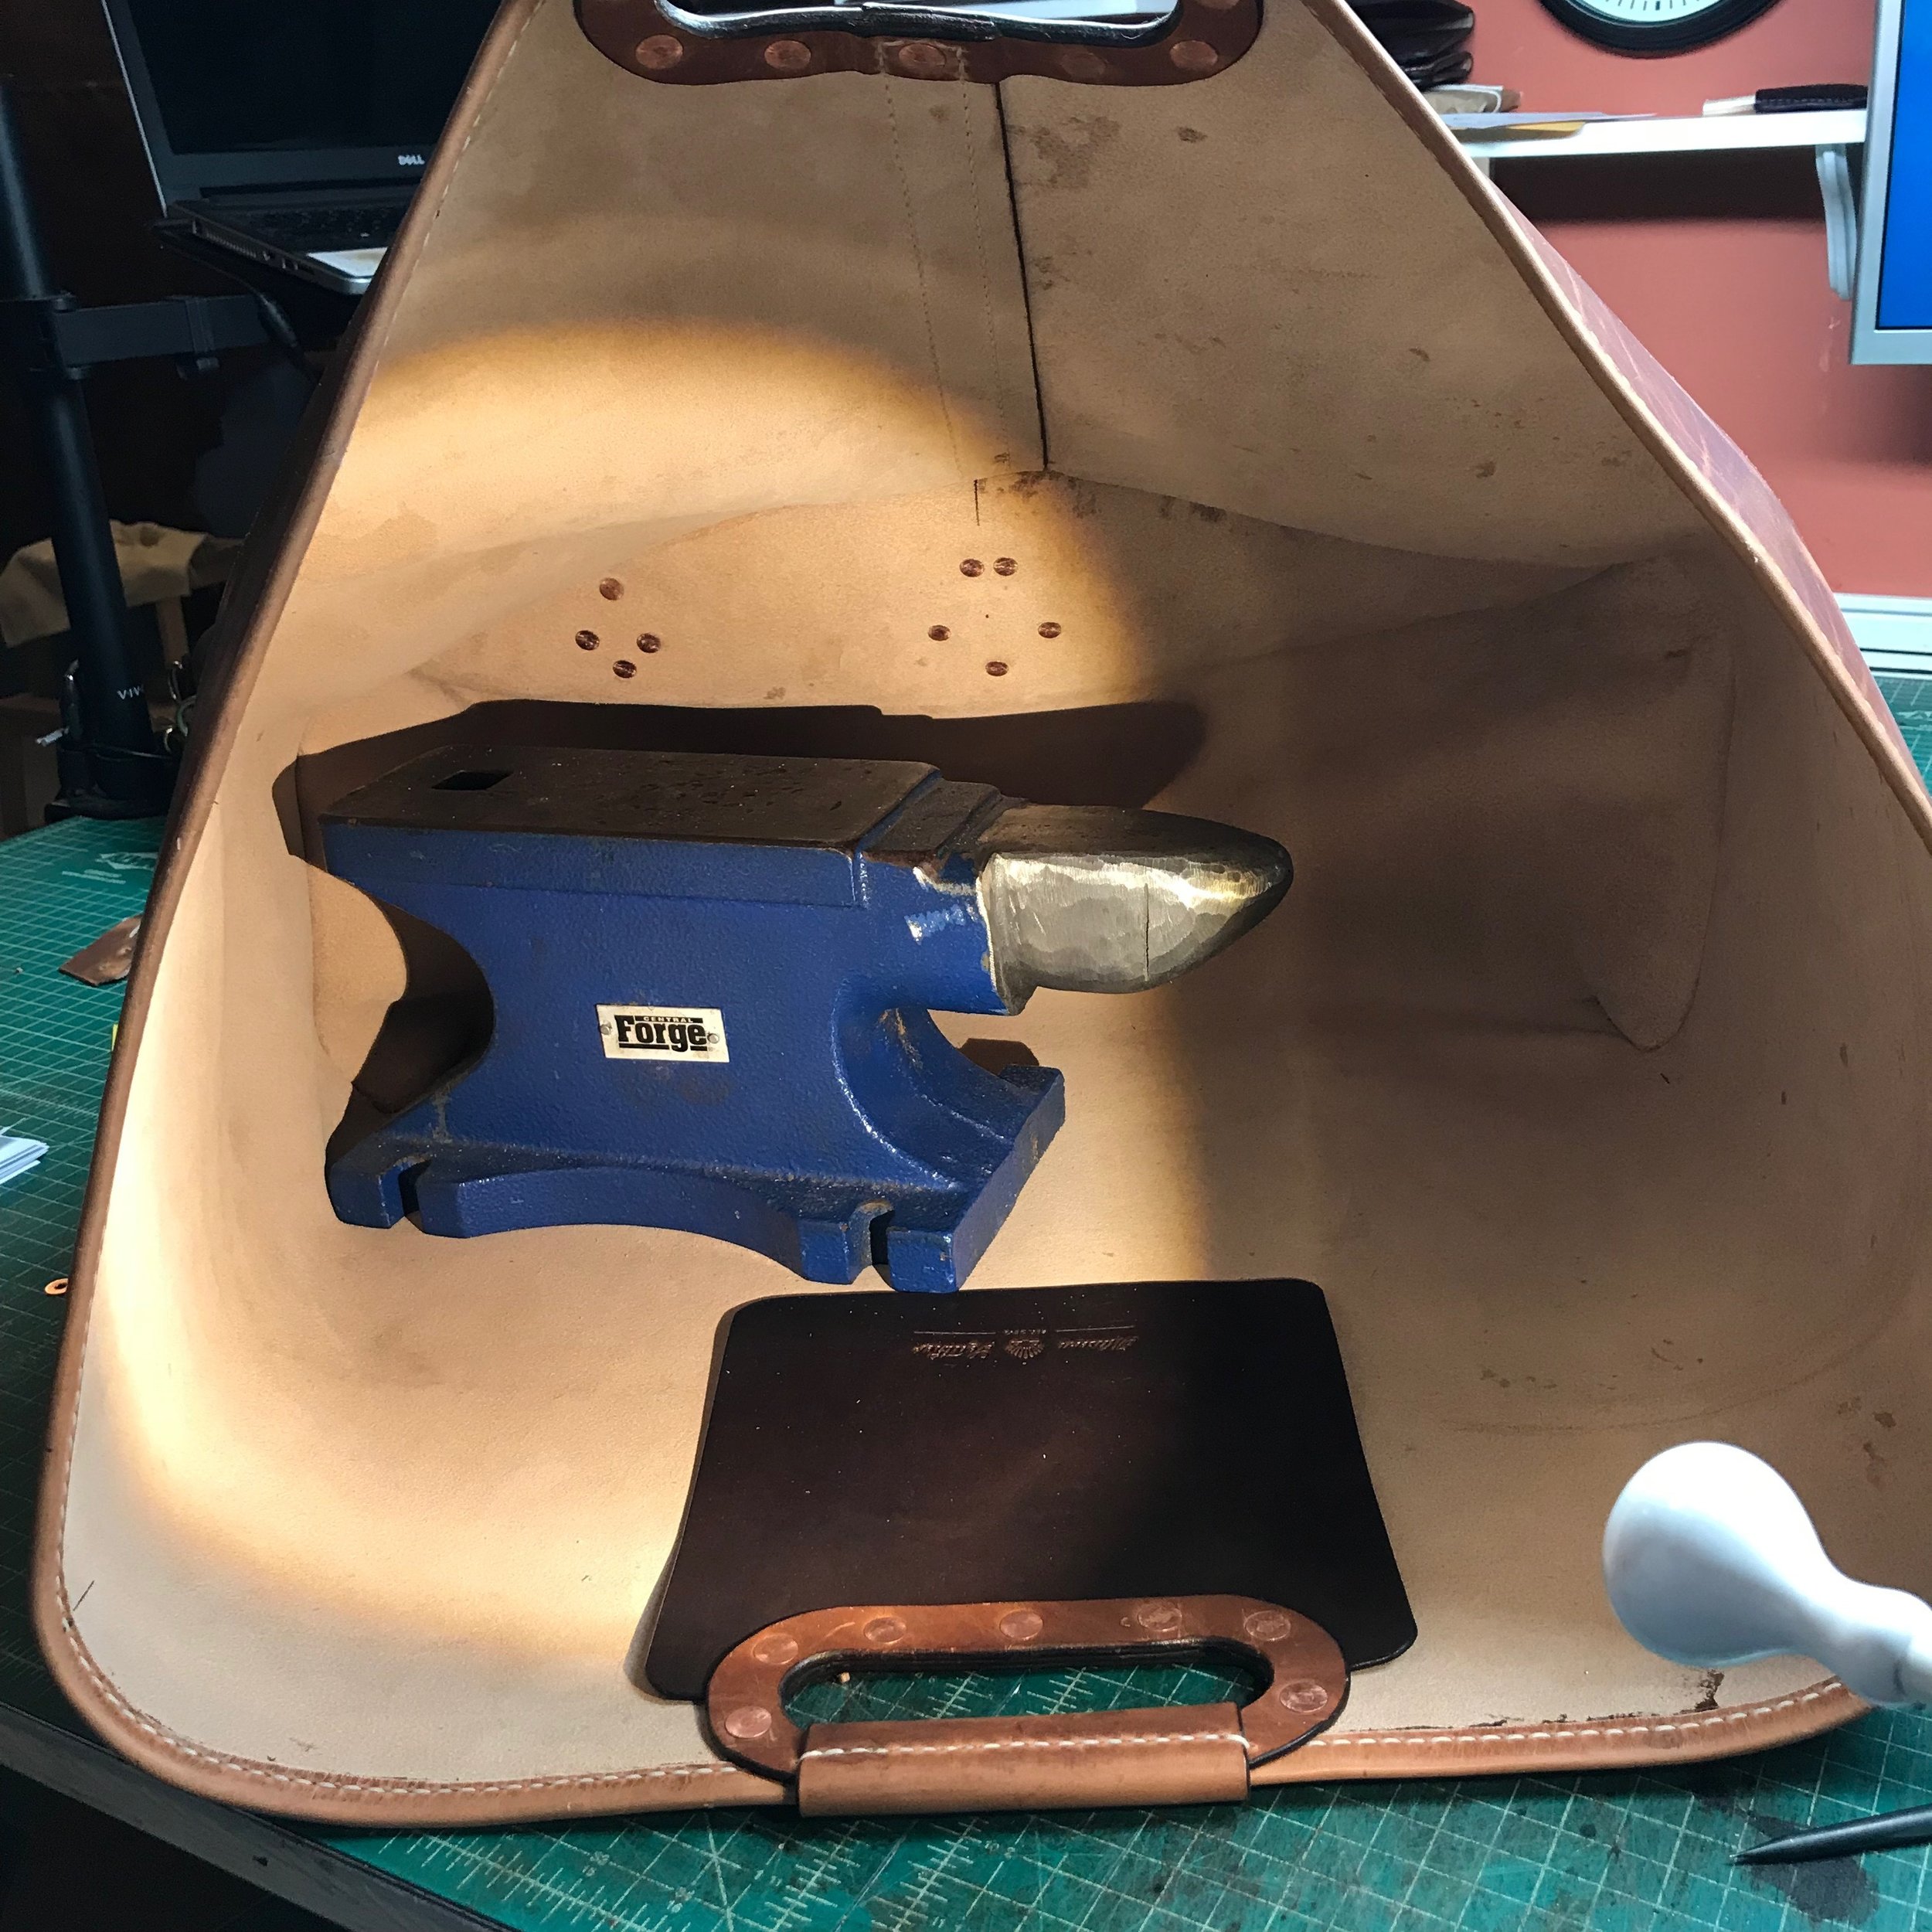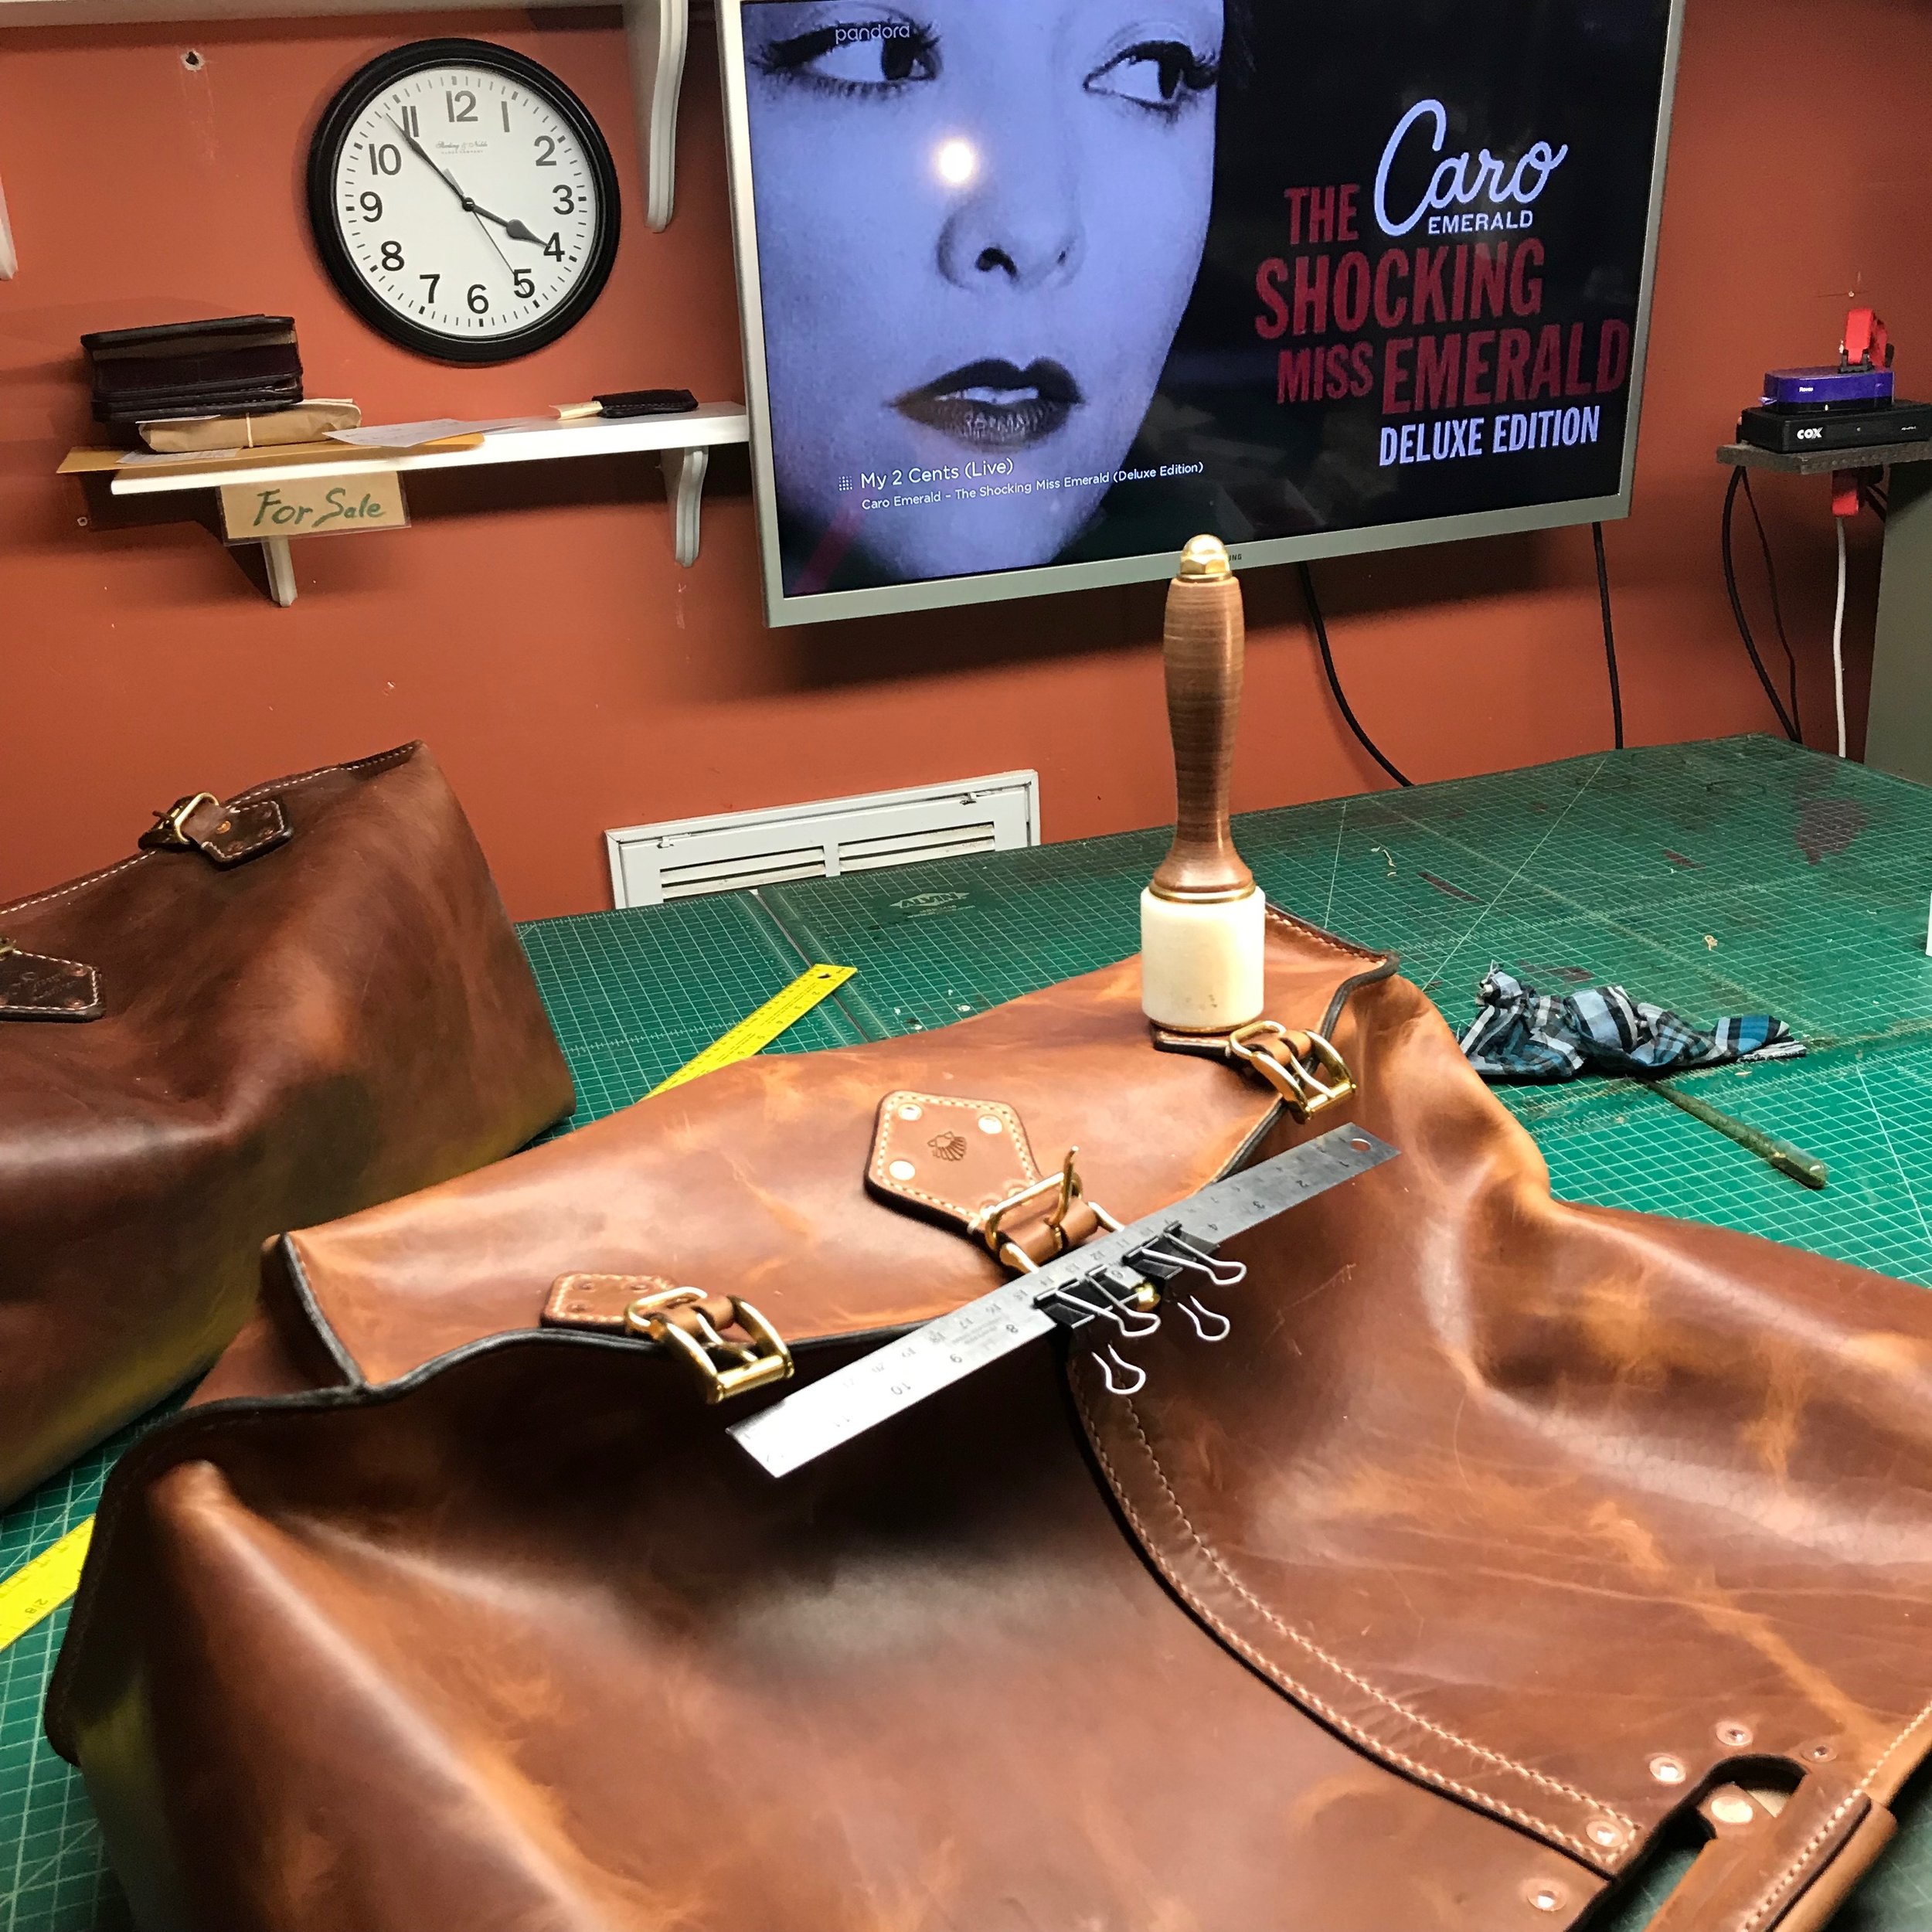

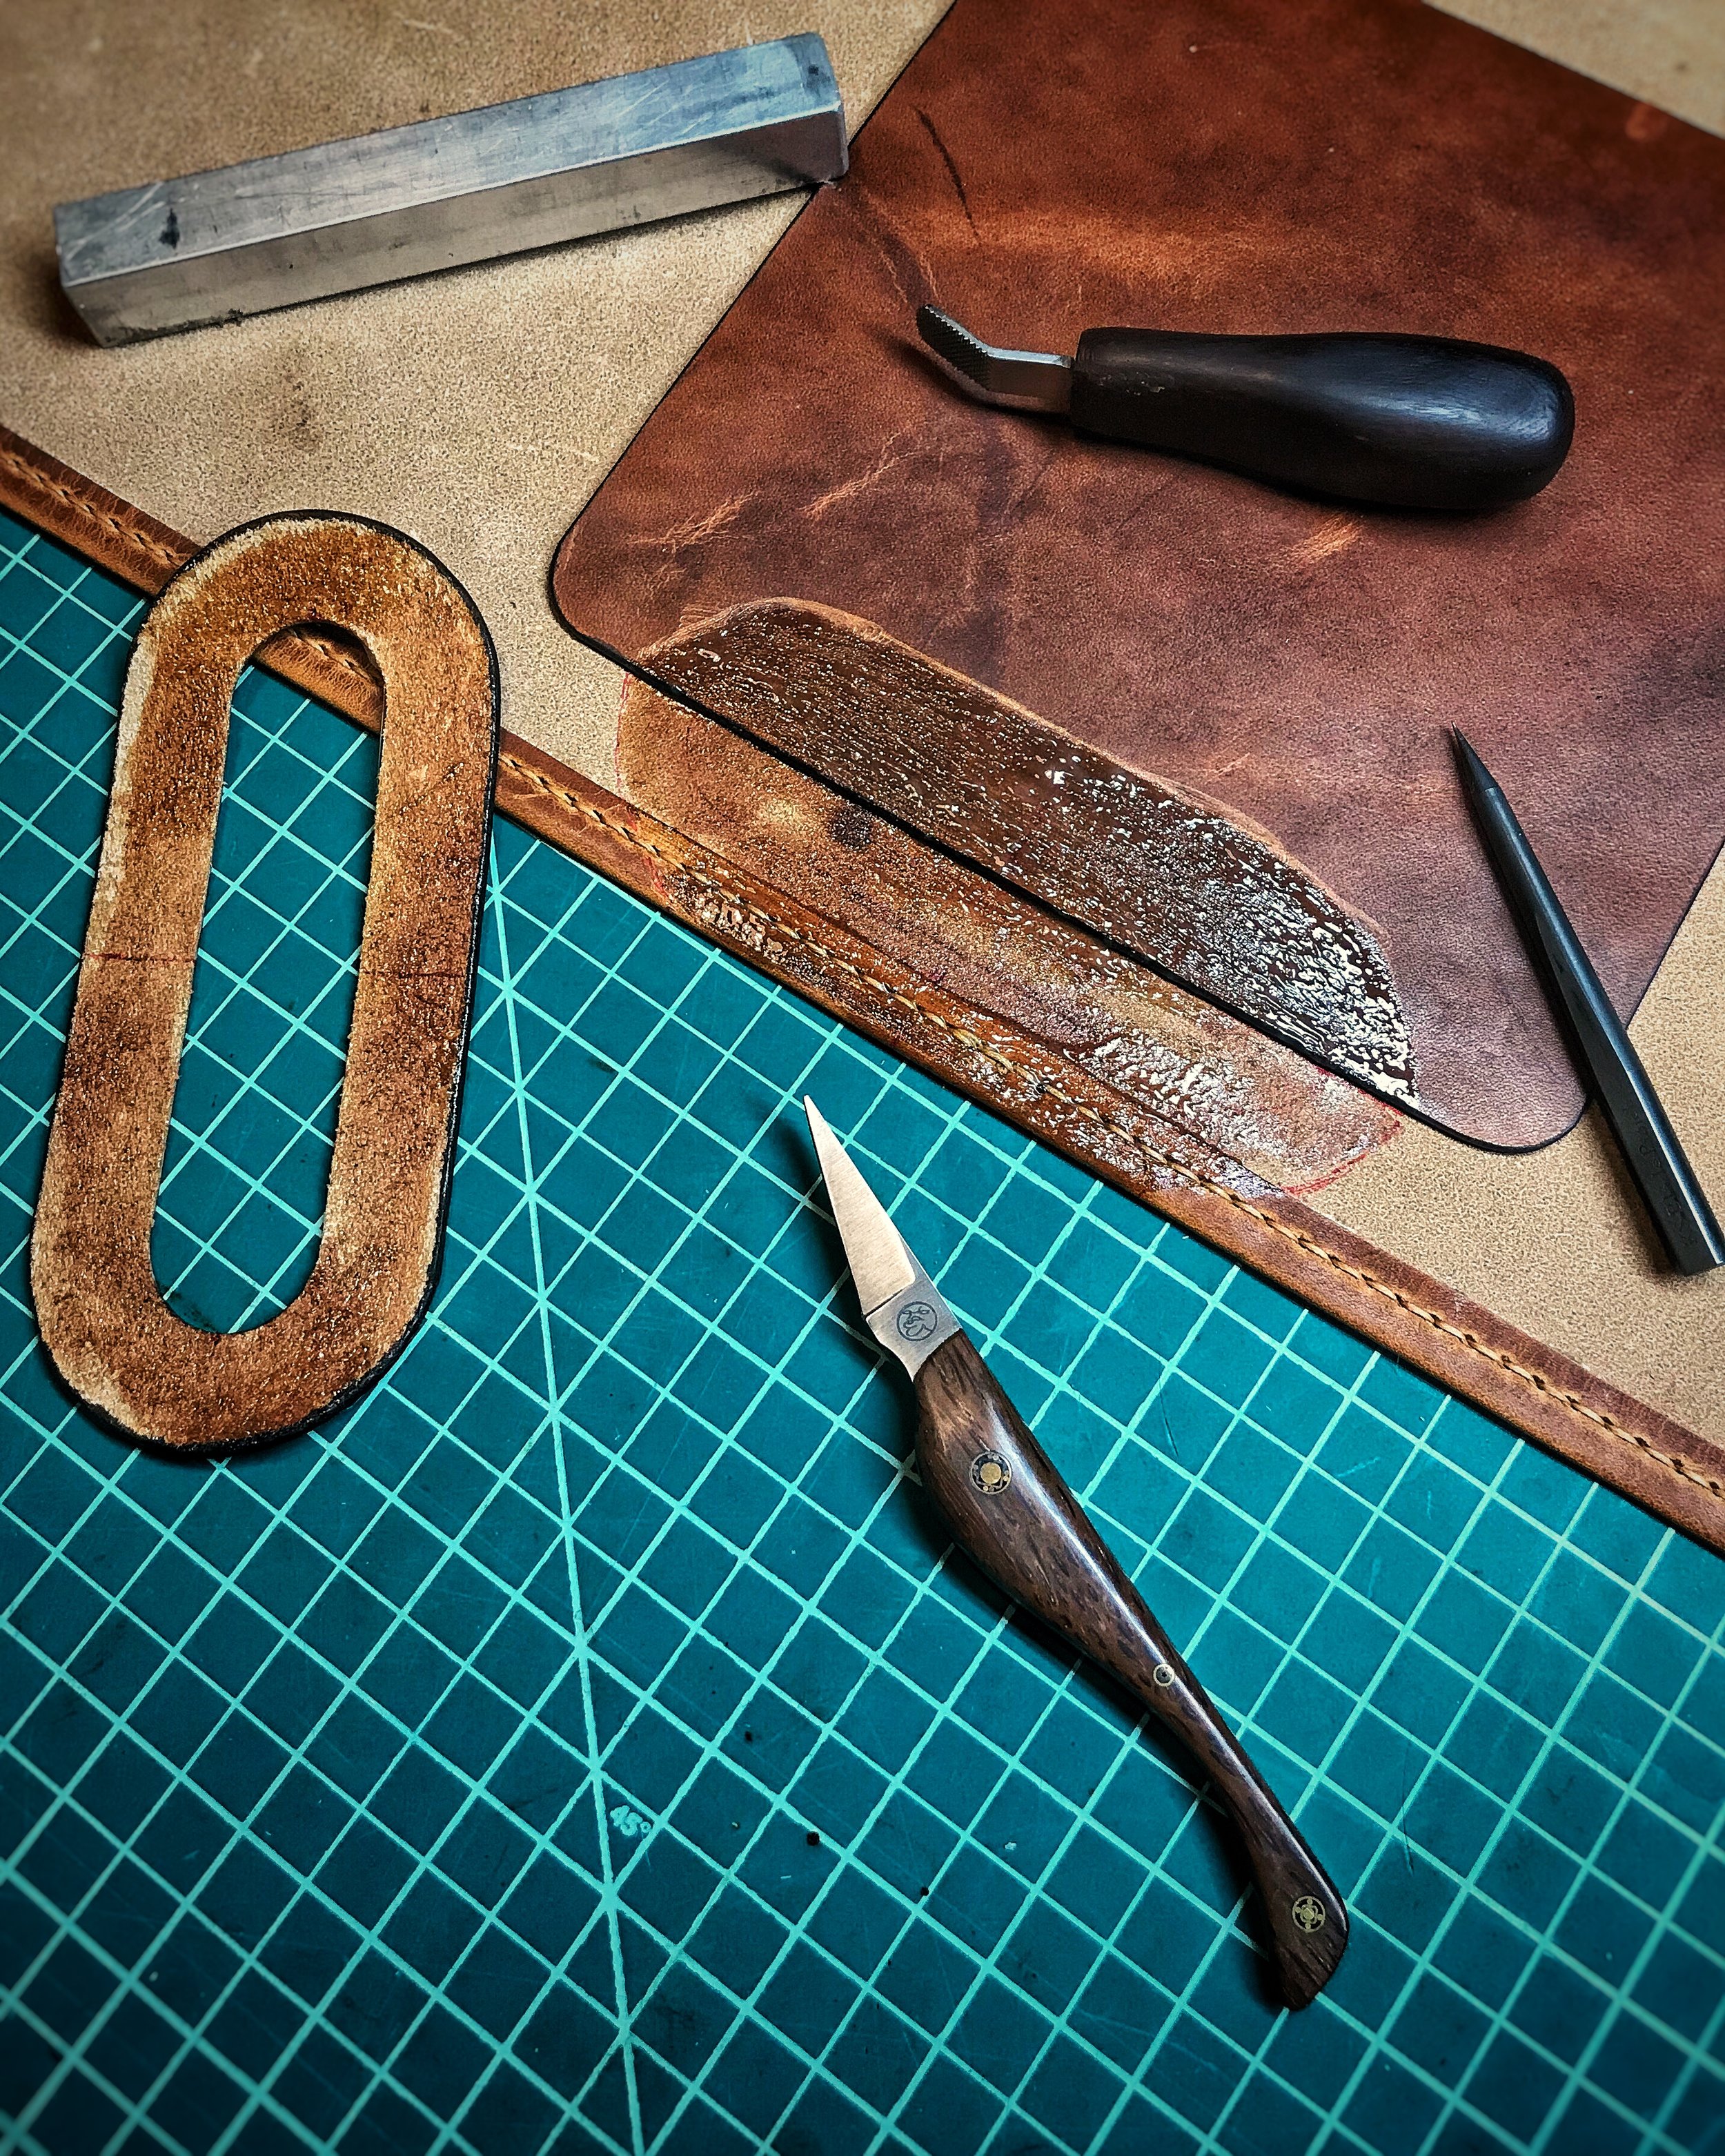
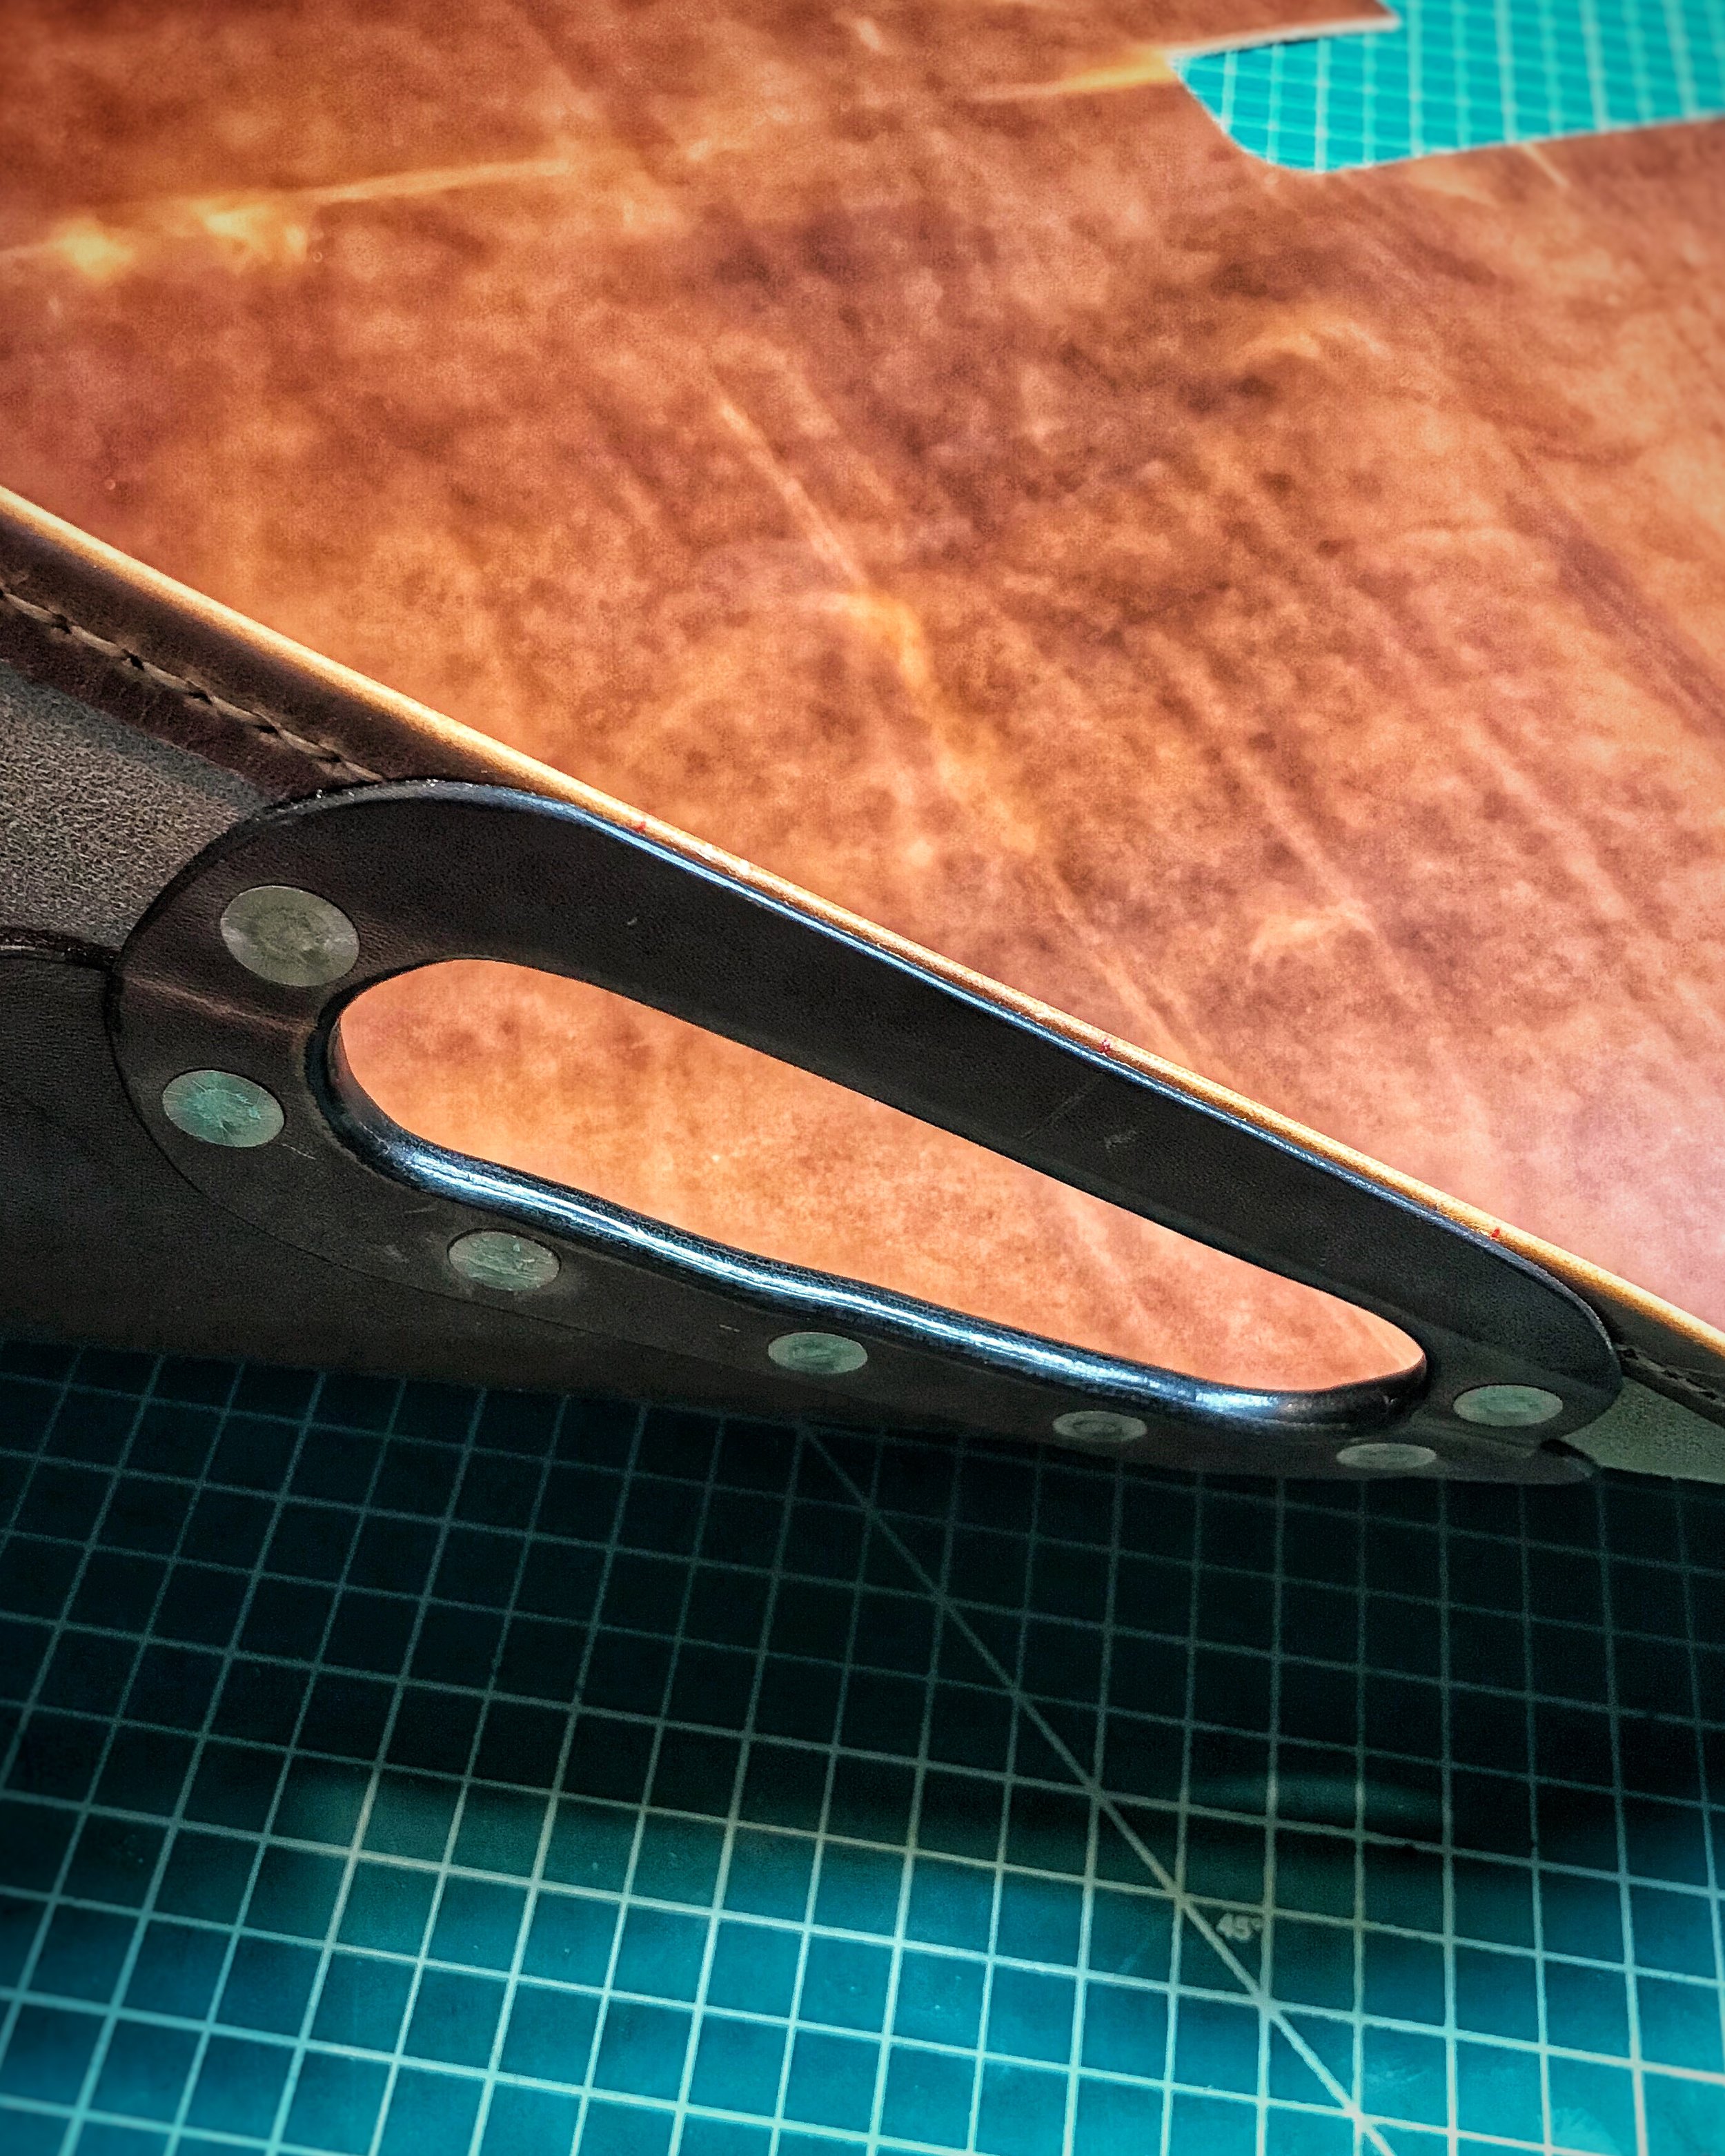
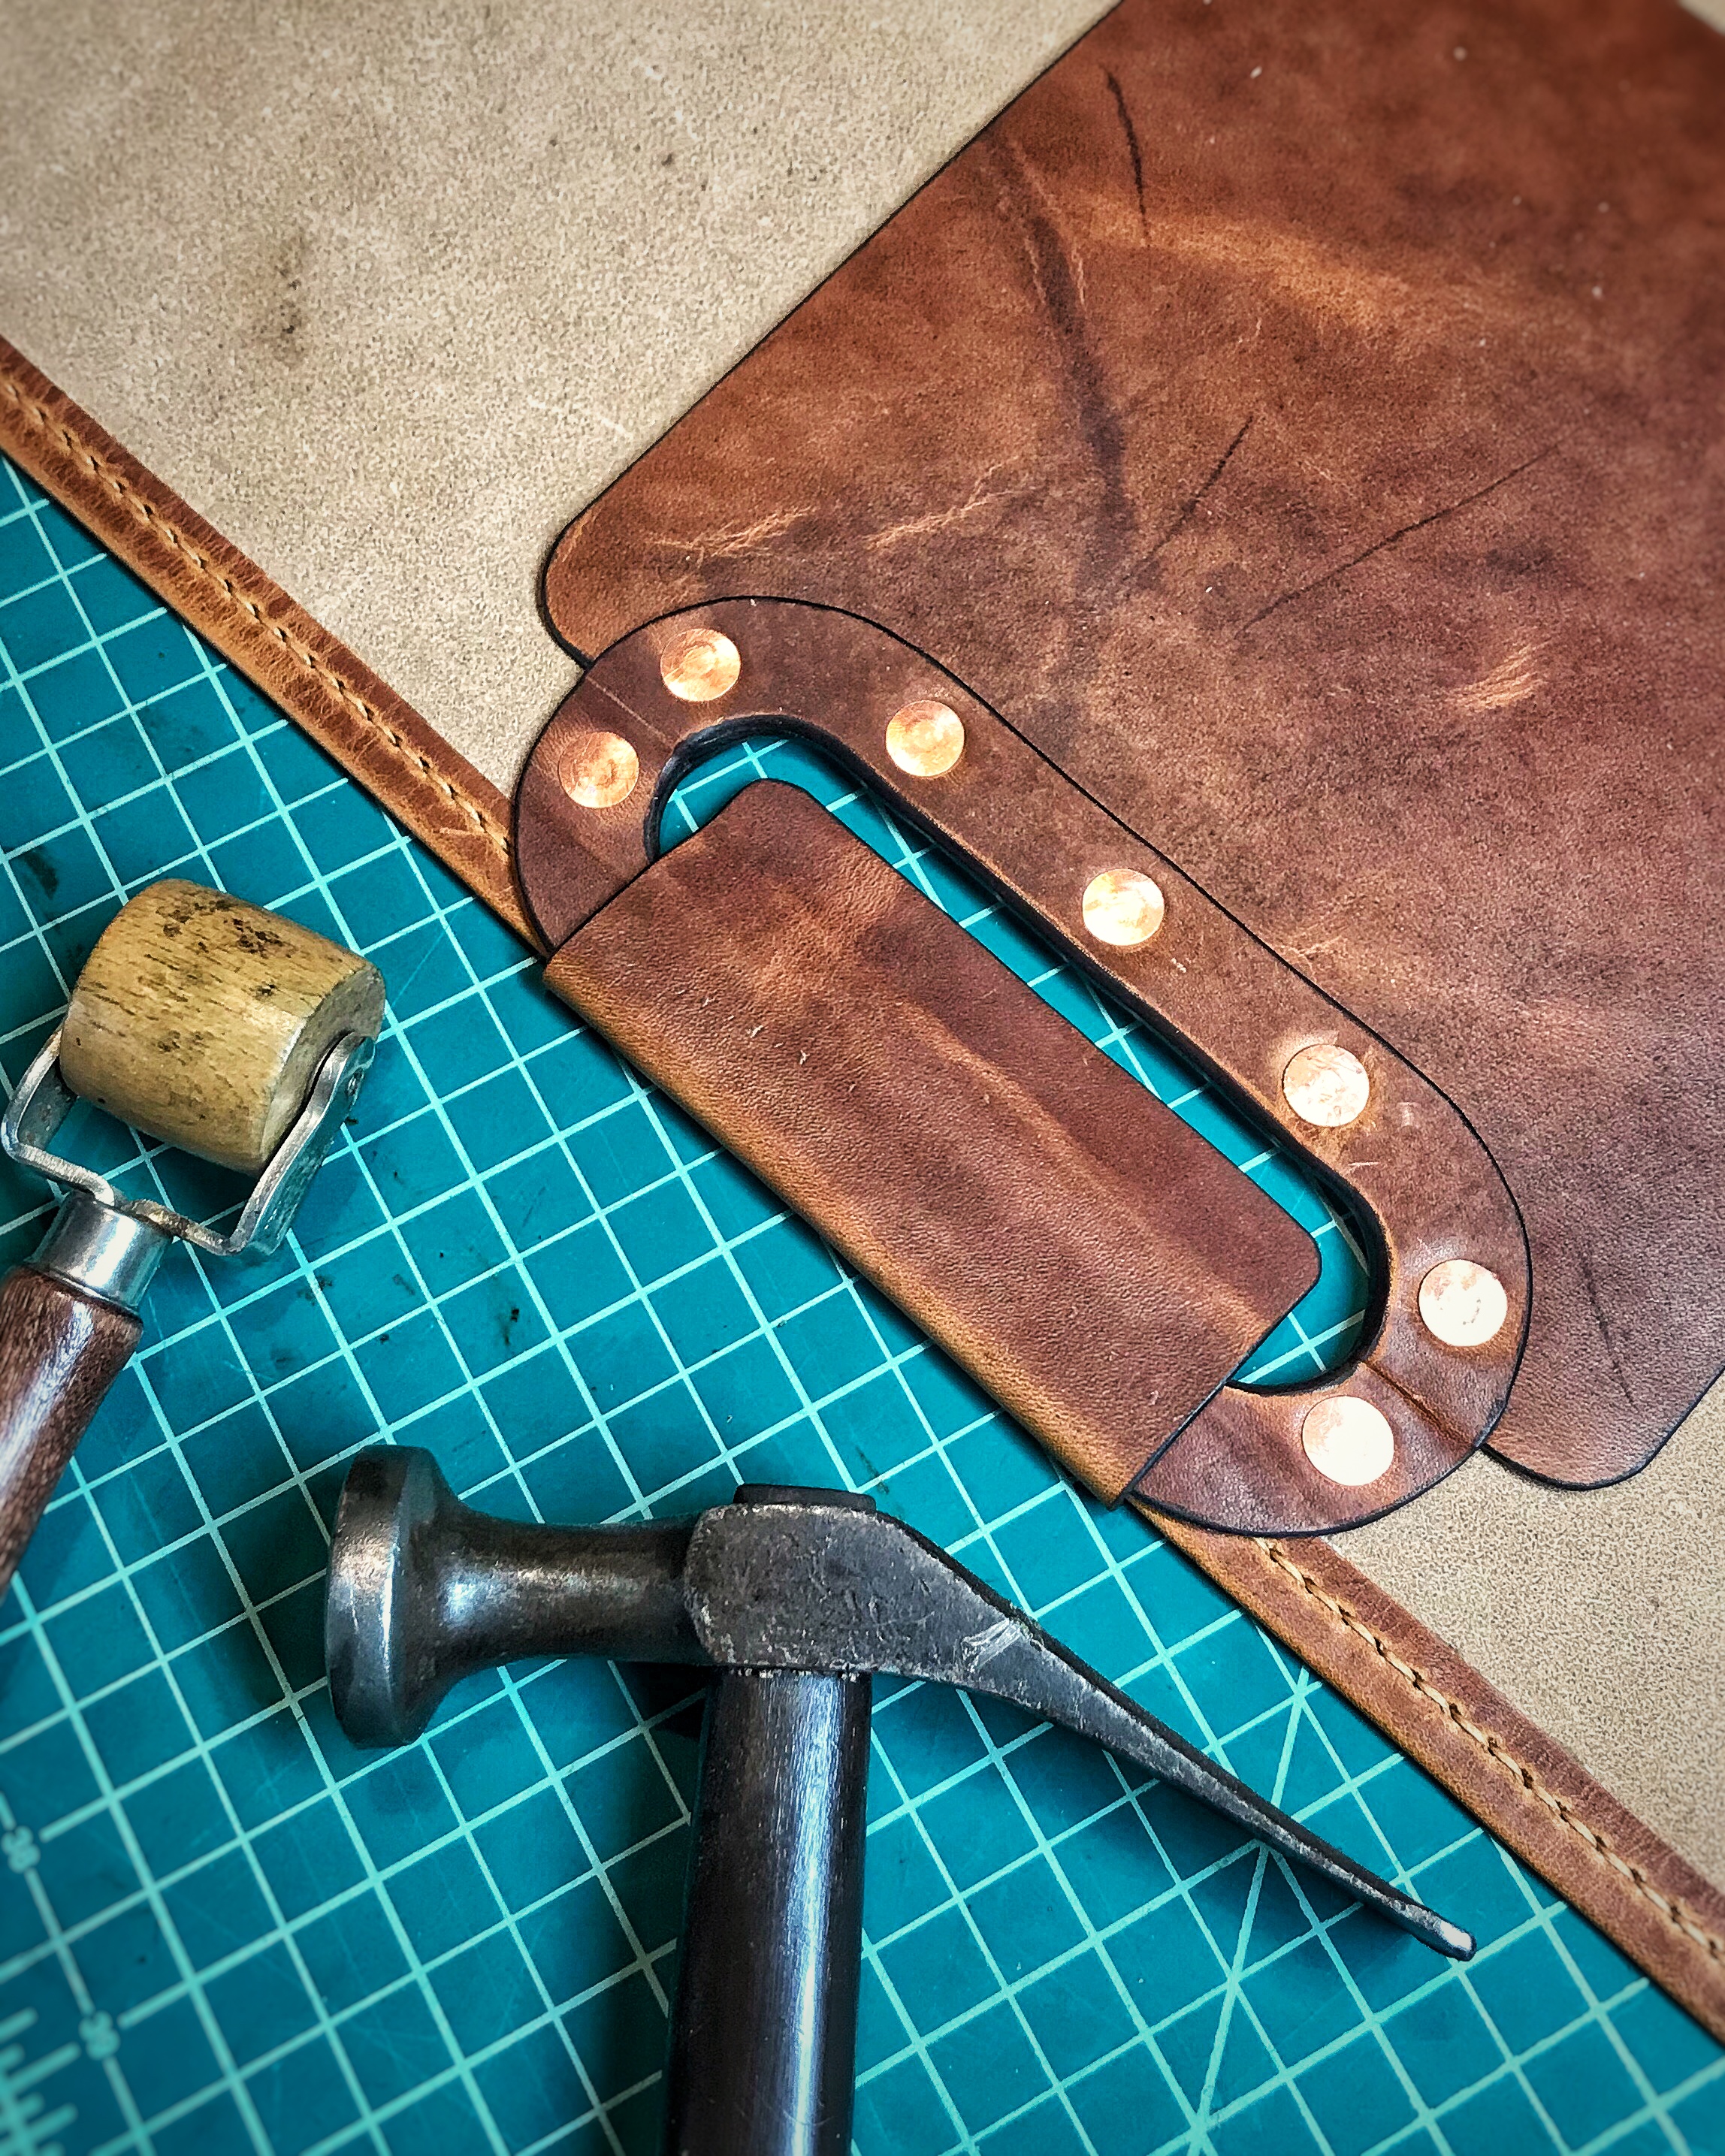
In two previous blogs I showcased a total of 300 - 400 photos of the building of two Vonnegut Valise bags, from start to finish. As much as 200 +/- photos per bag may seem like a lot, below is an example of only one part of a build in even more detail / photos. This is the rear slip-through handle on the next Vonnegut (yes, there will be a front handle, as well).


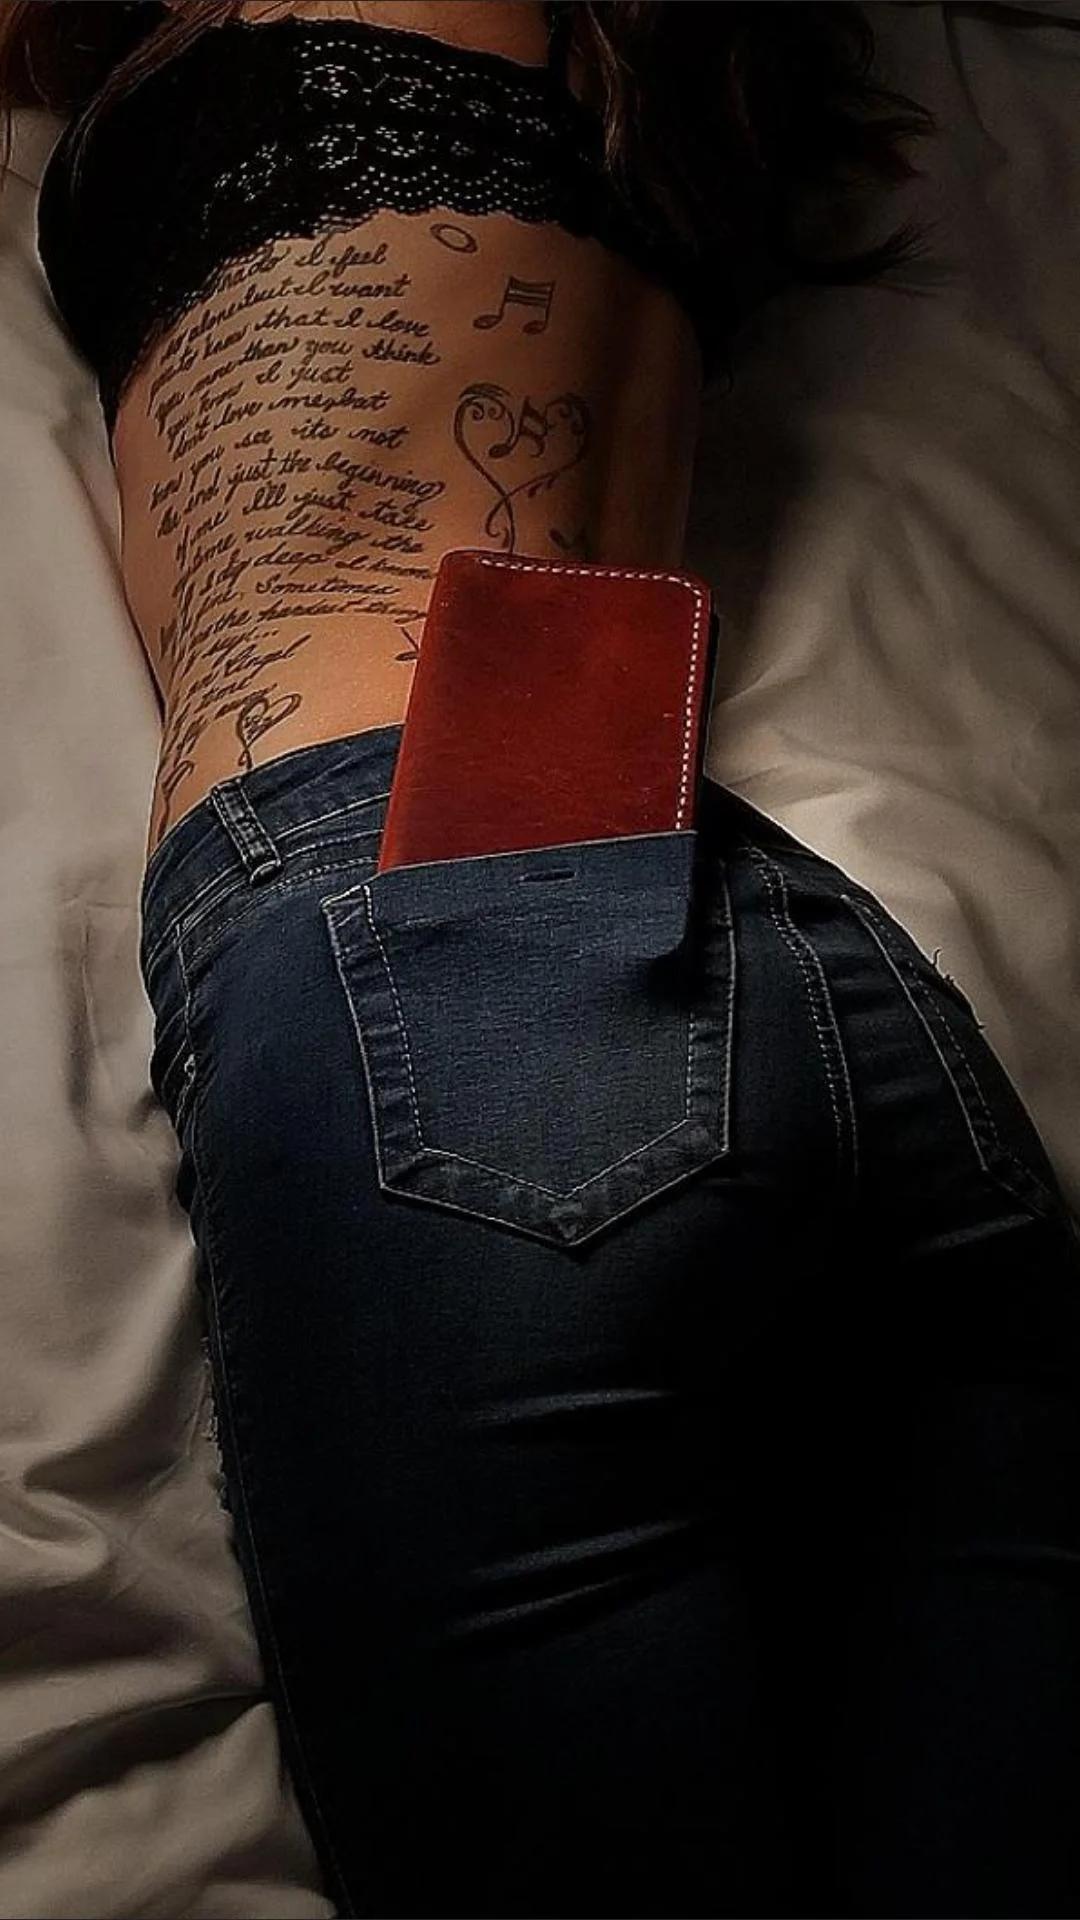
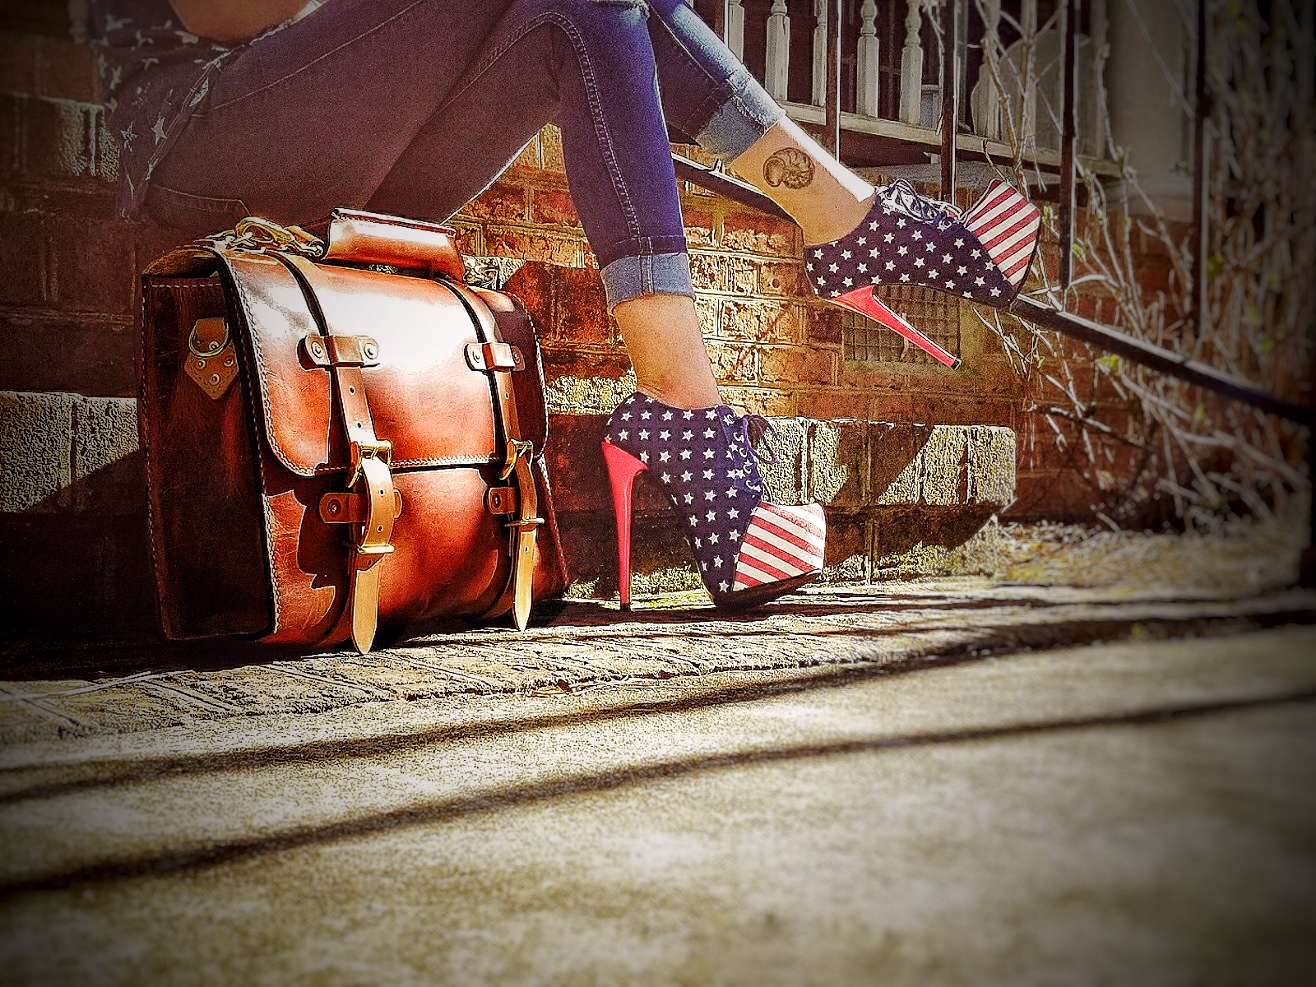
Shoes! (and bed) - Behind the Scenes of the Latest Photo Shoot
Below are a few "behind the scenes" shots from our latest photo shoot. Most fans didn't realize that our model, Brittany, is also a skilled photographer!


A few final shots.


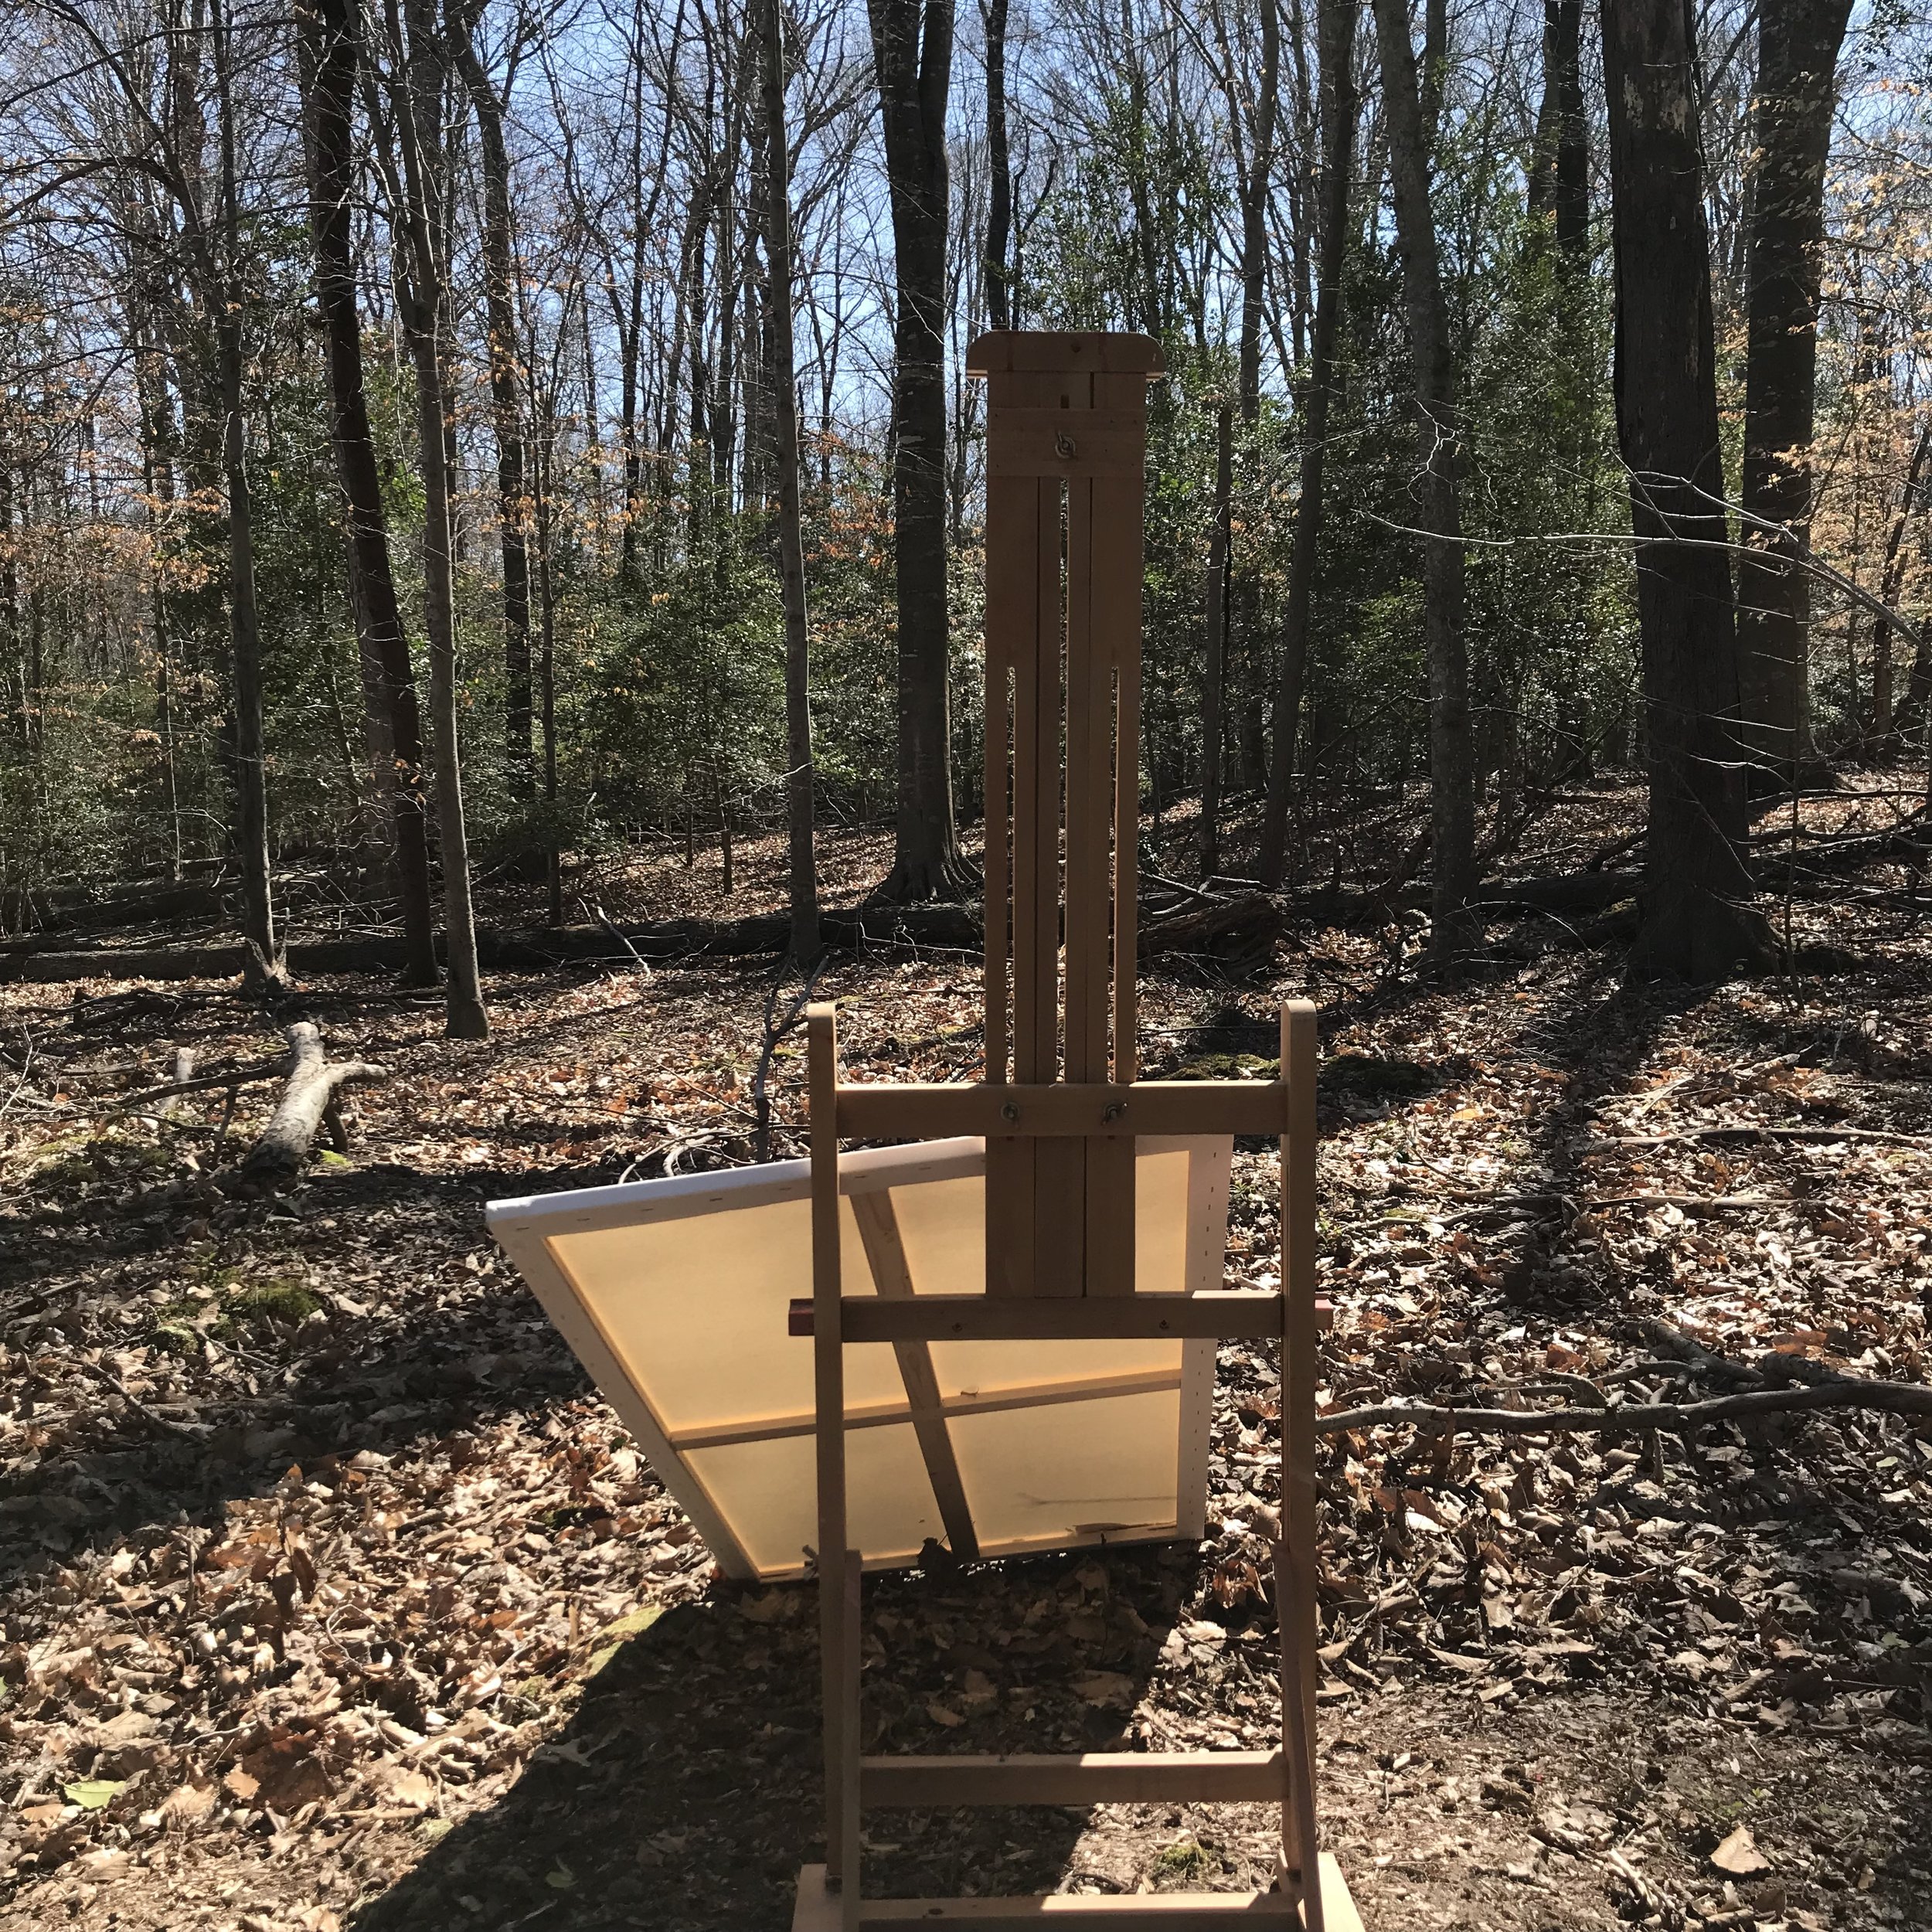
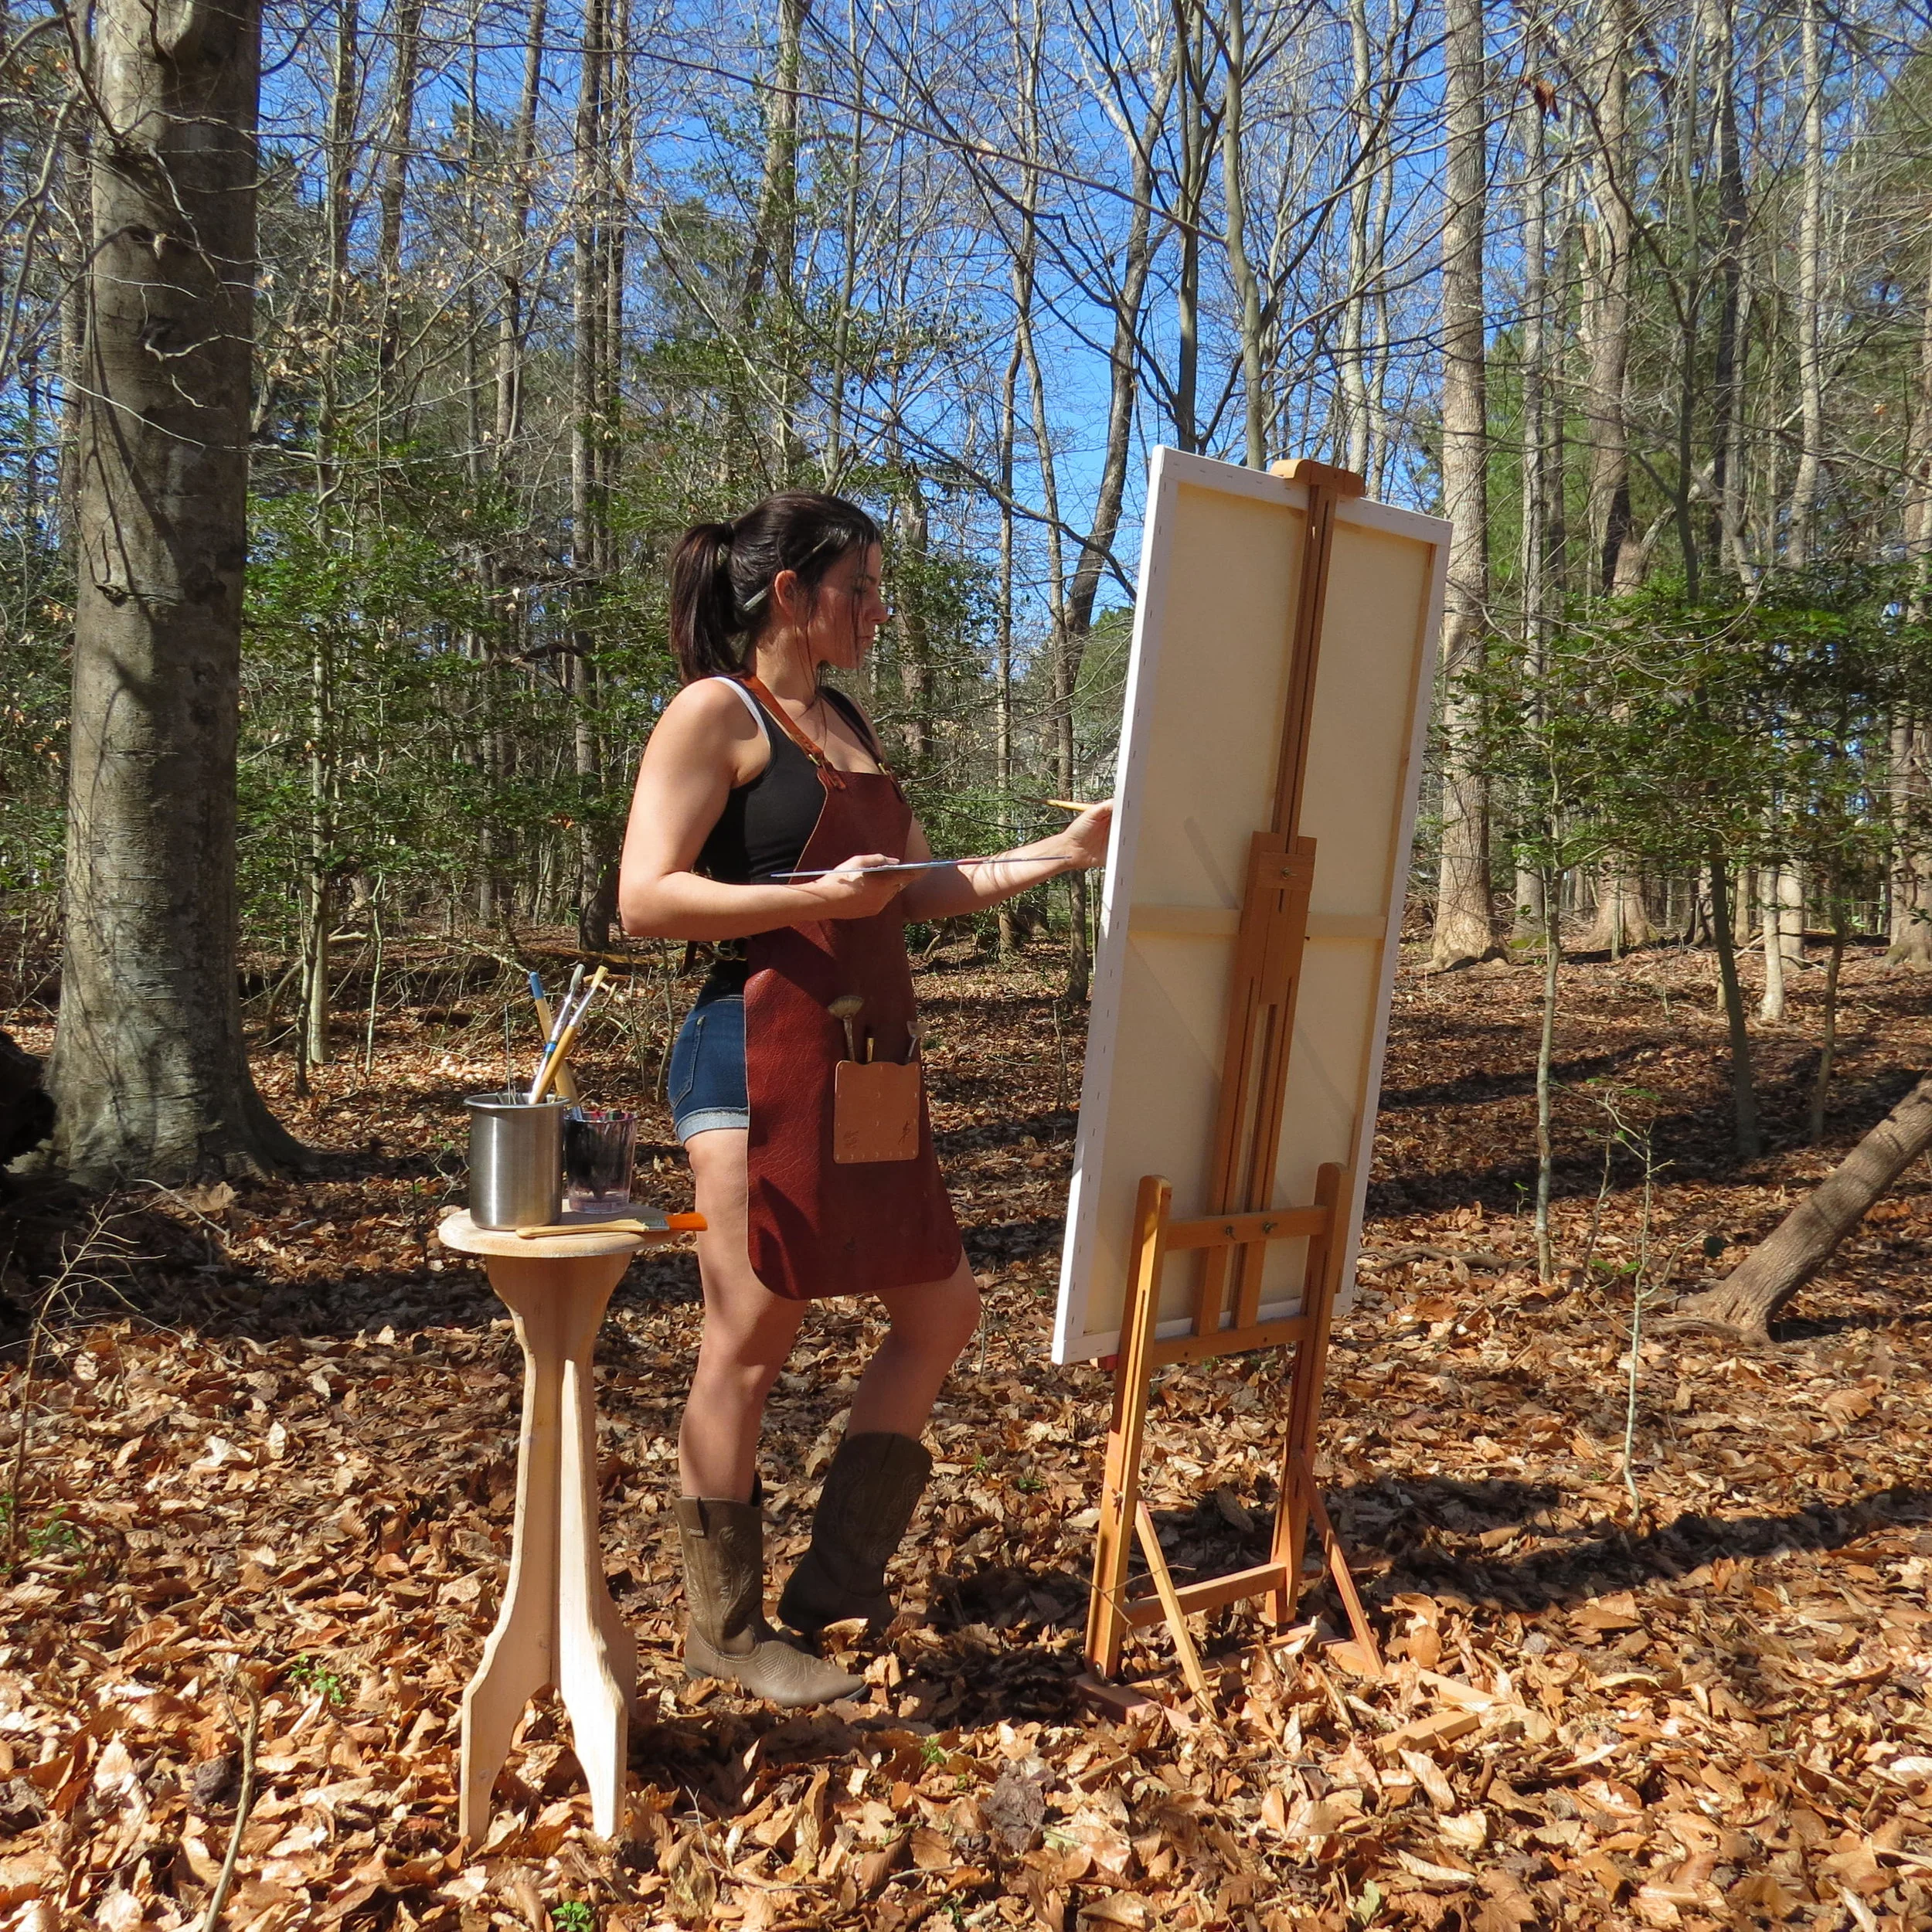
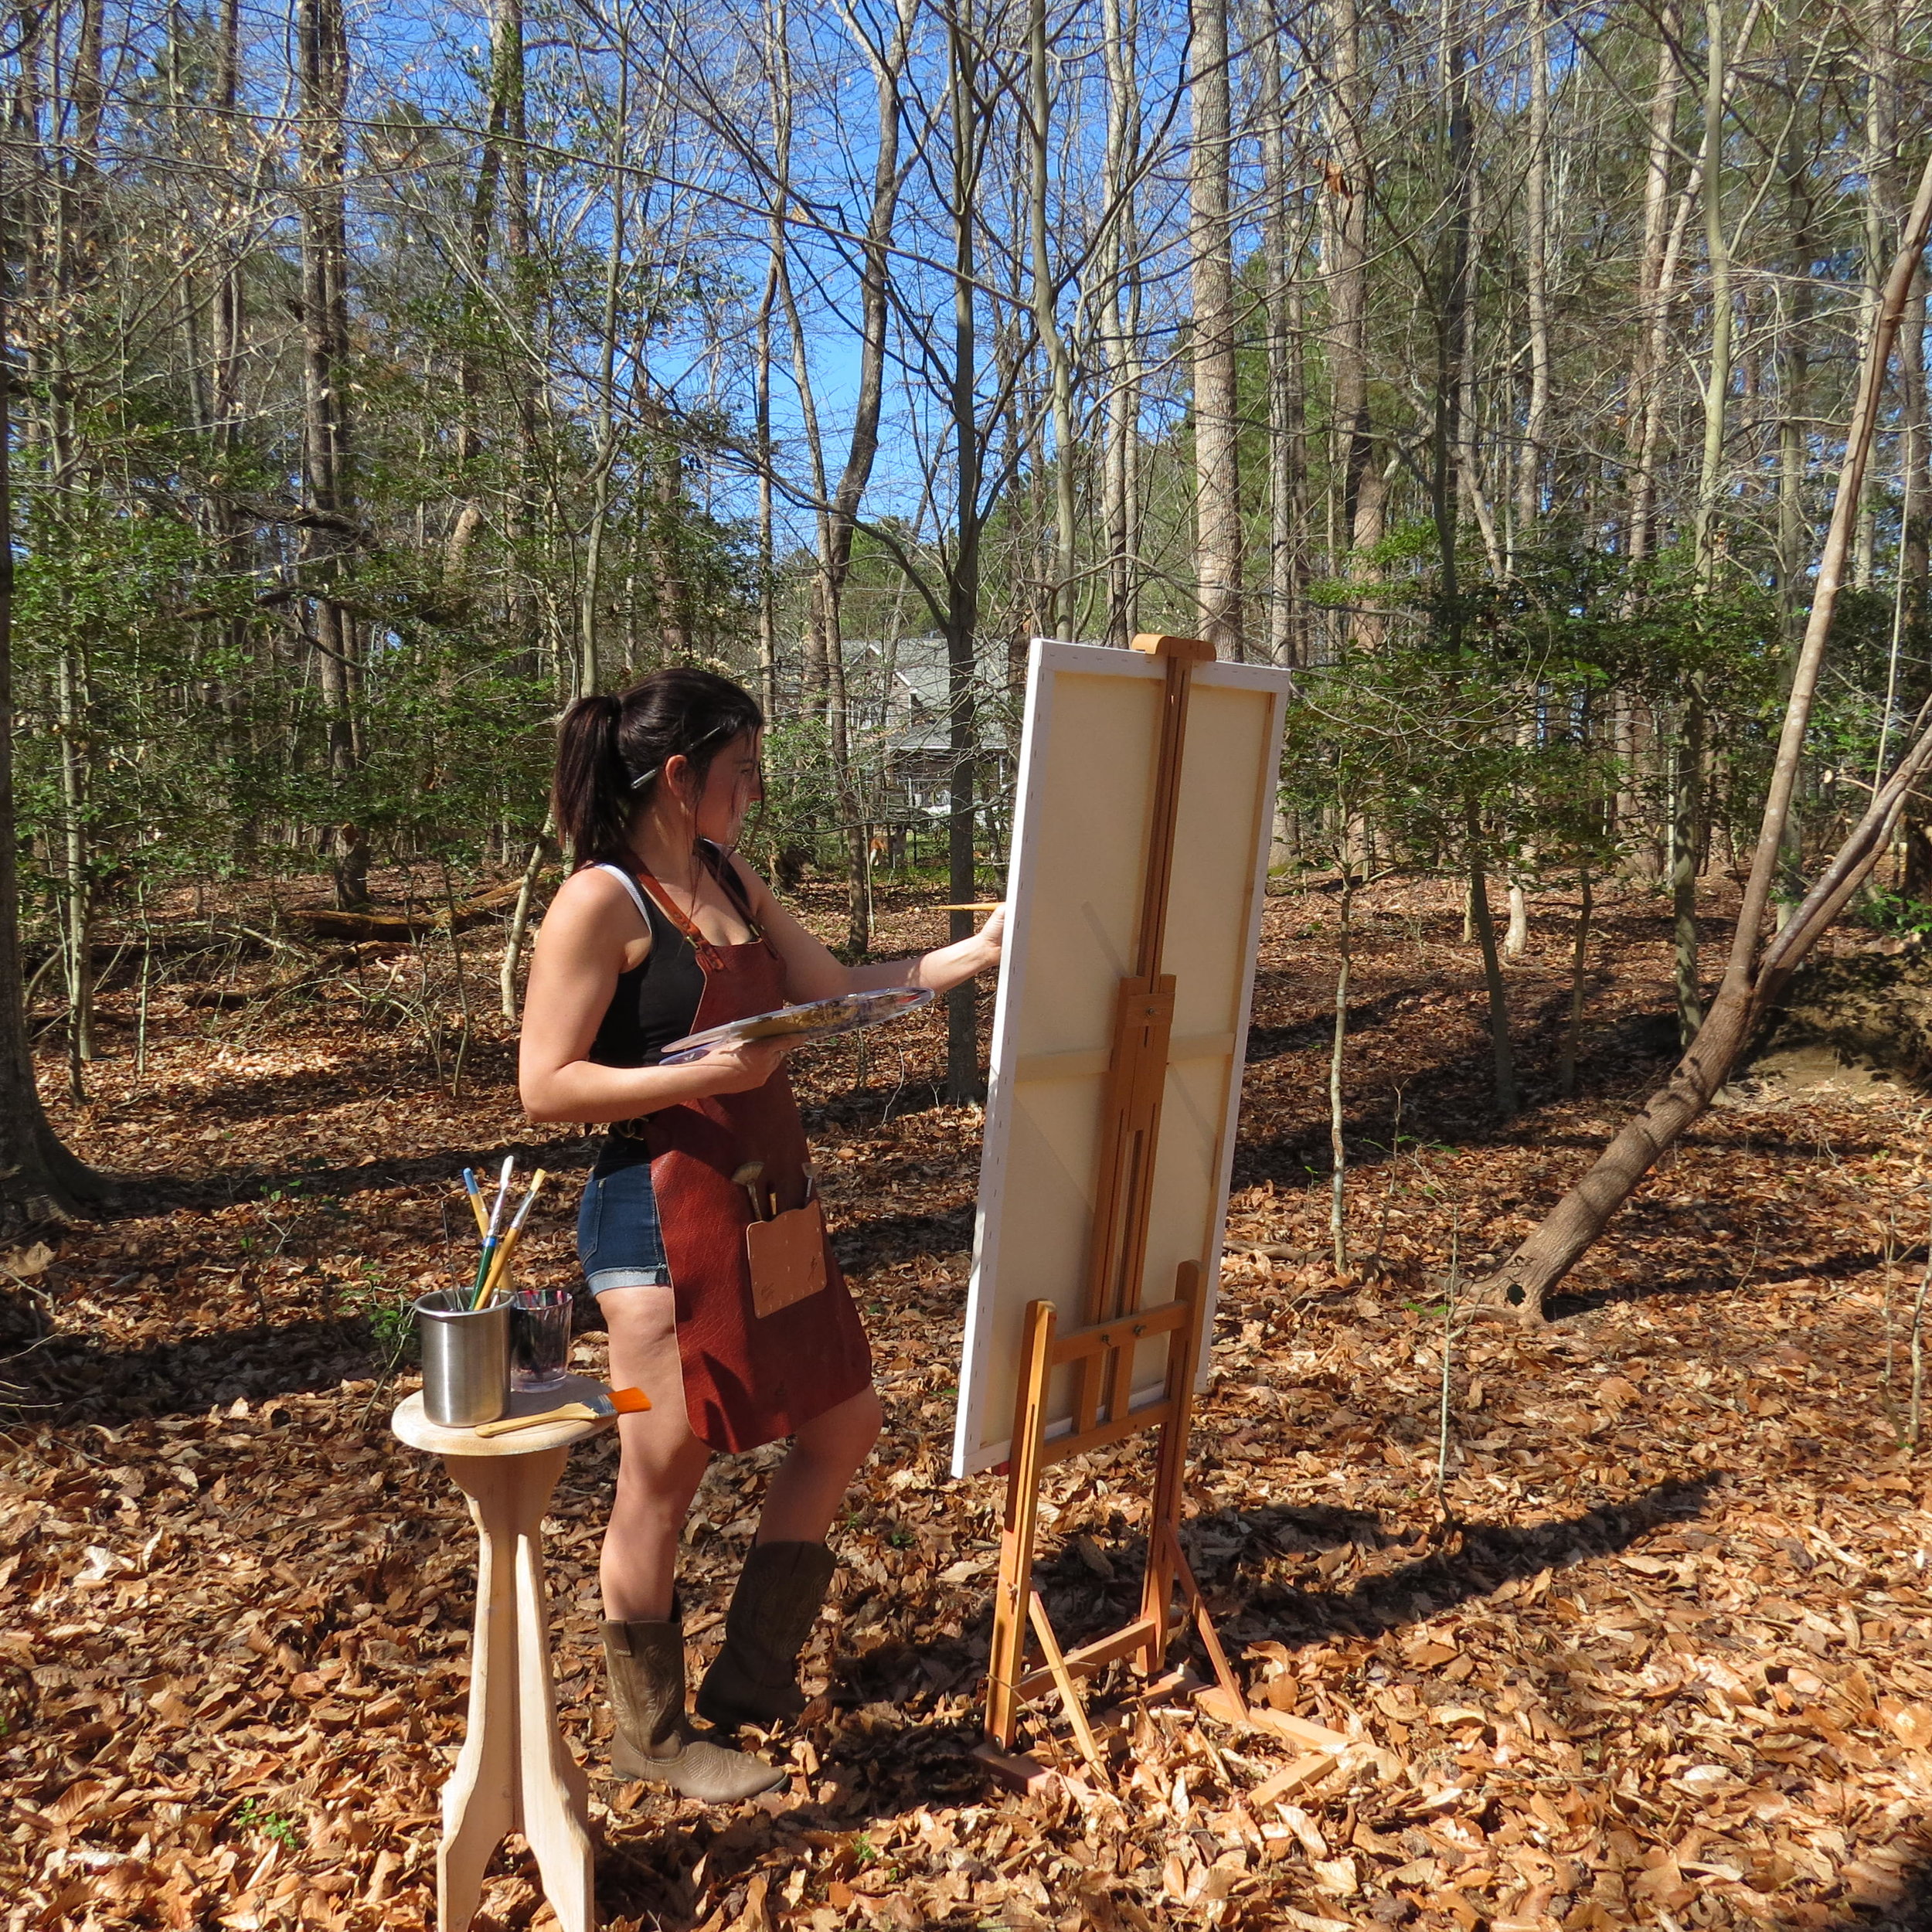
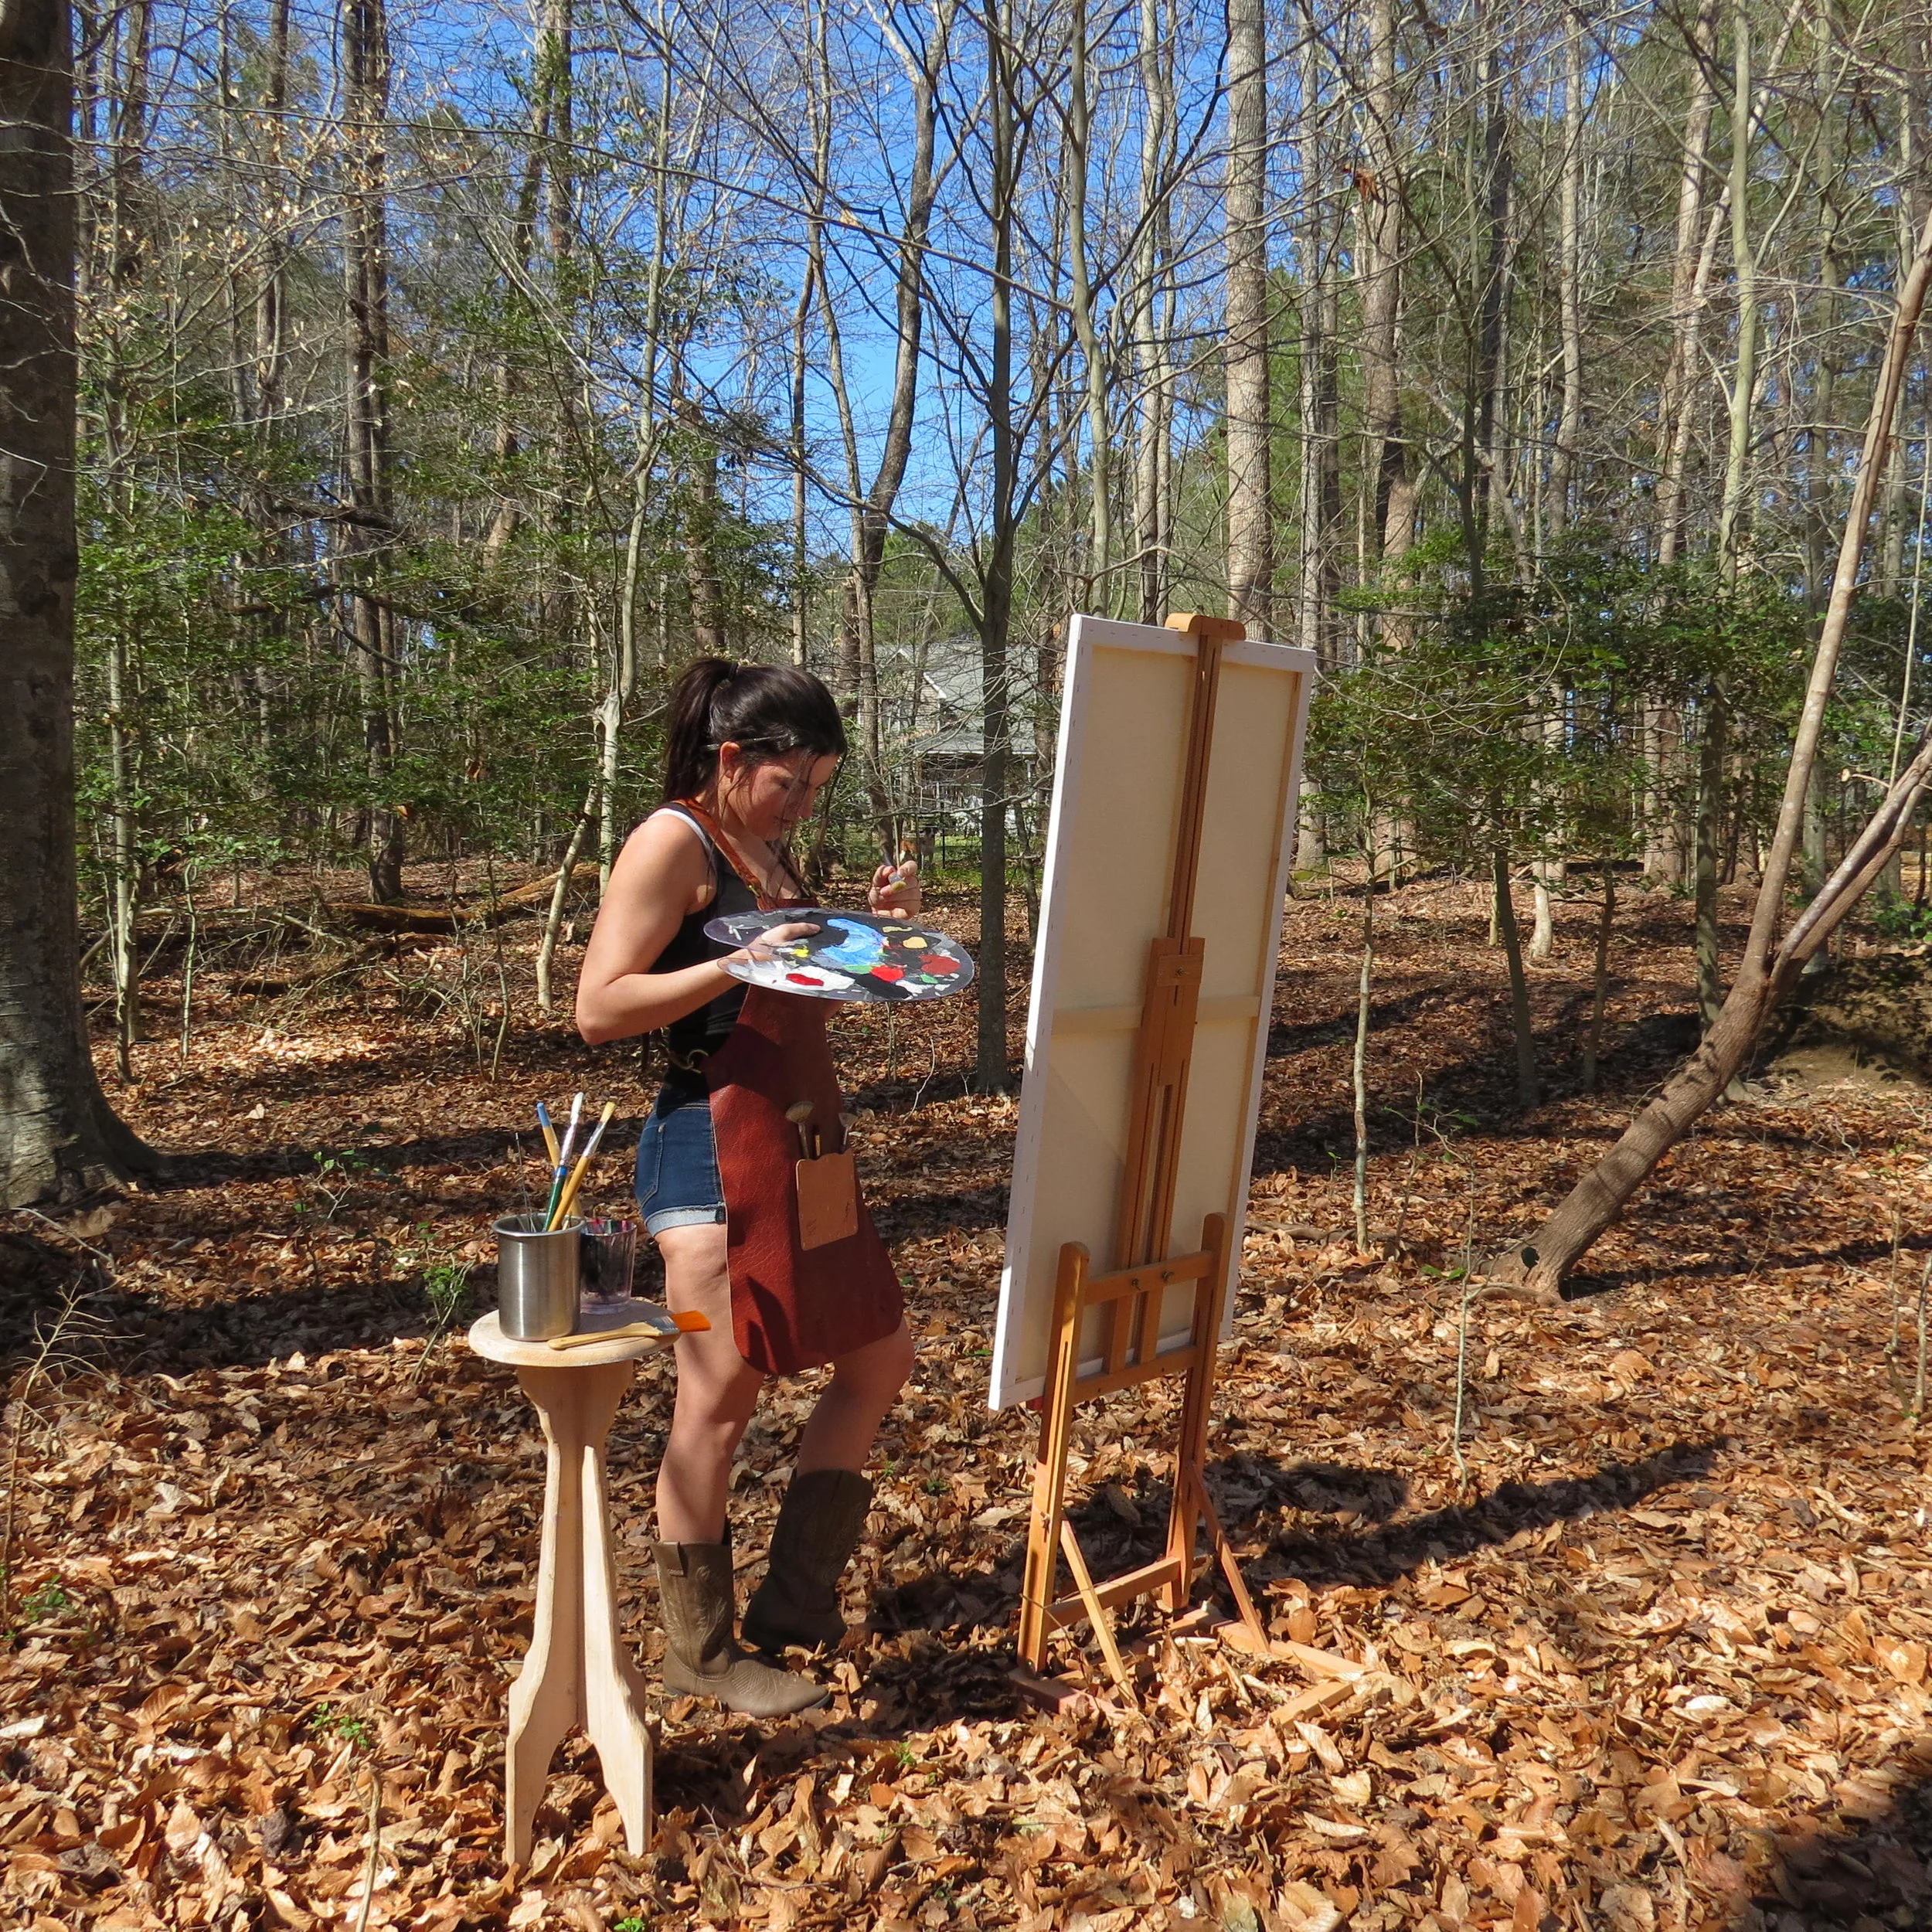
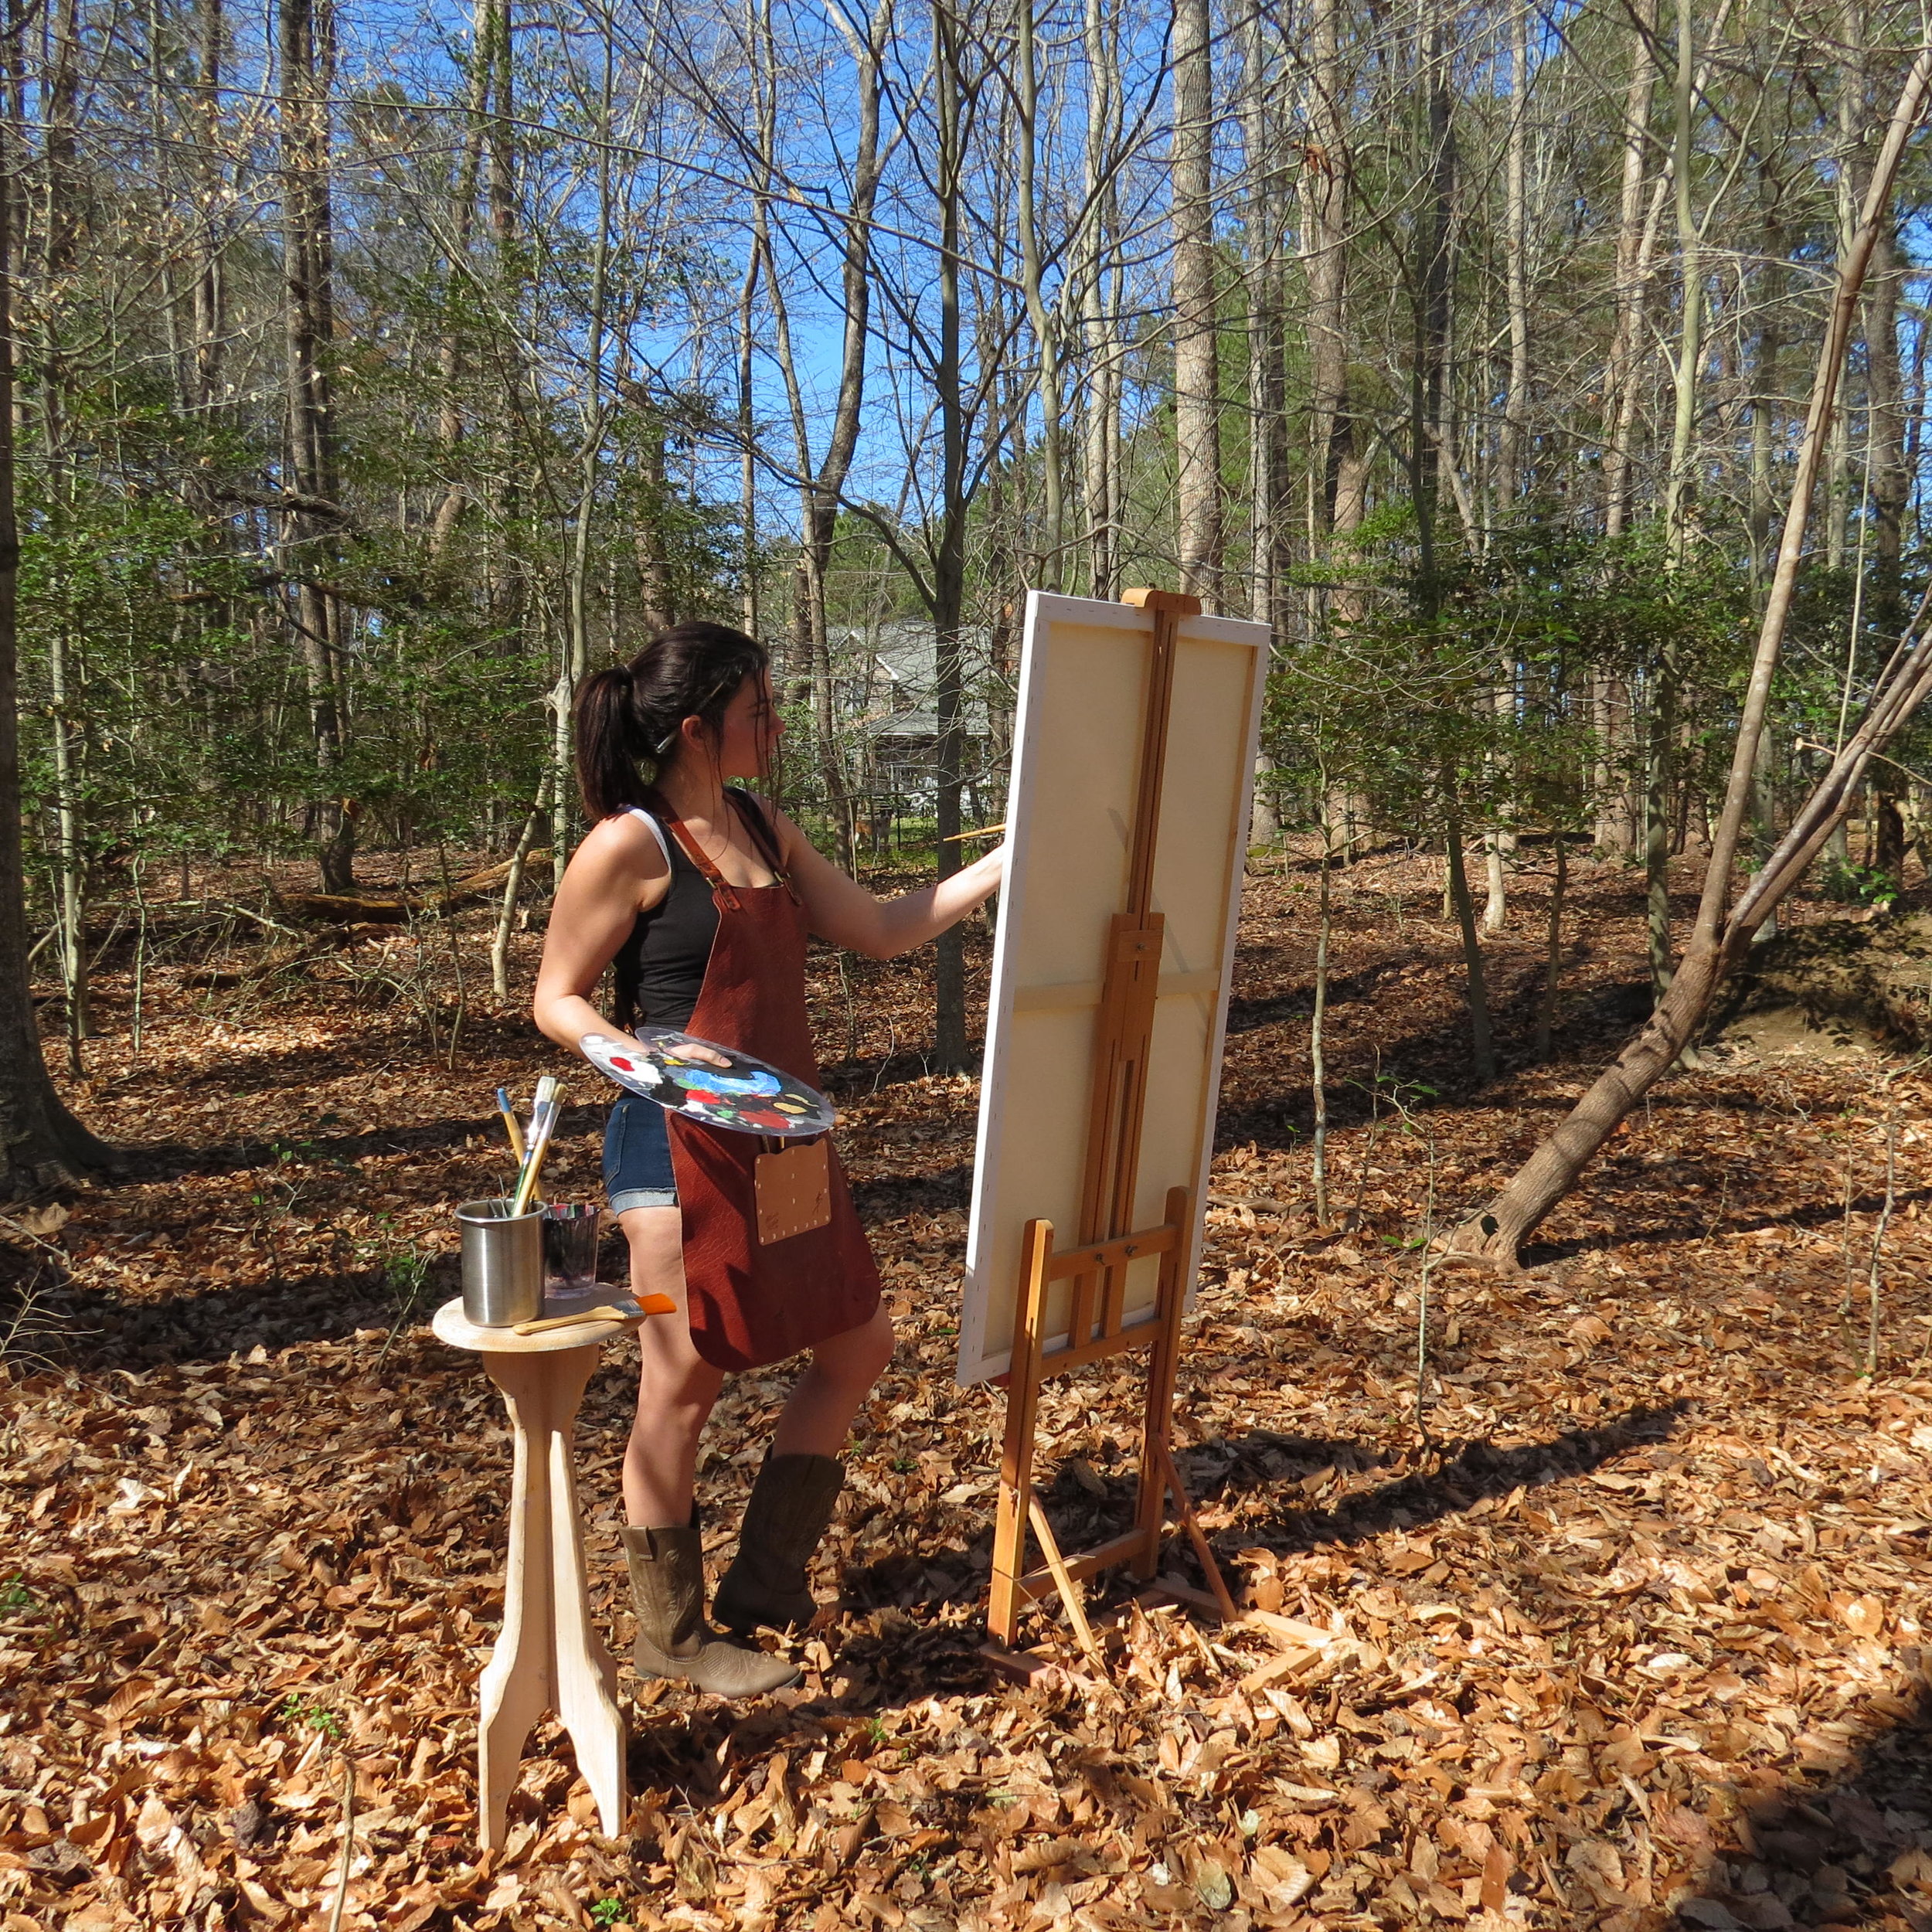
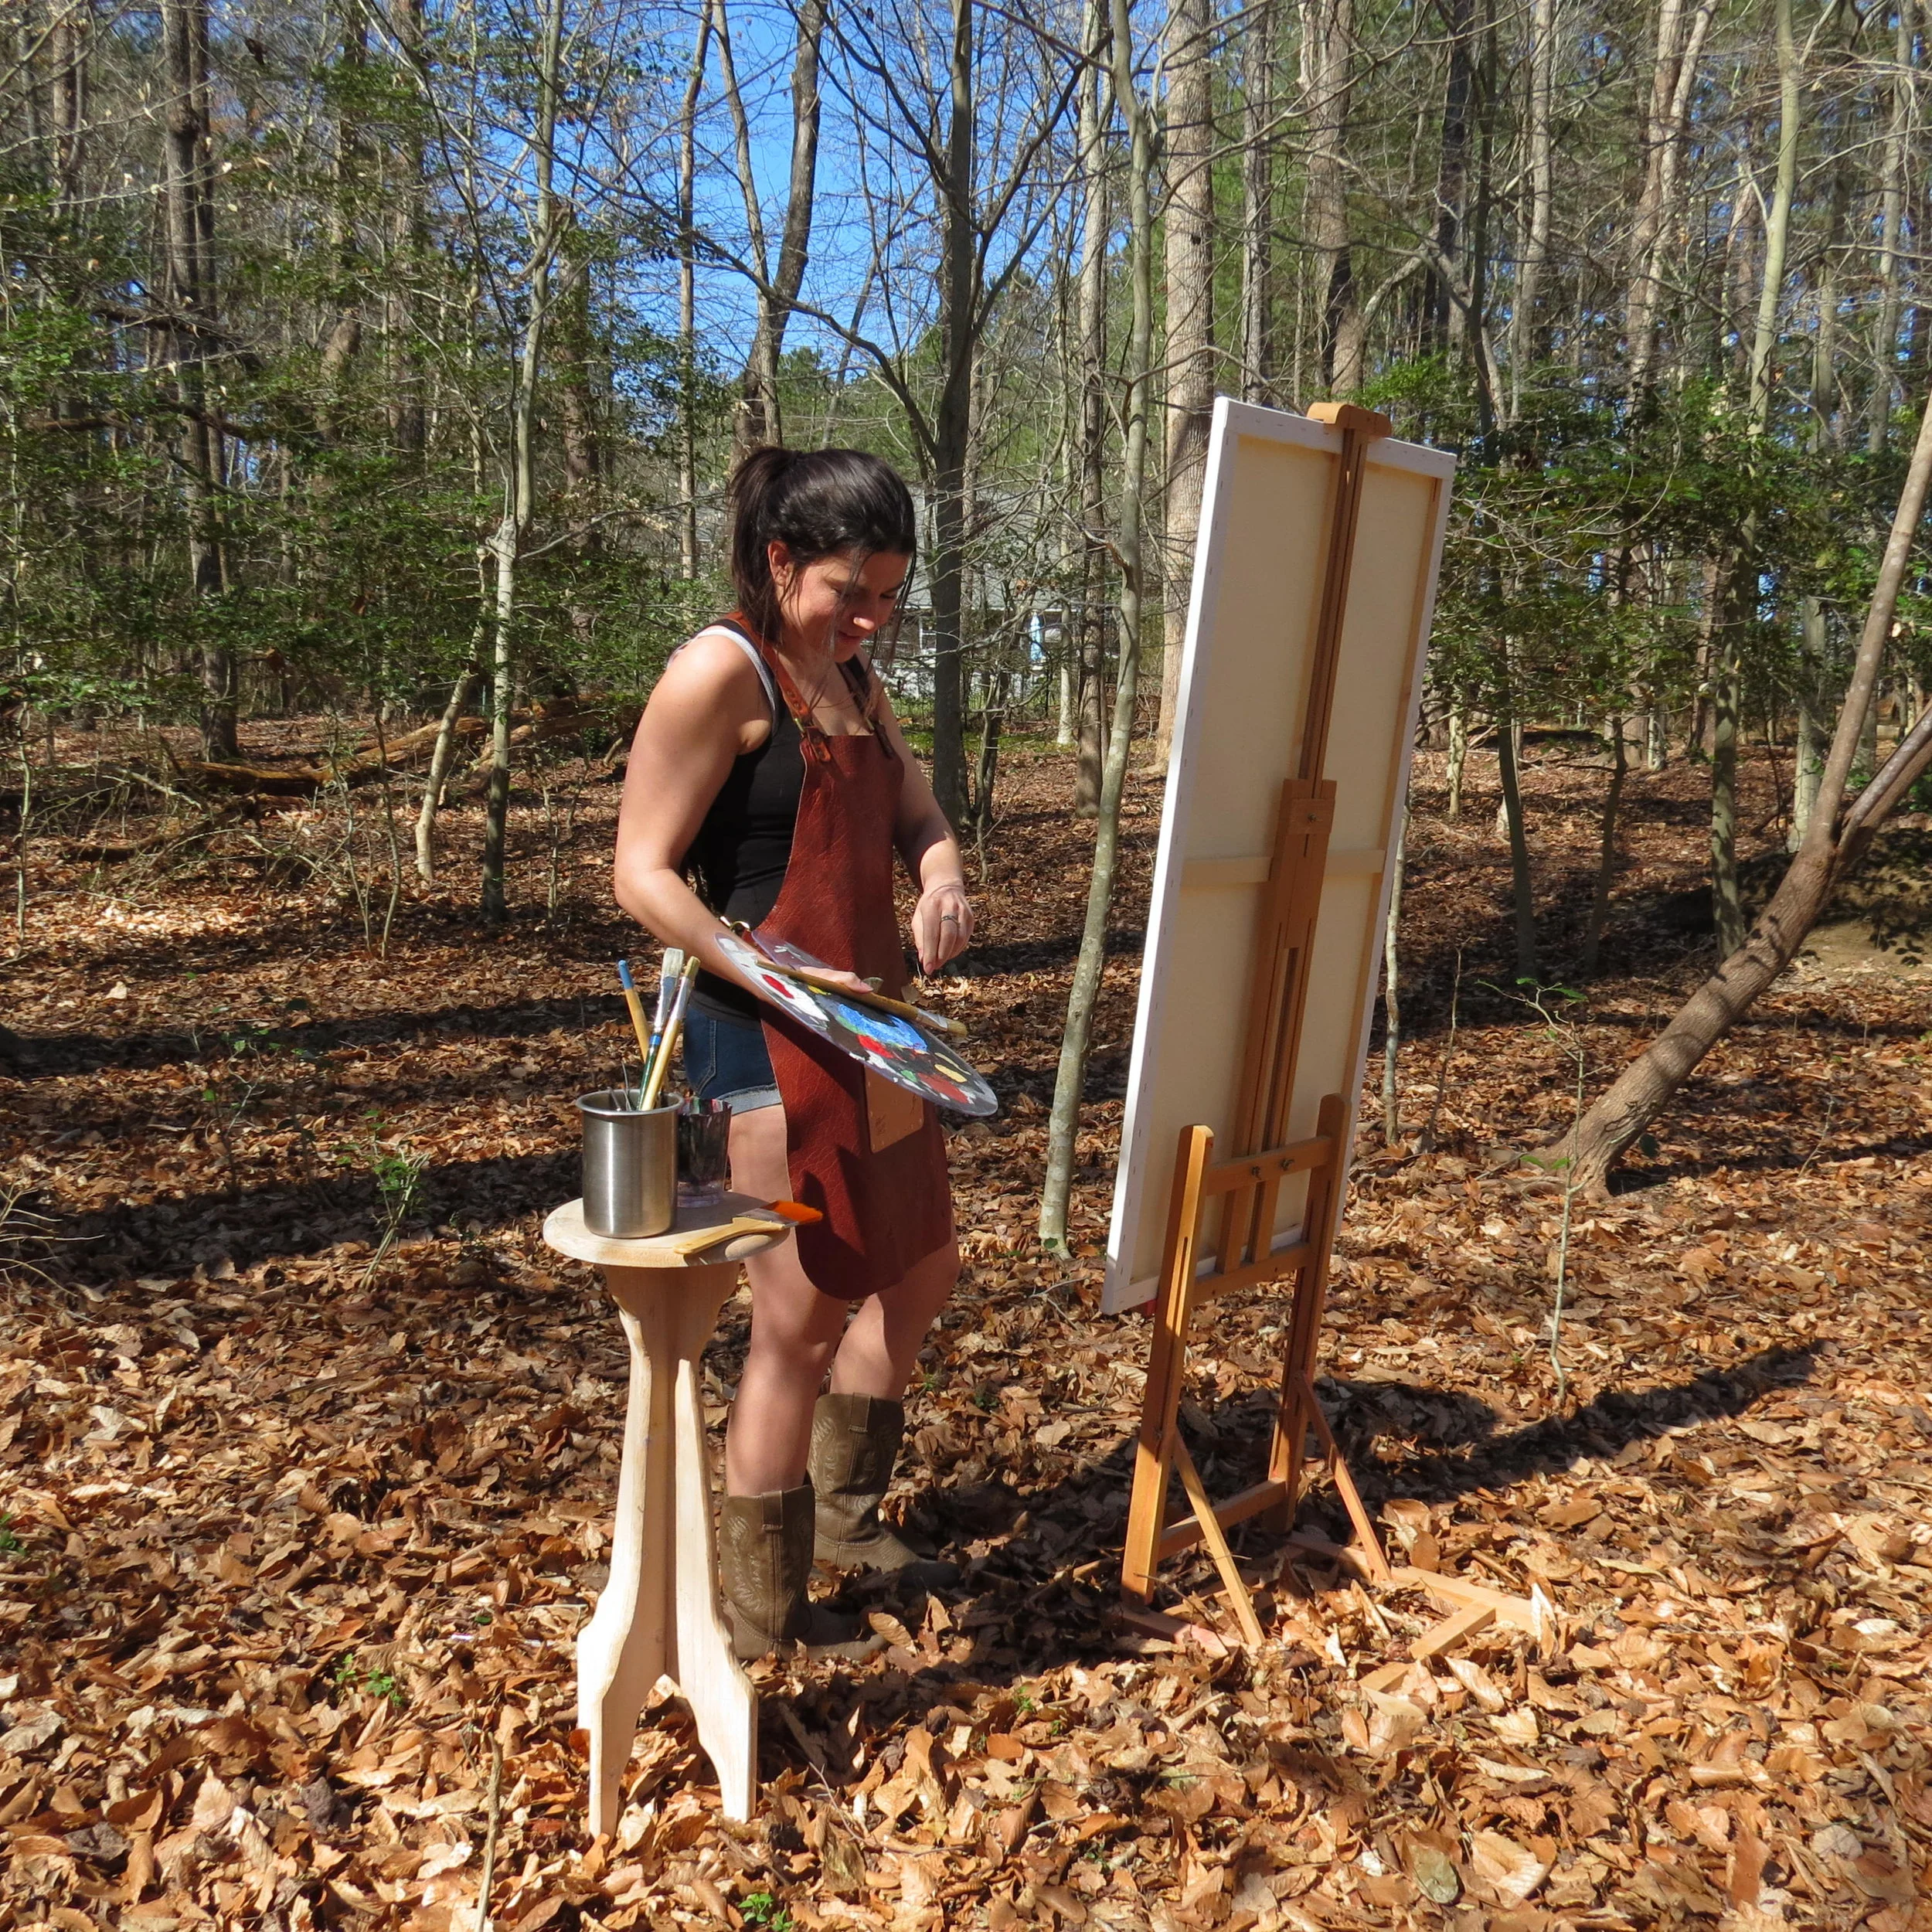
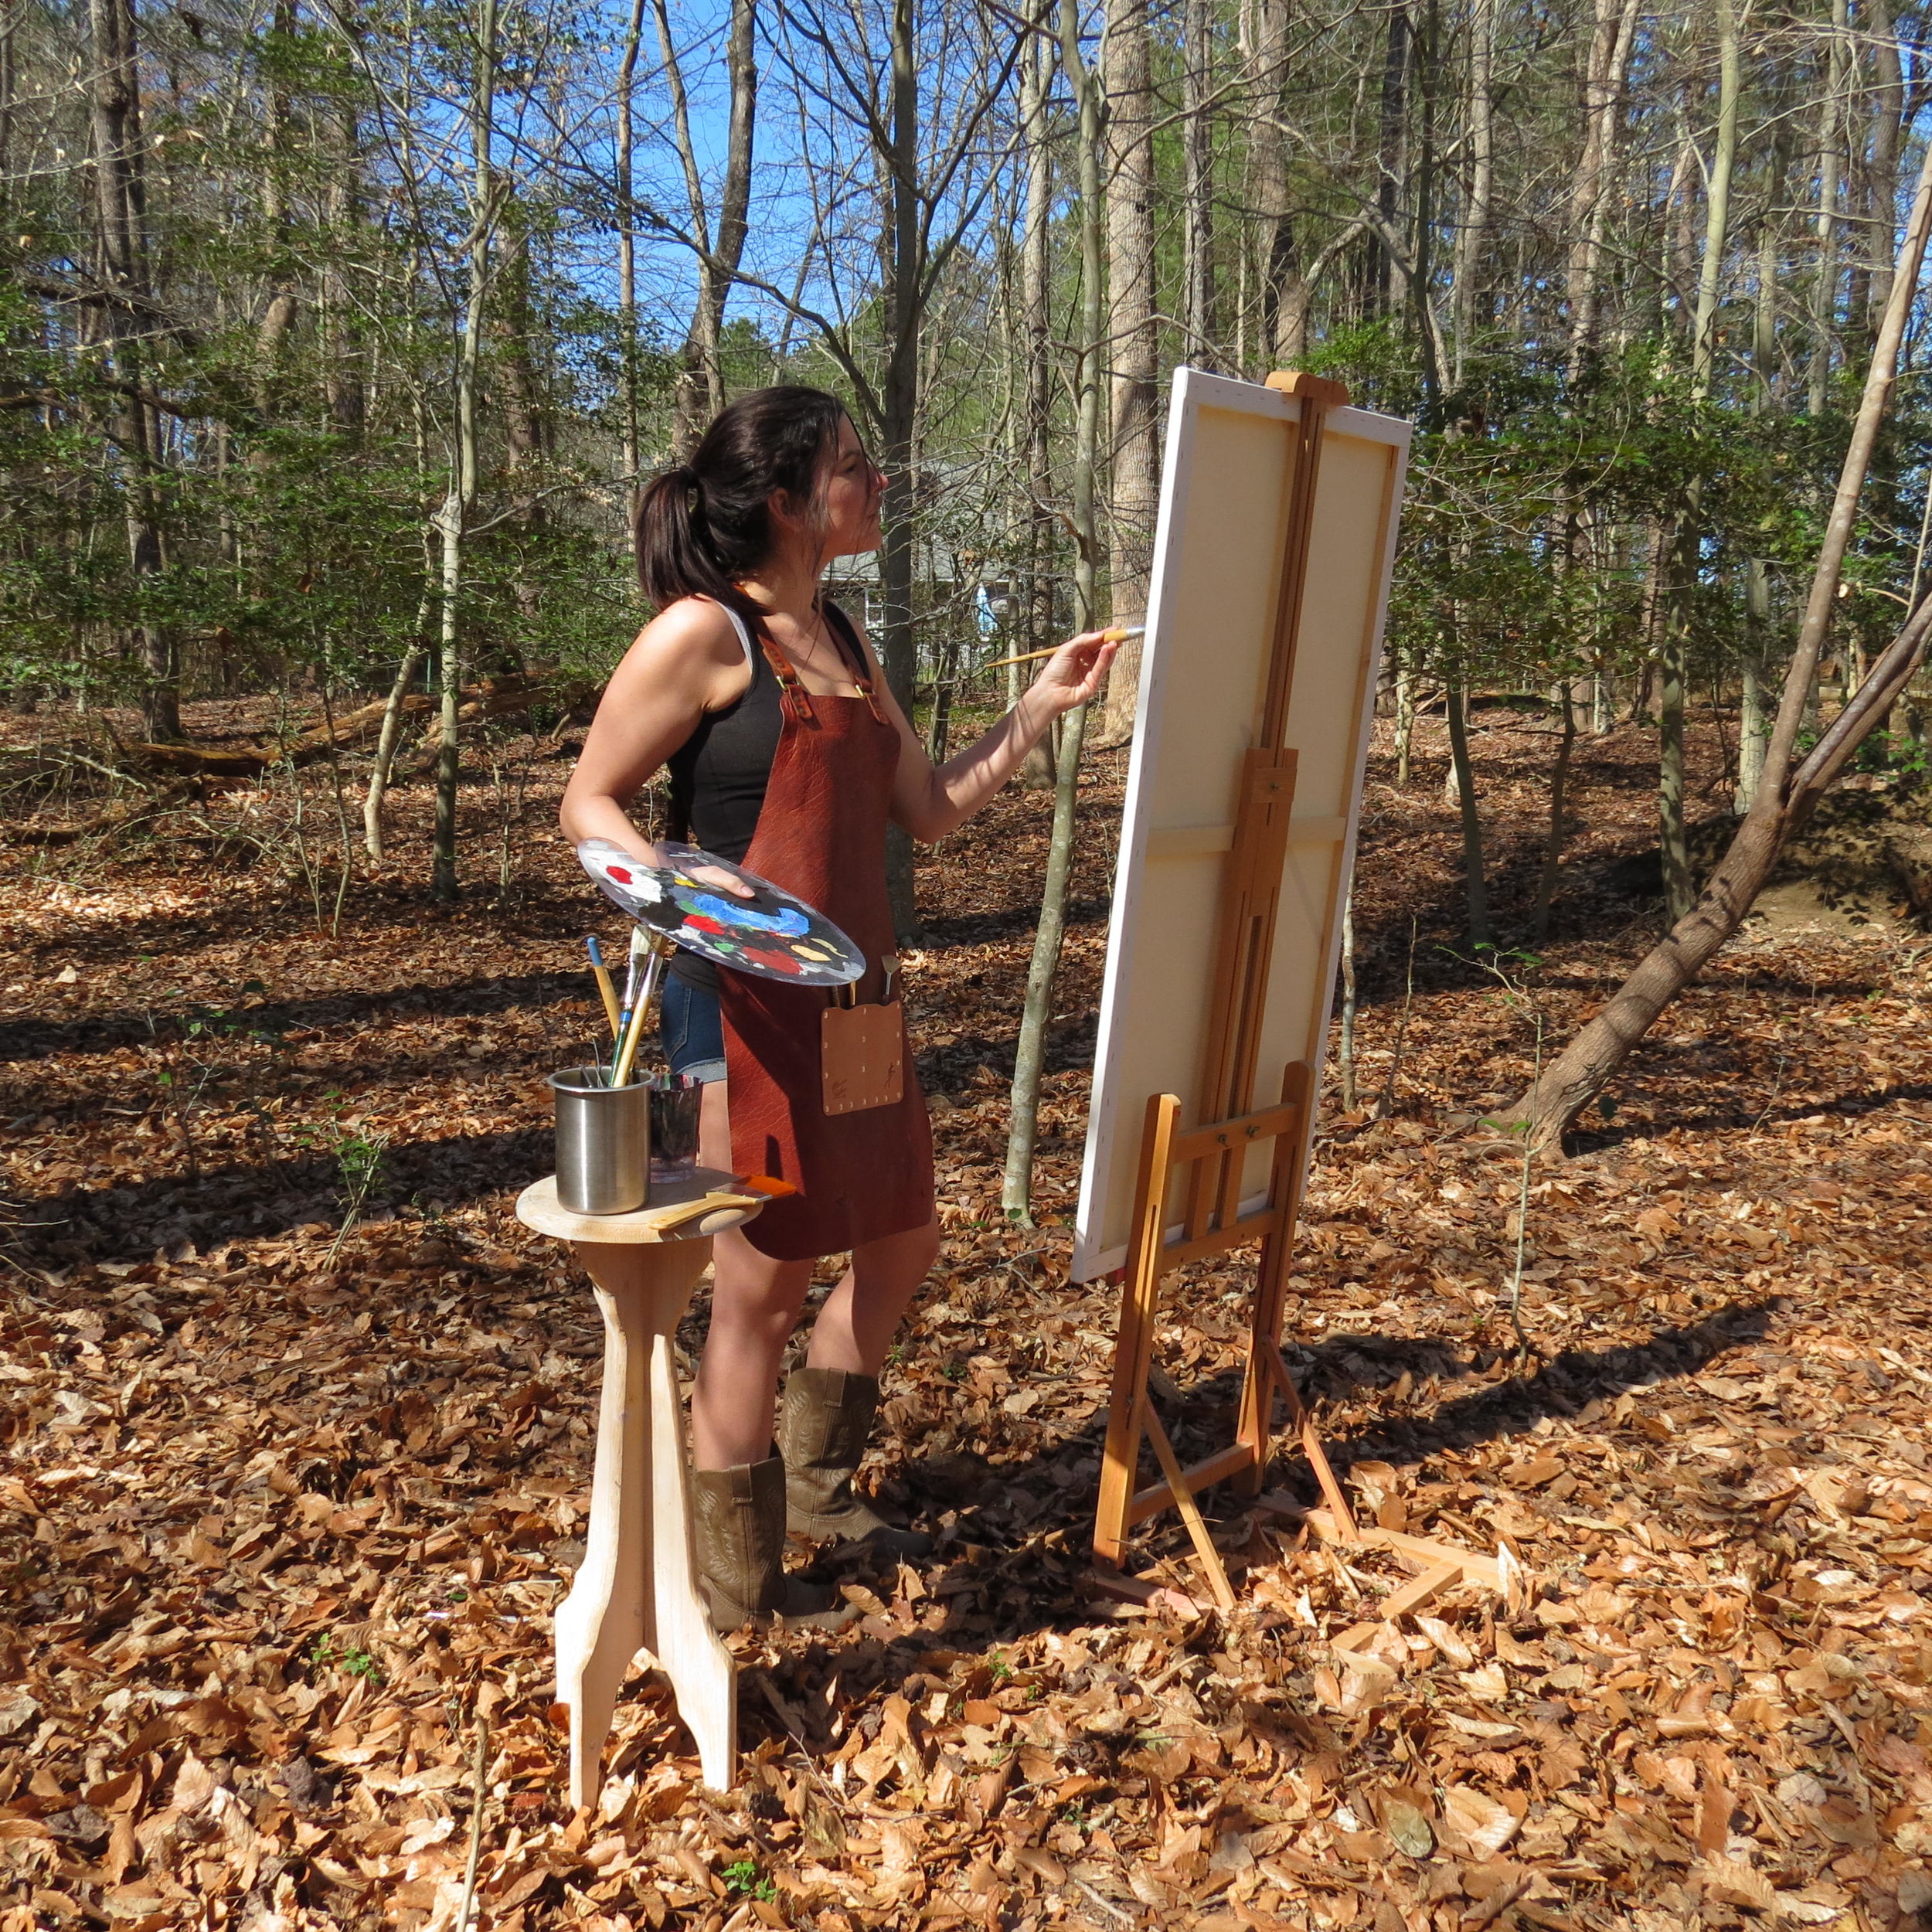
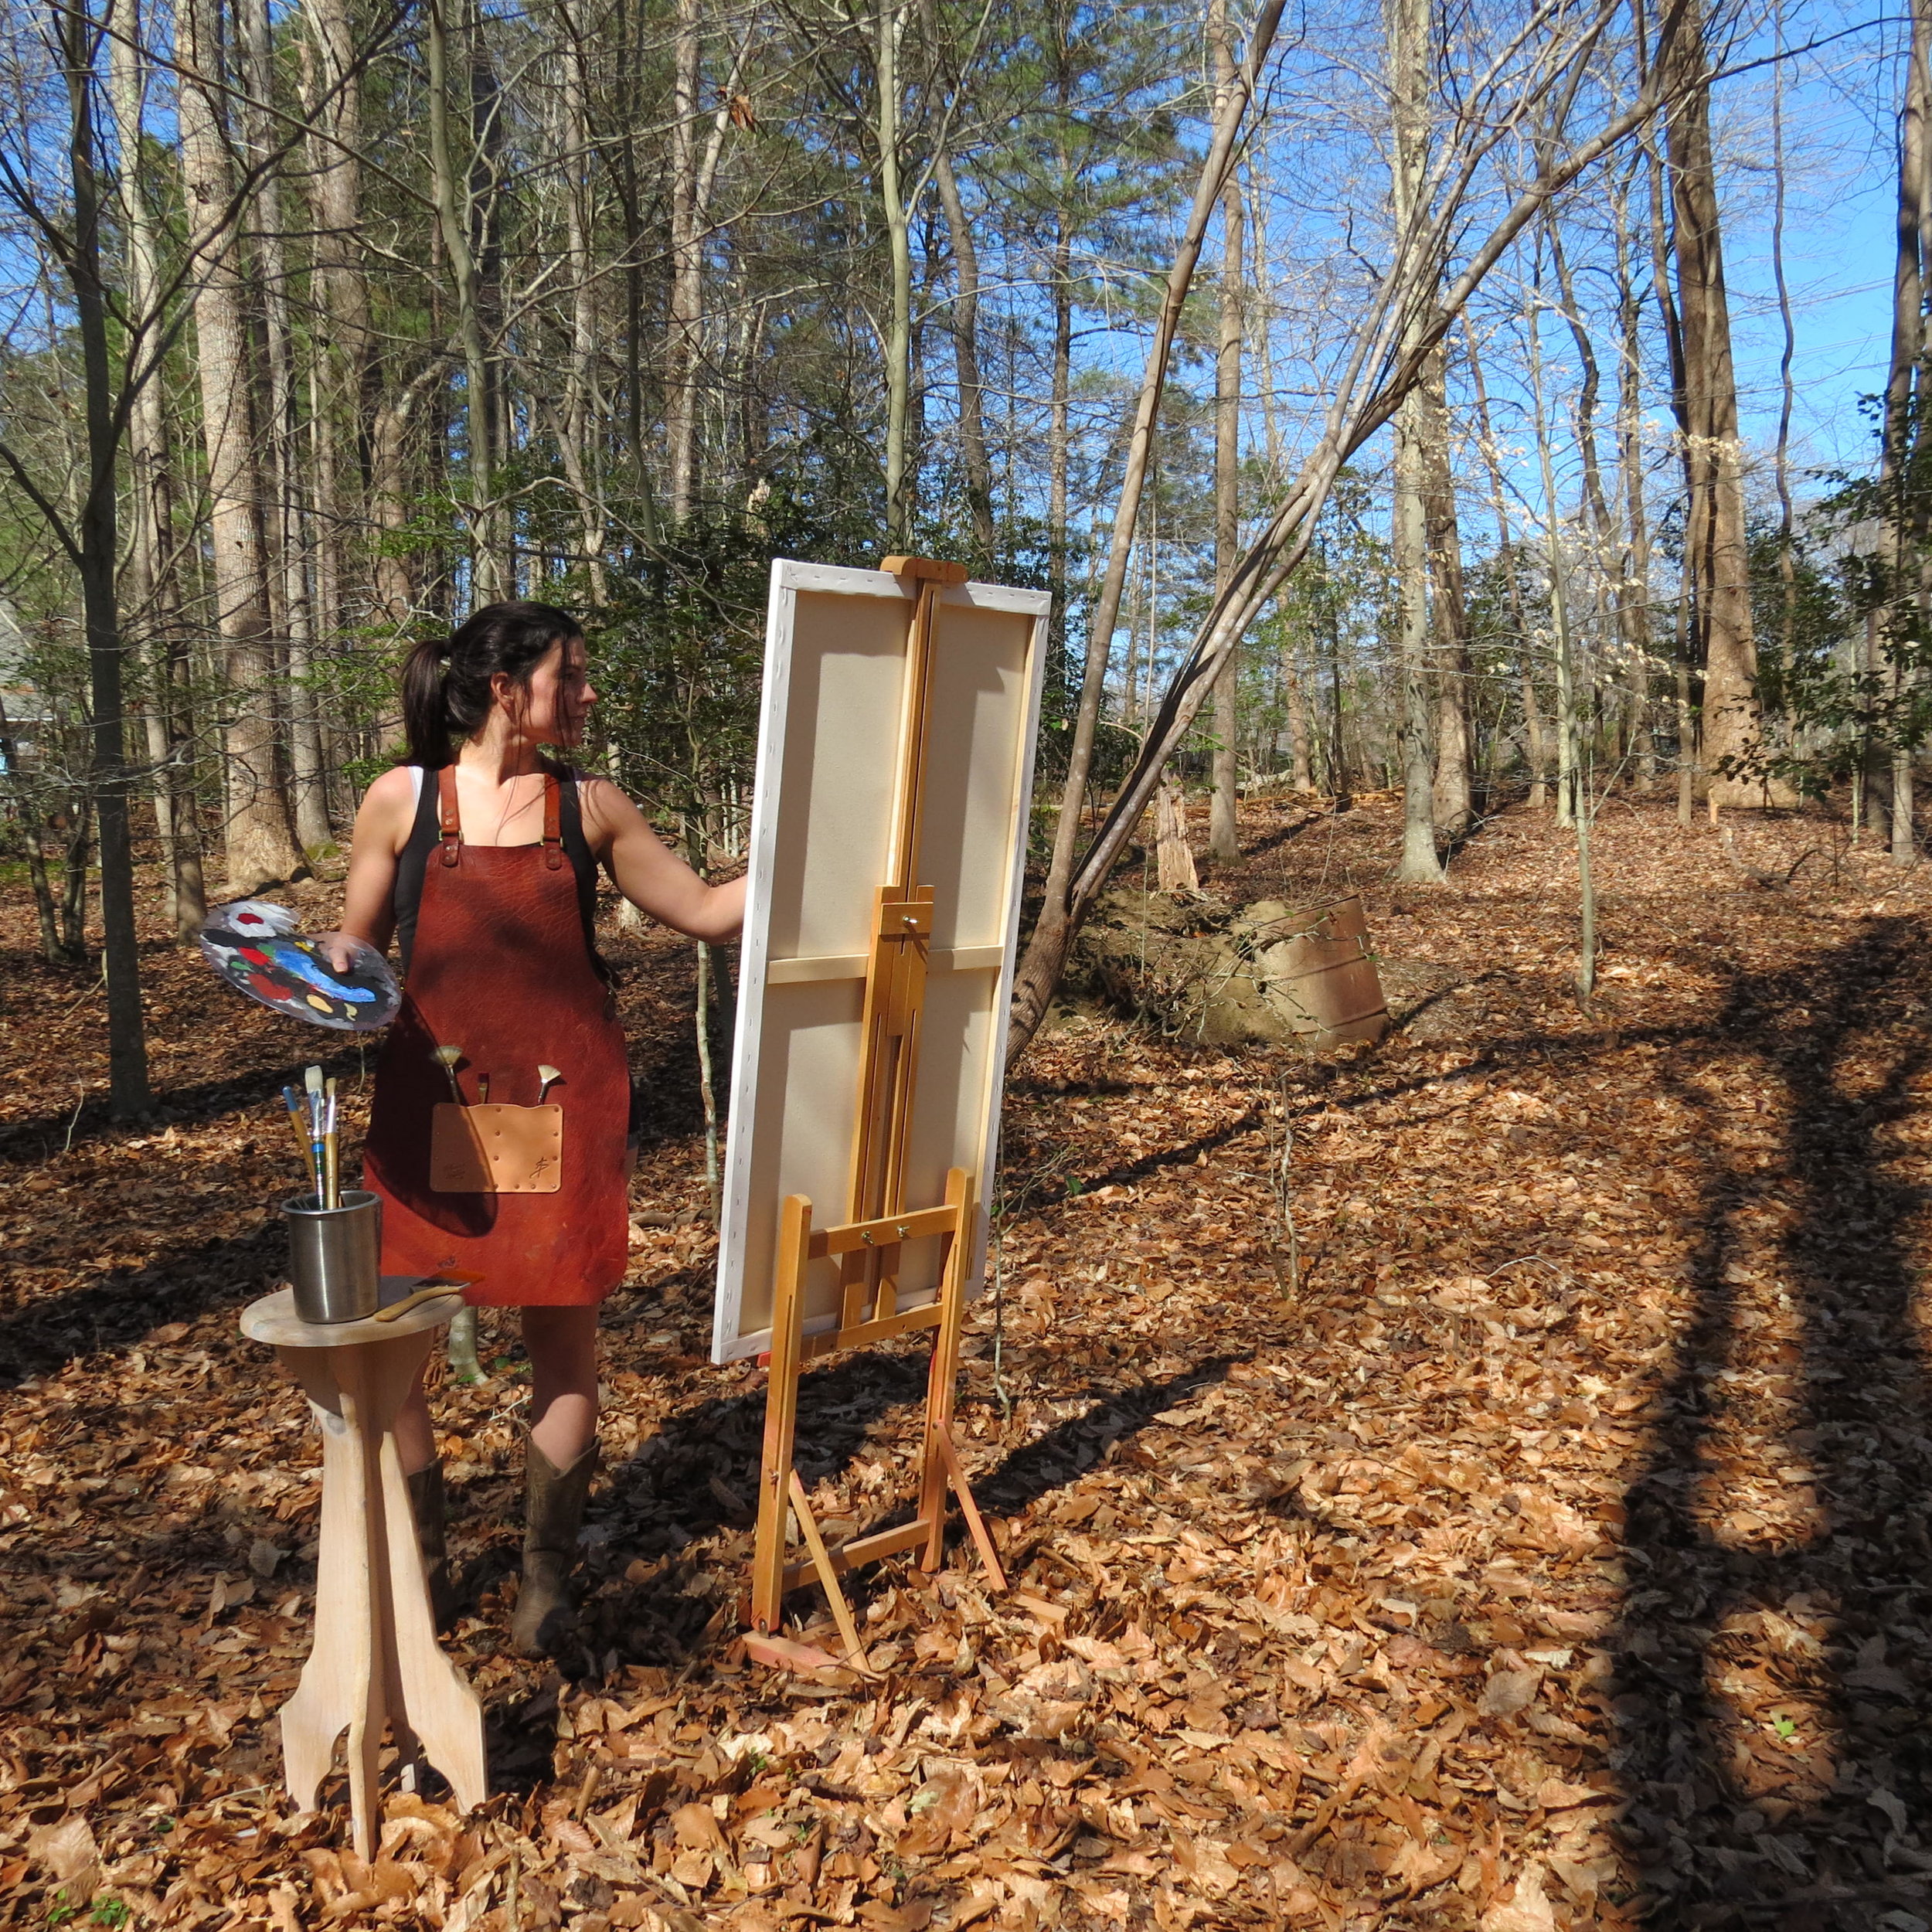
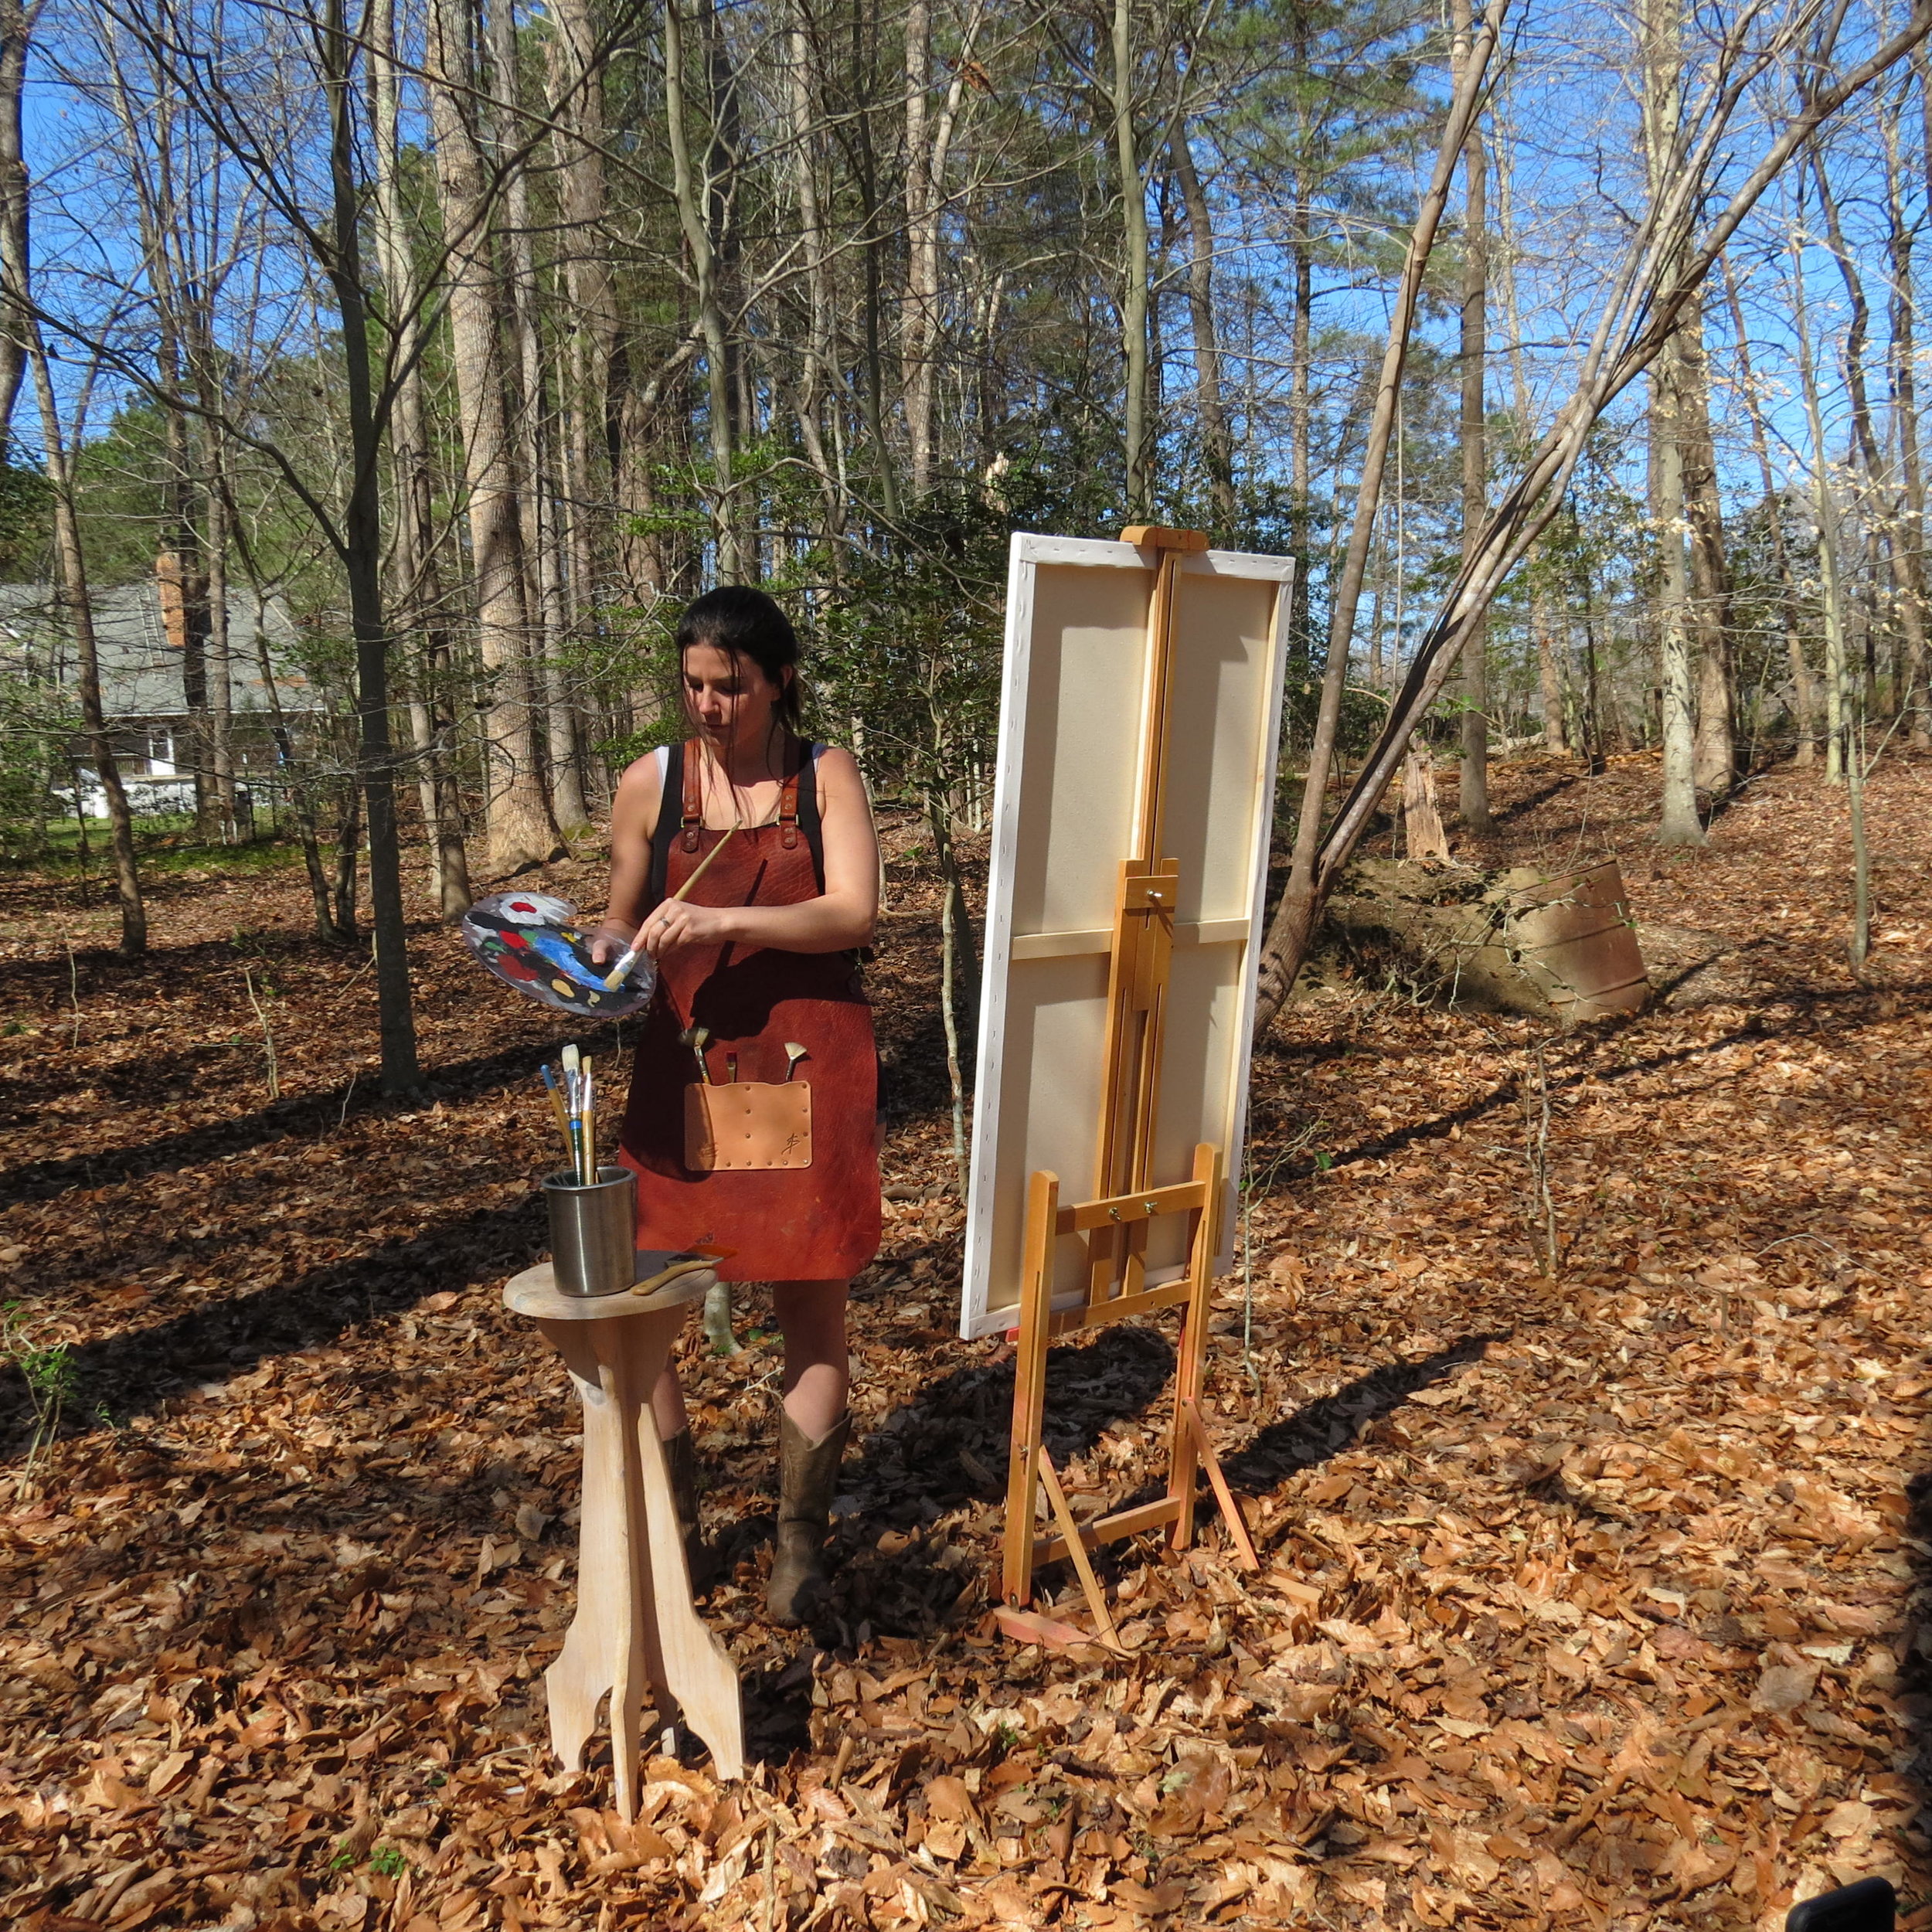
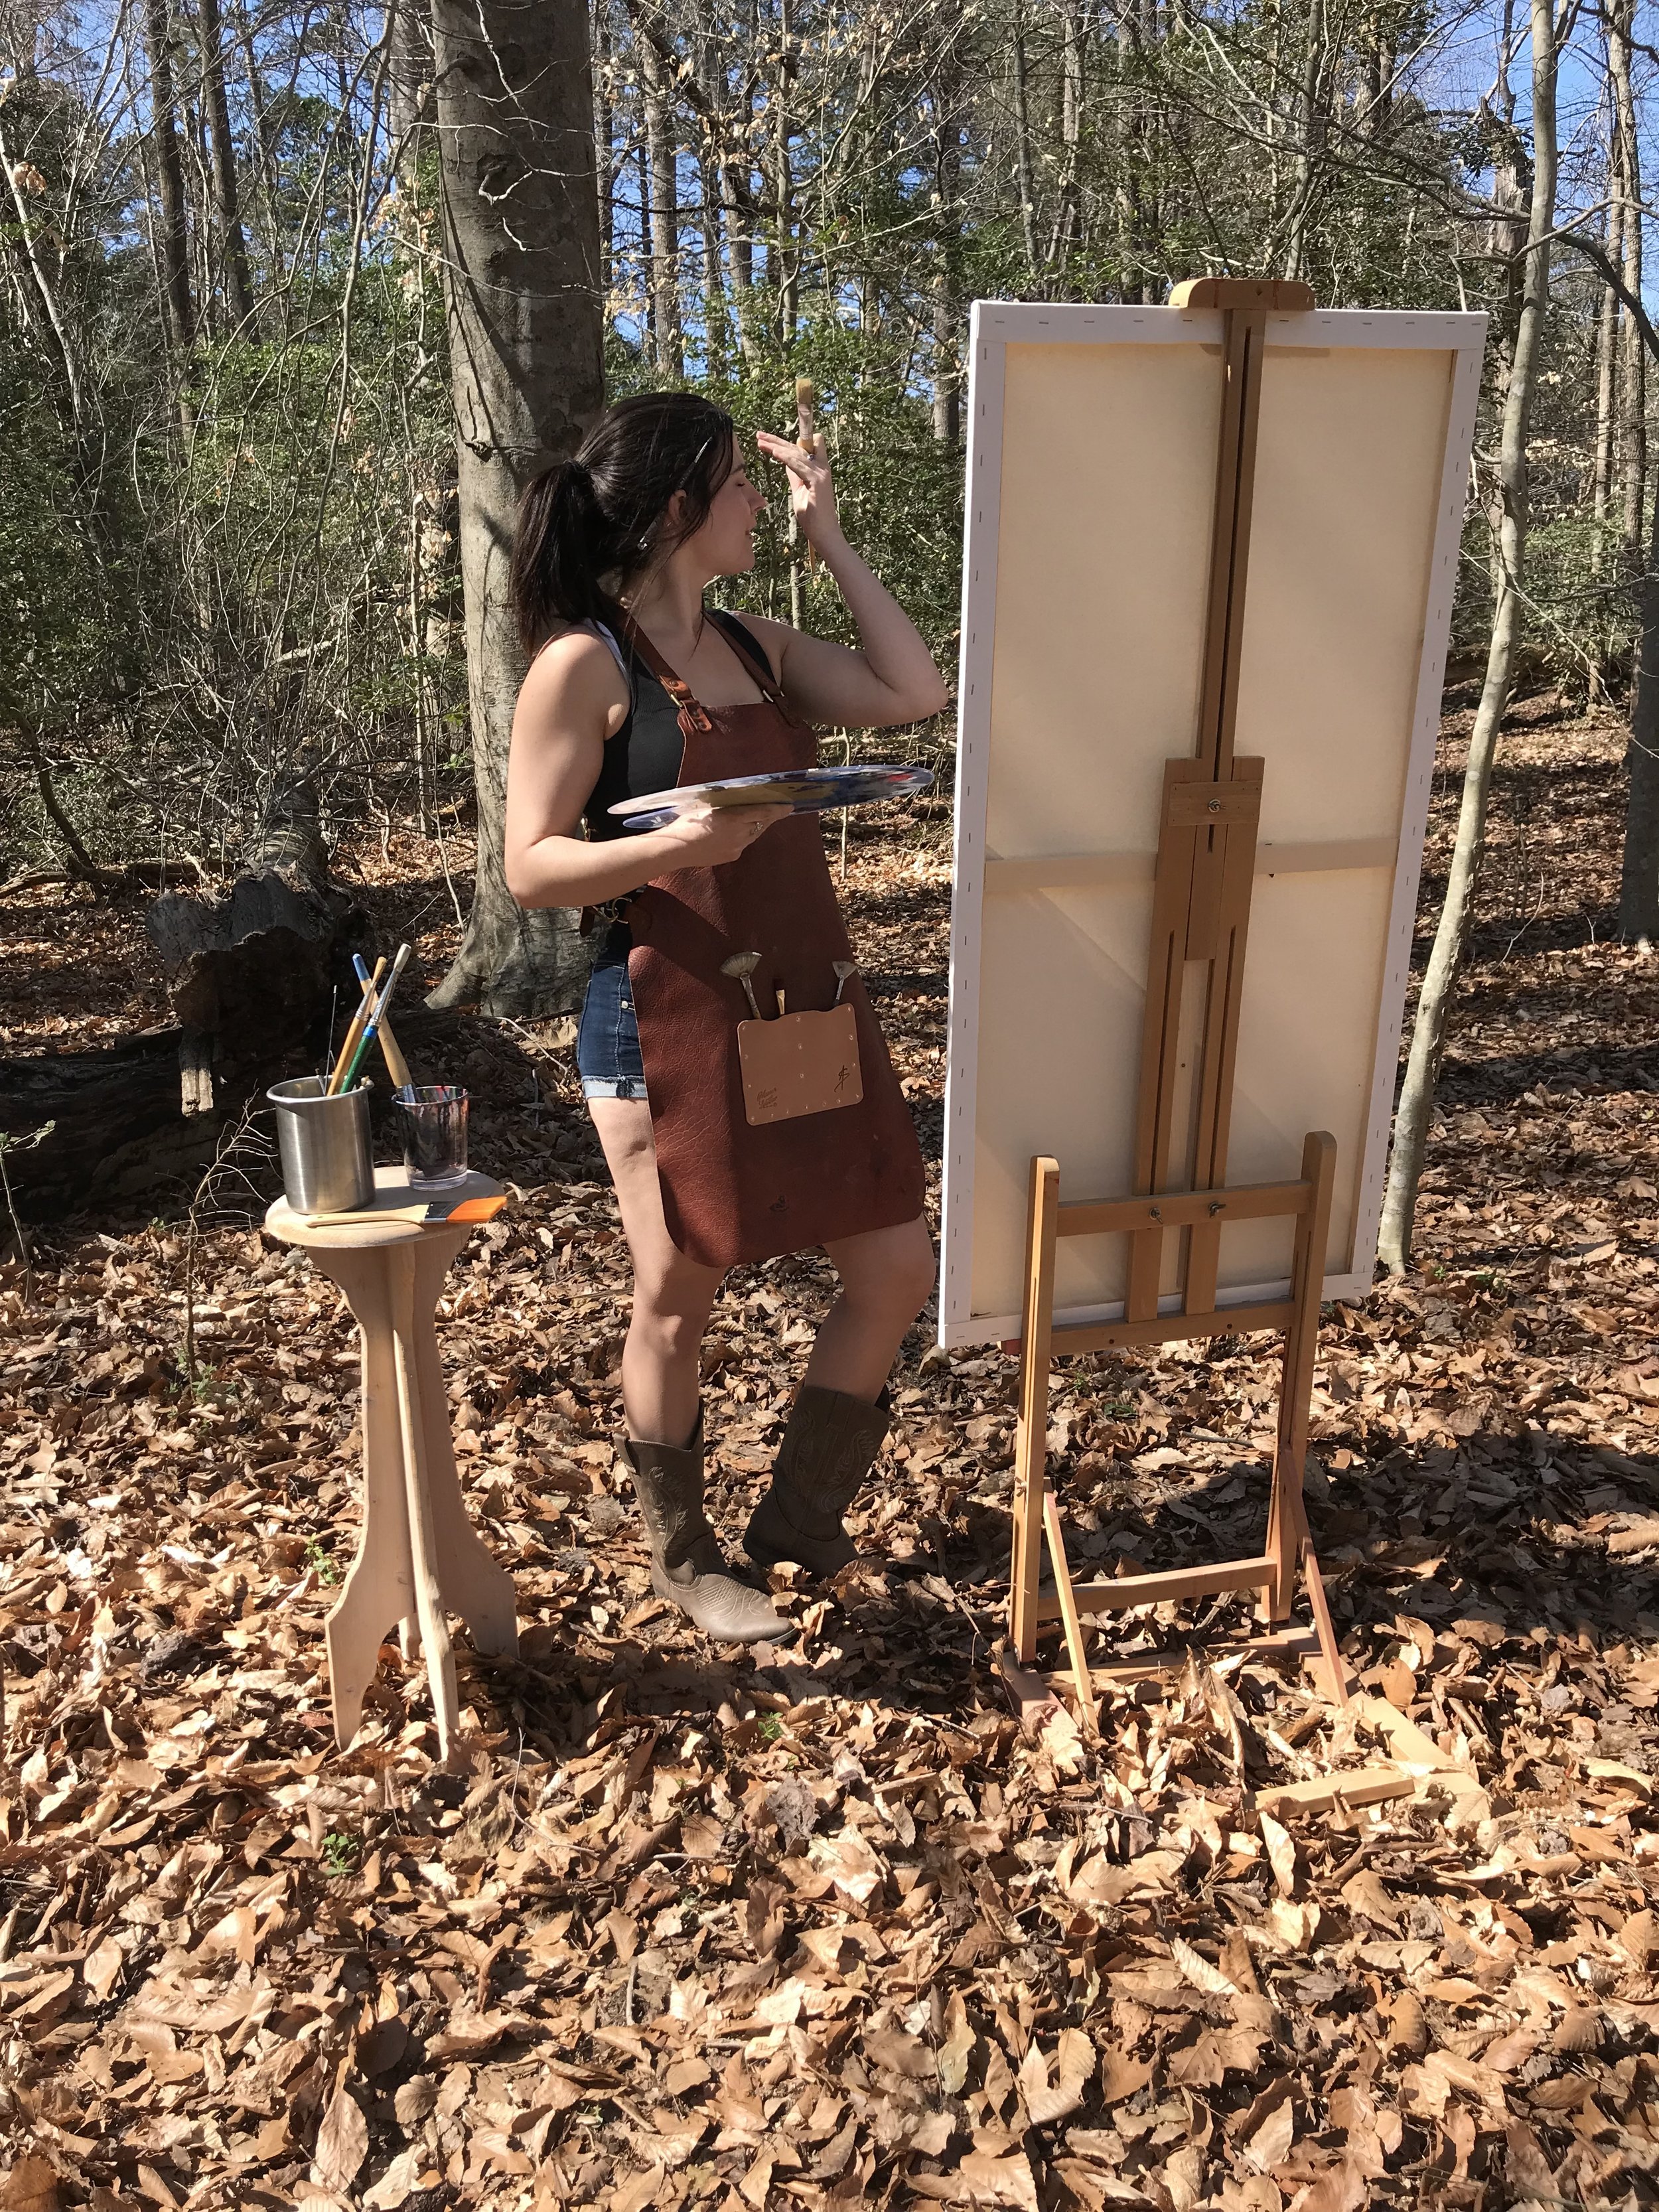
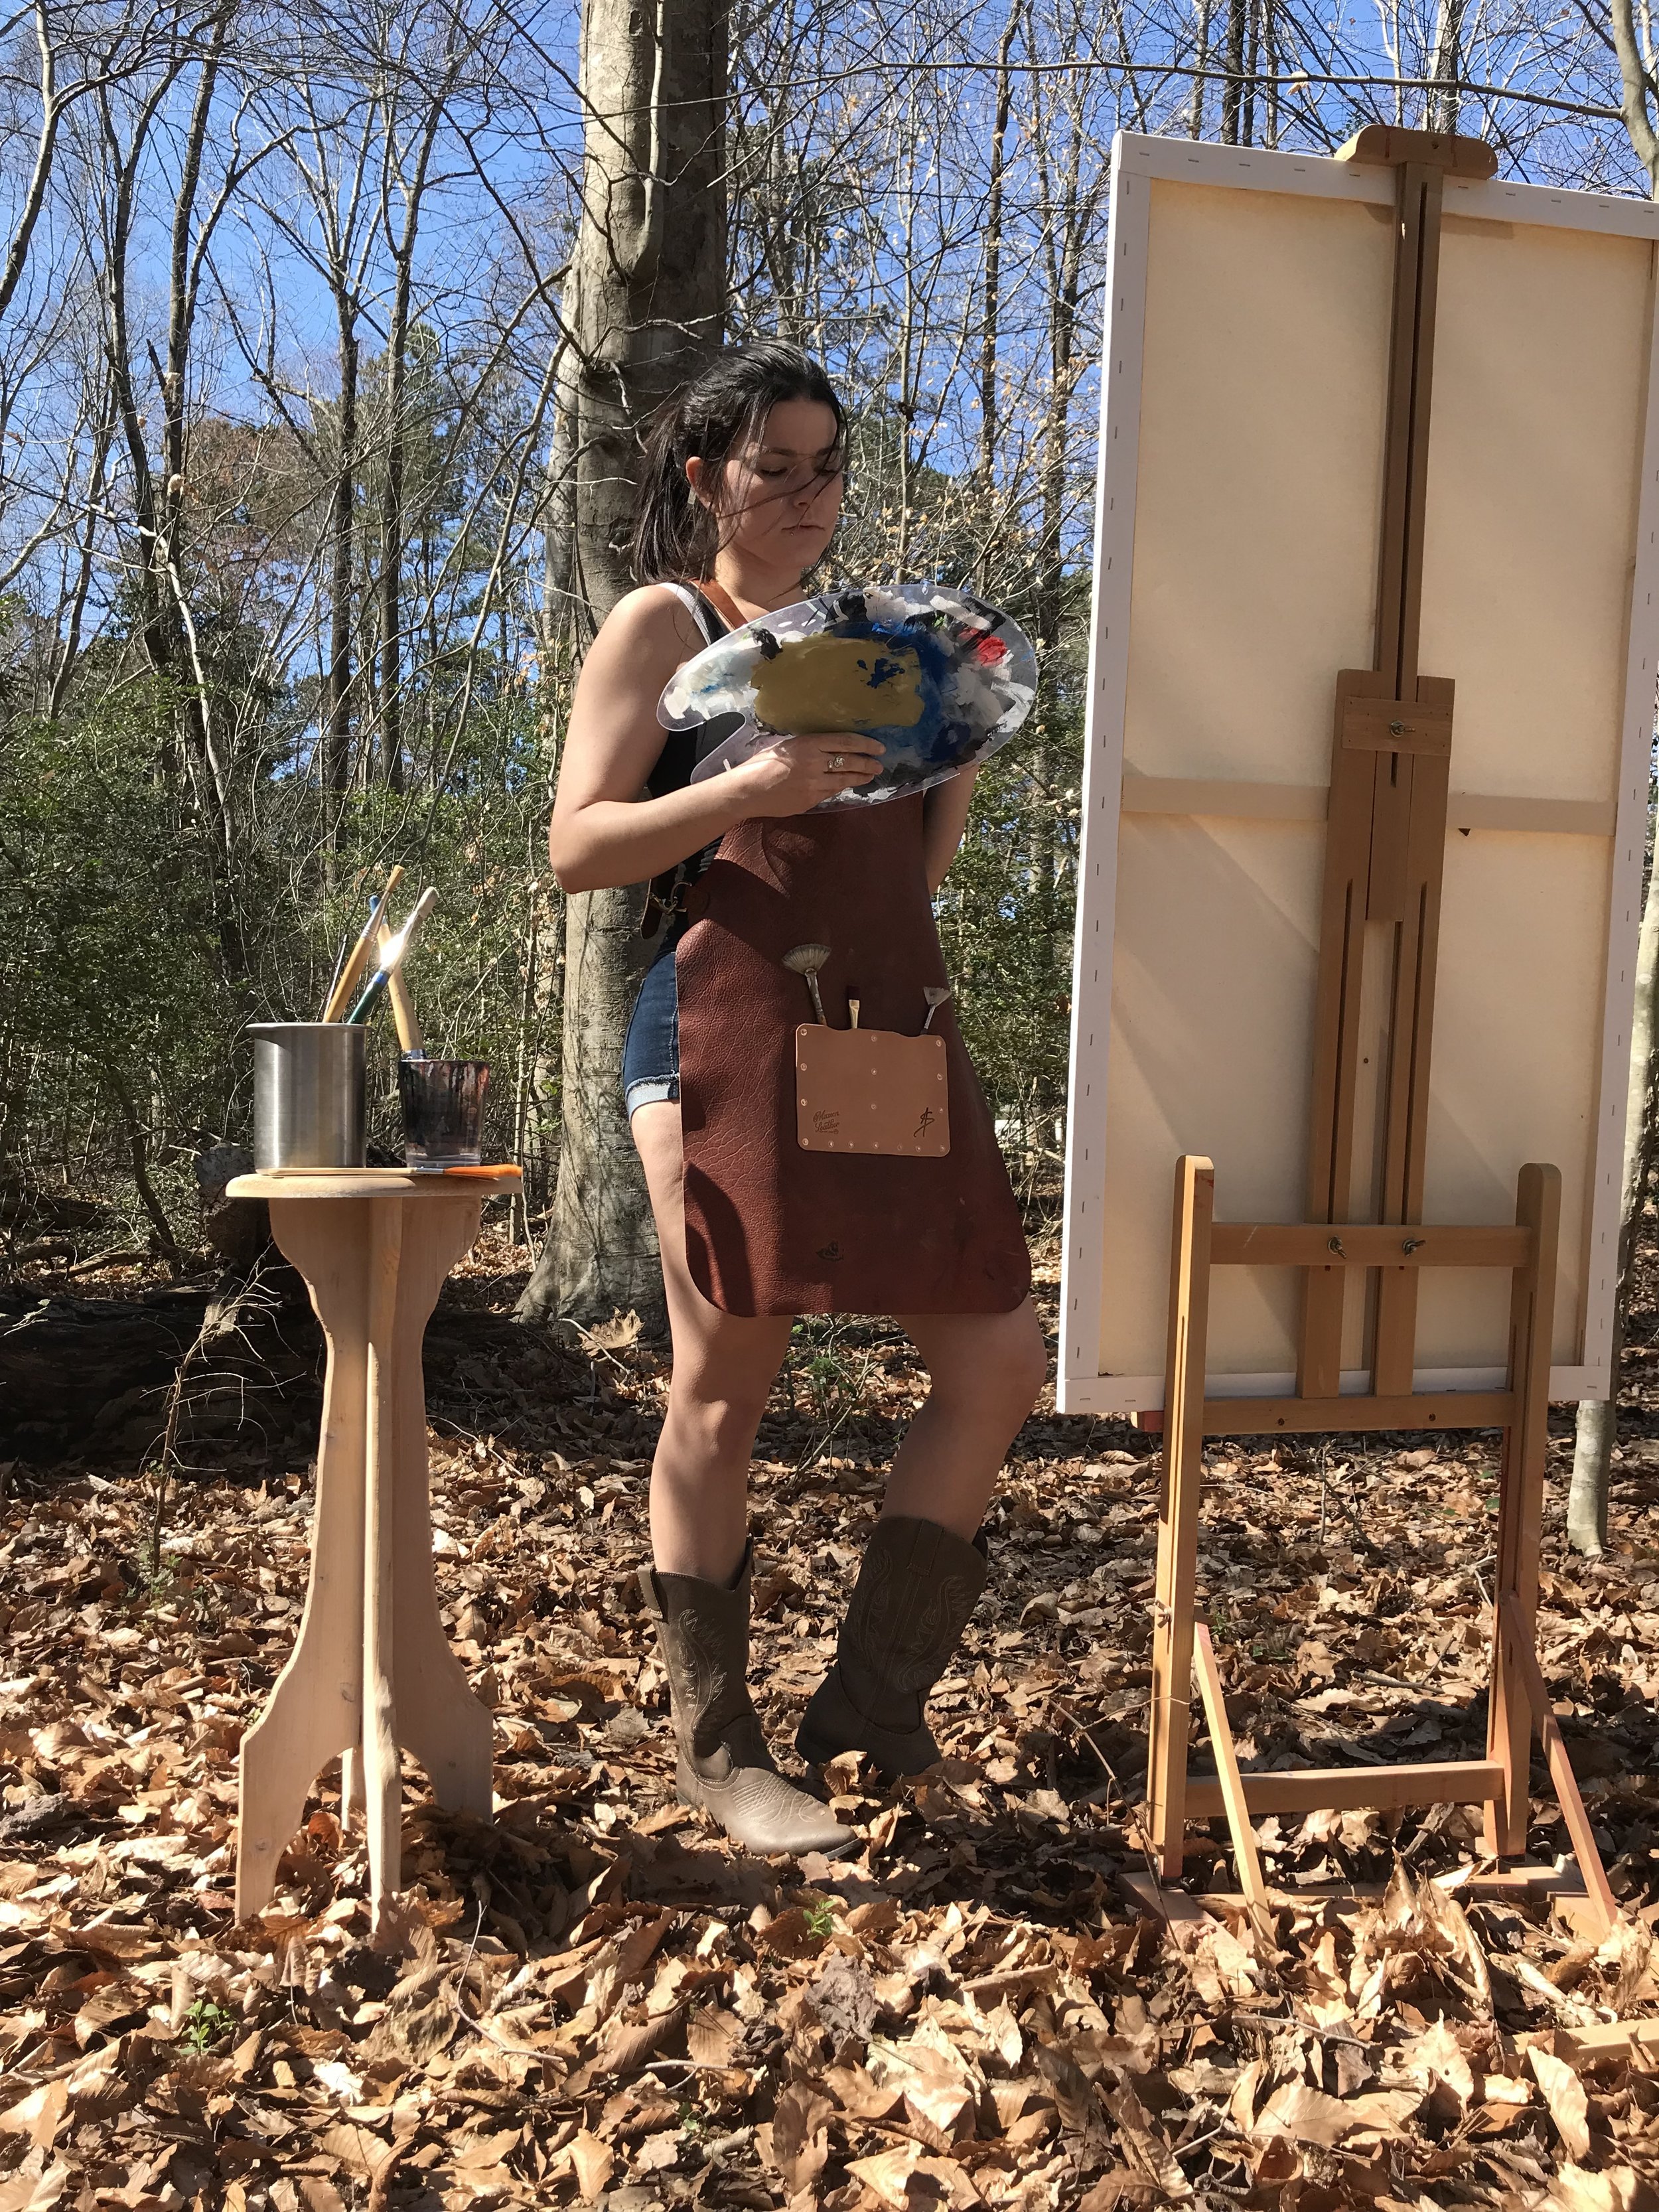
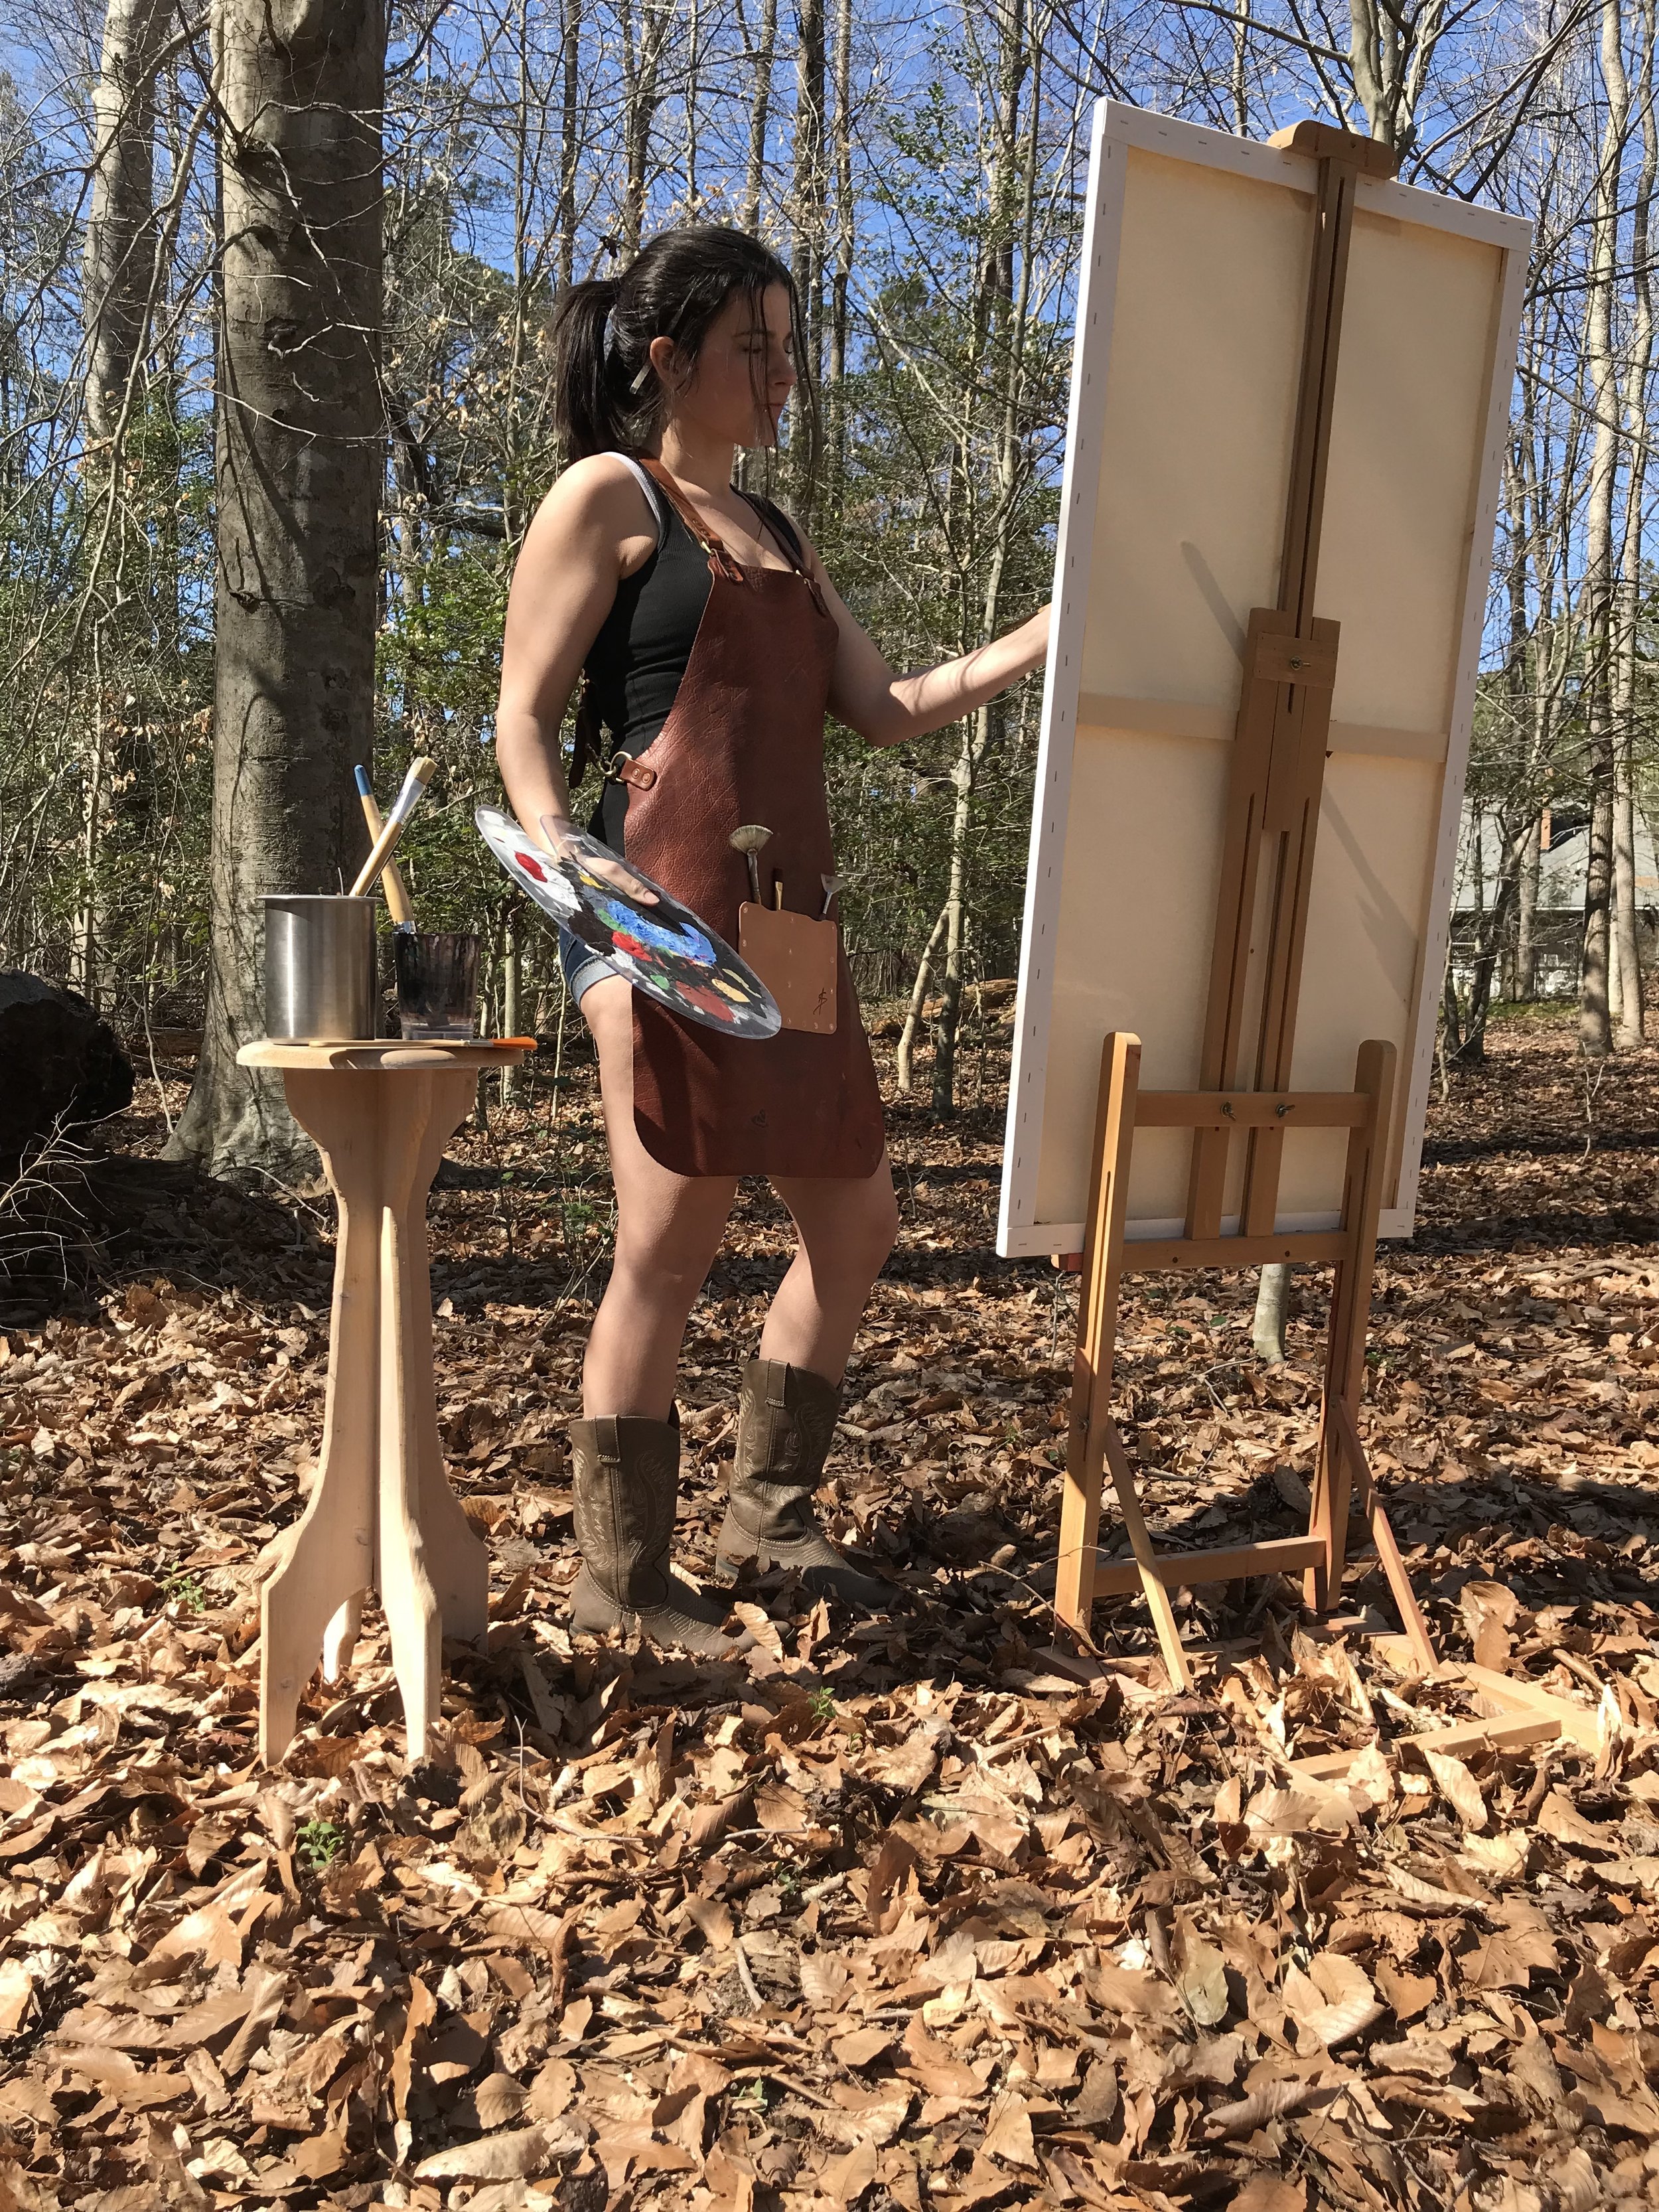
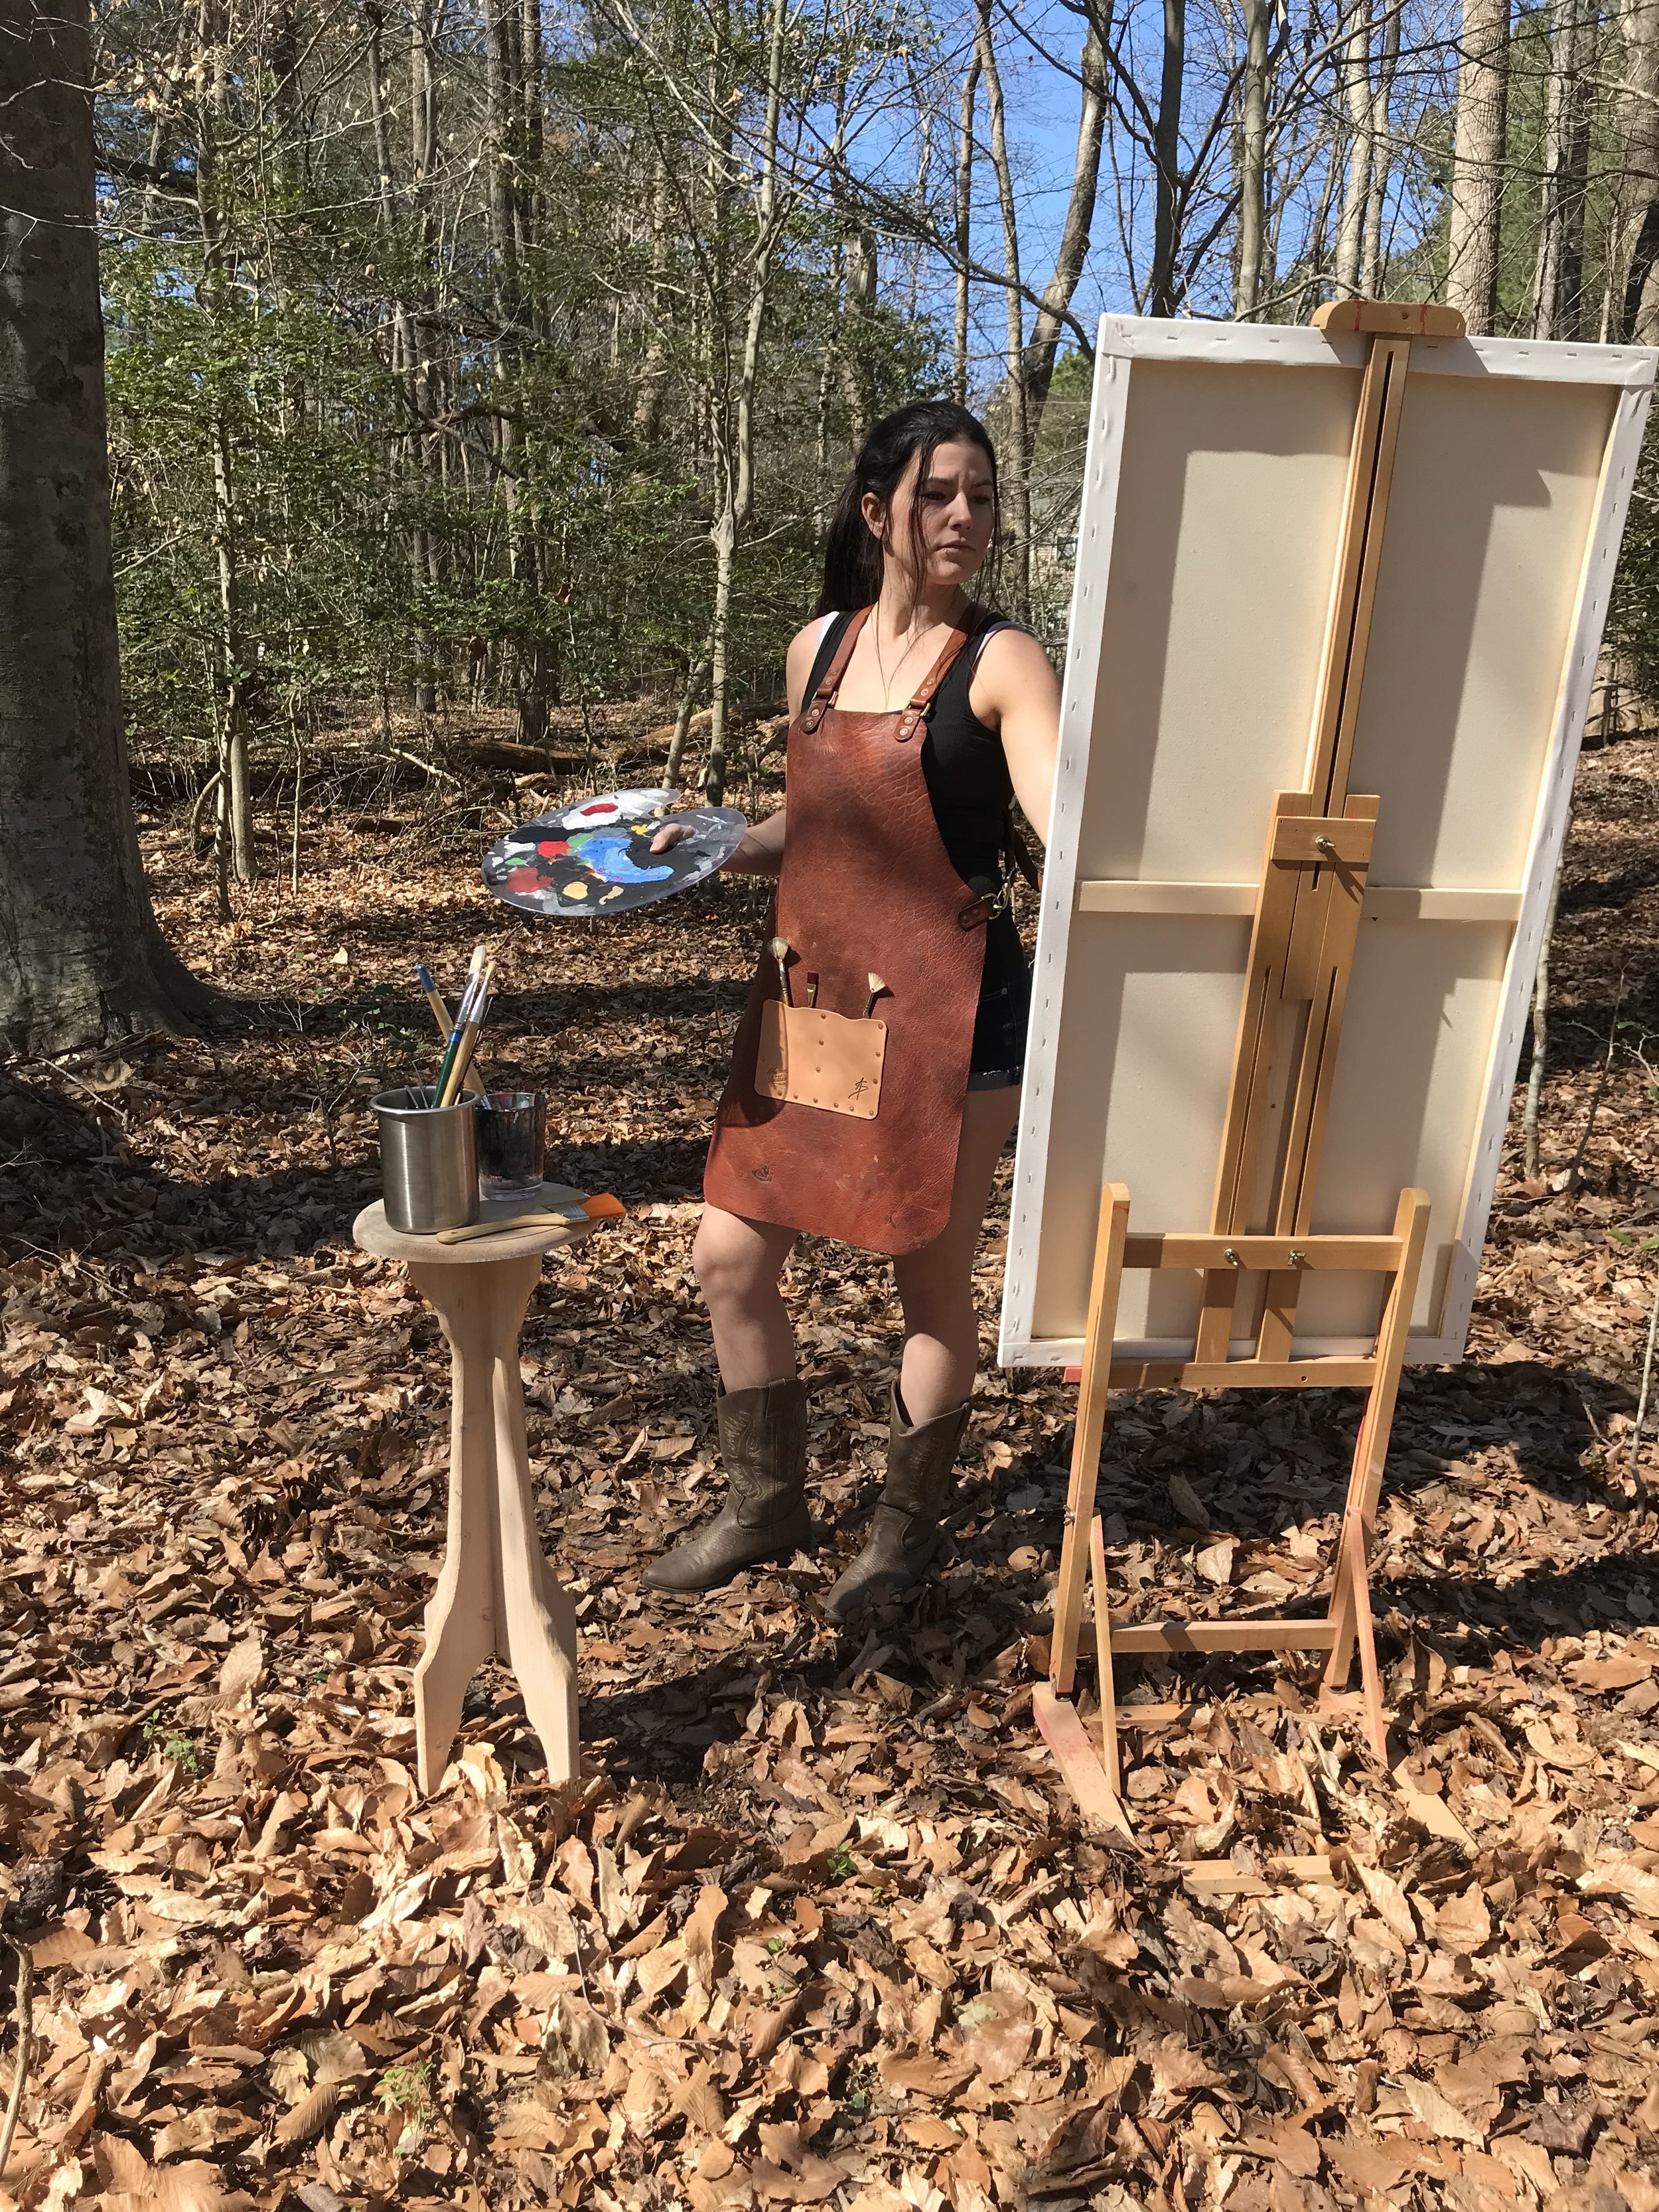
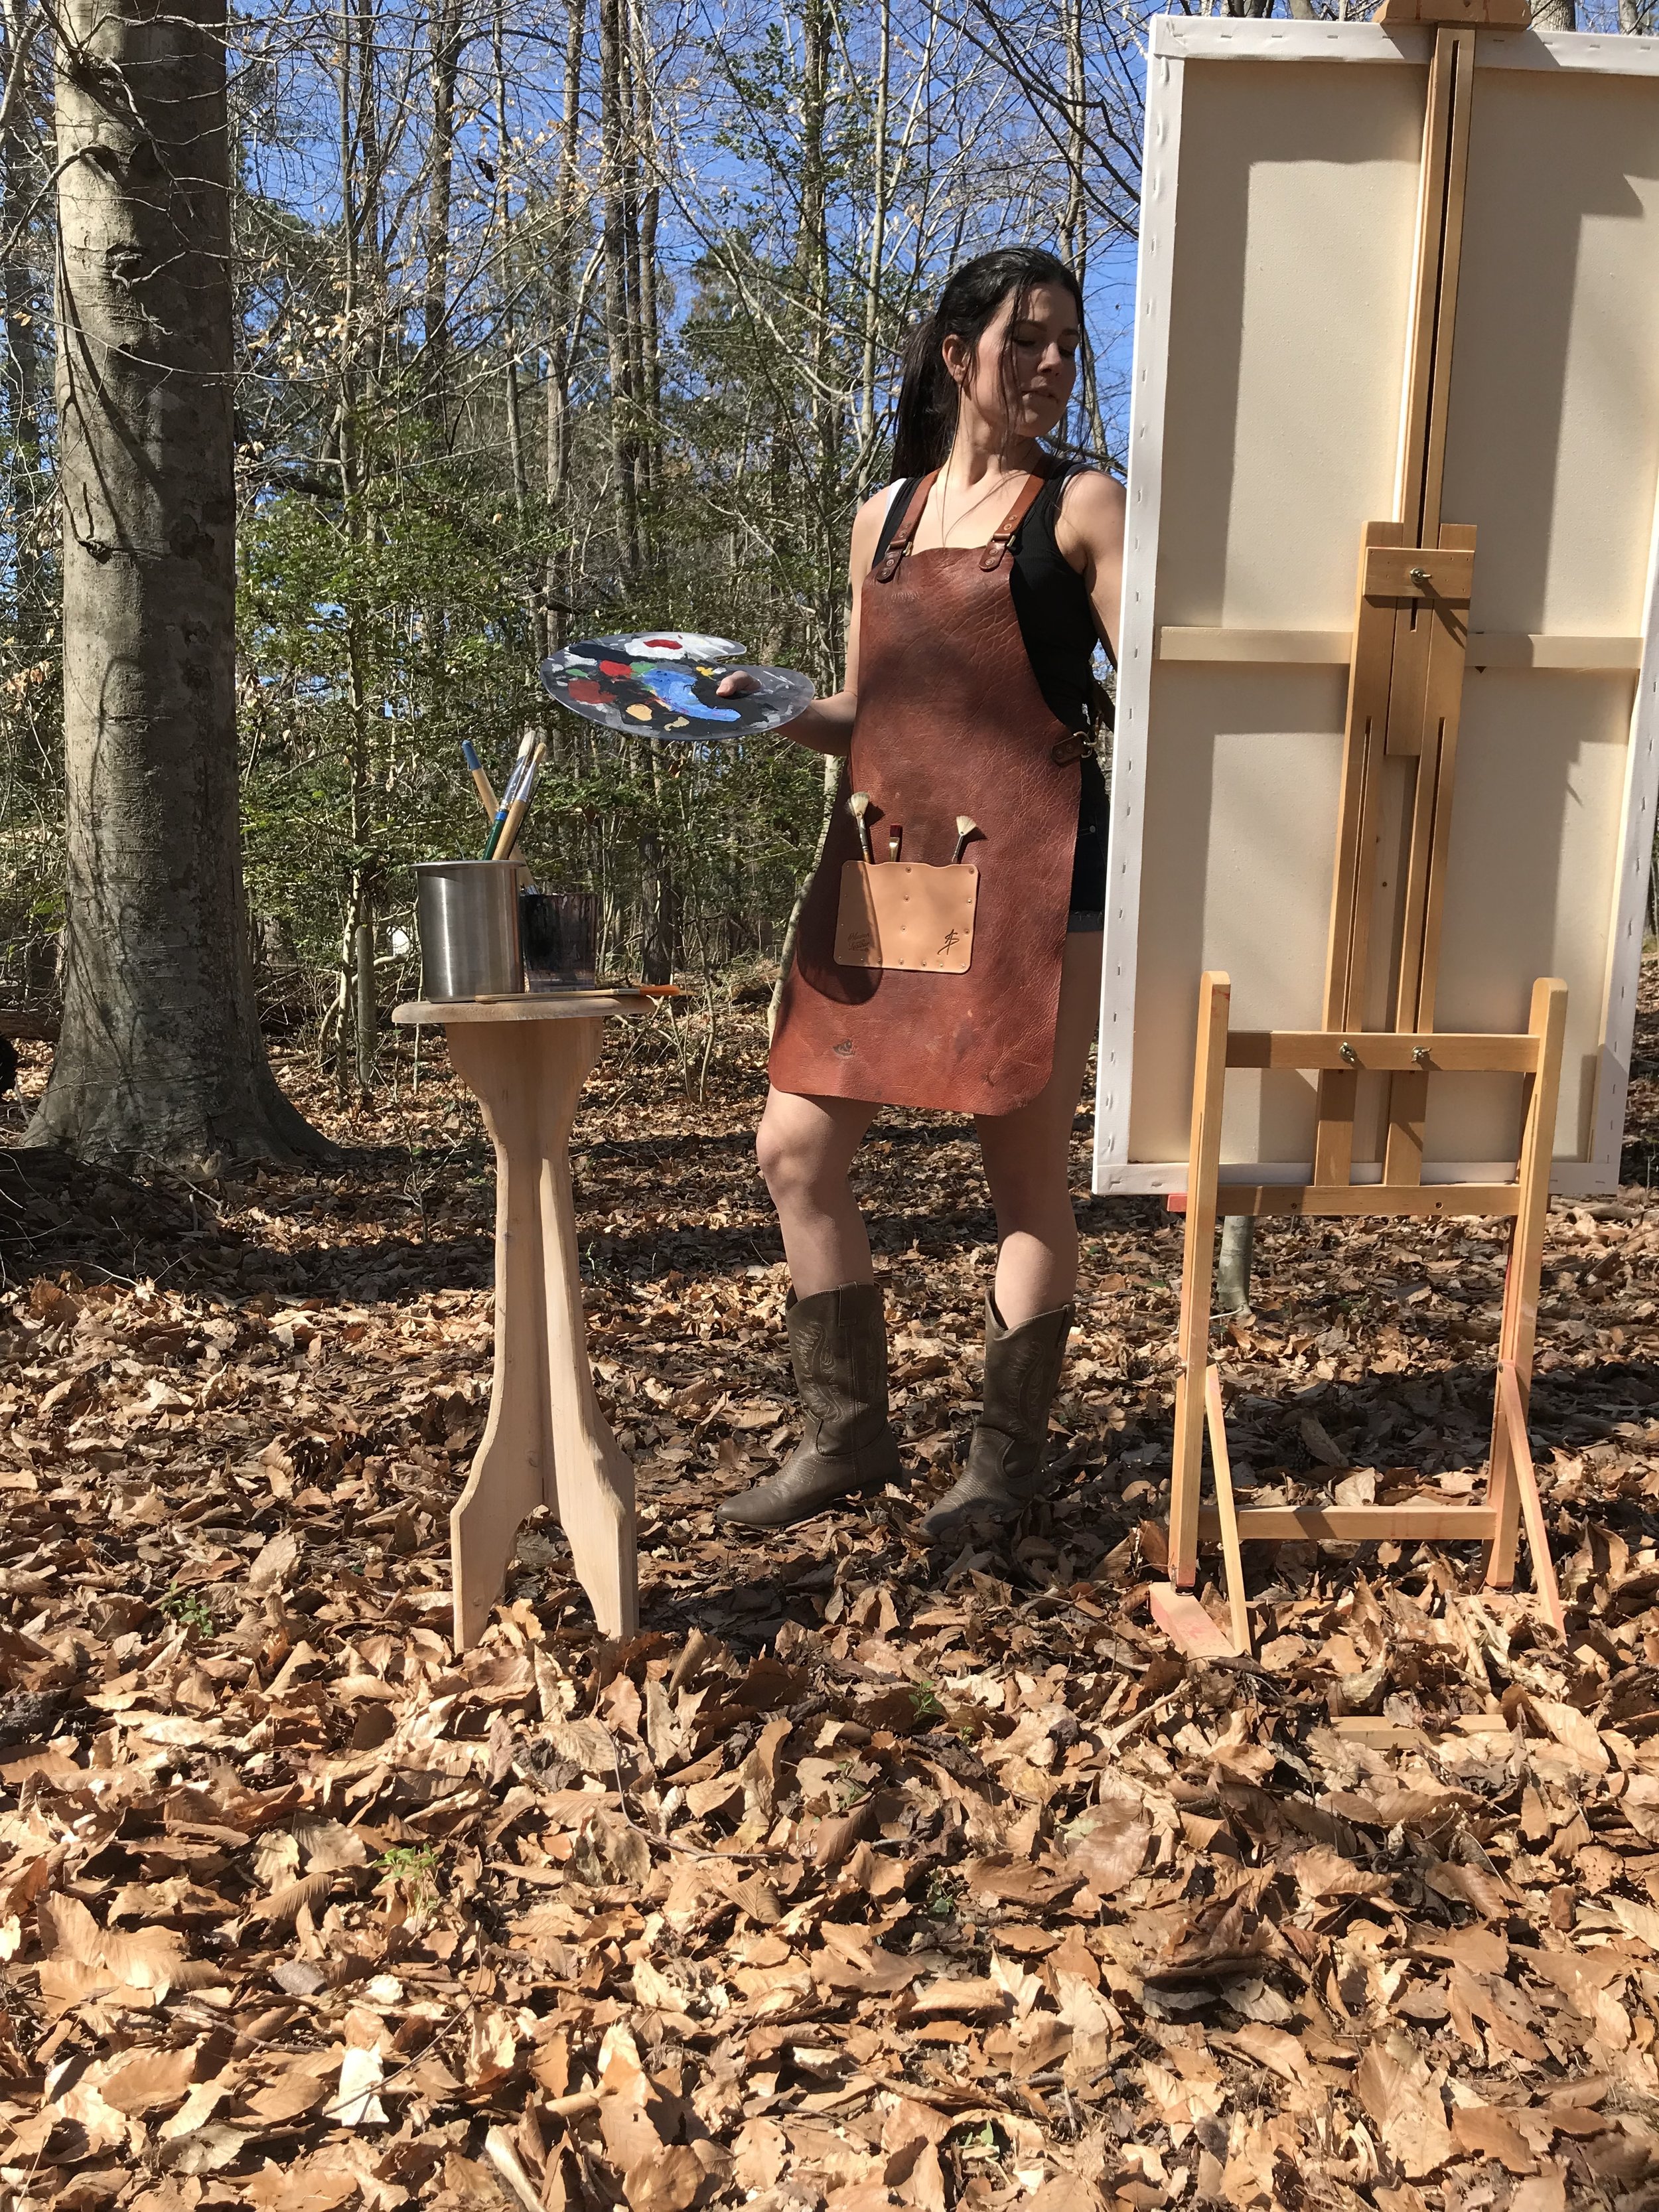
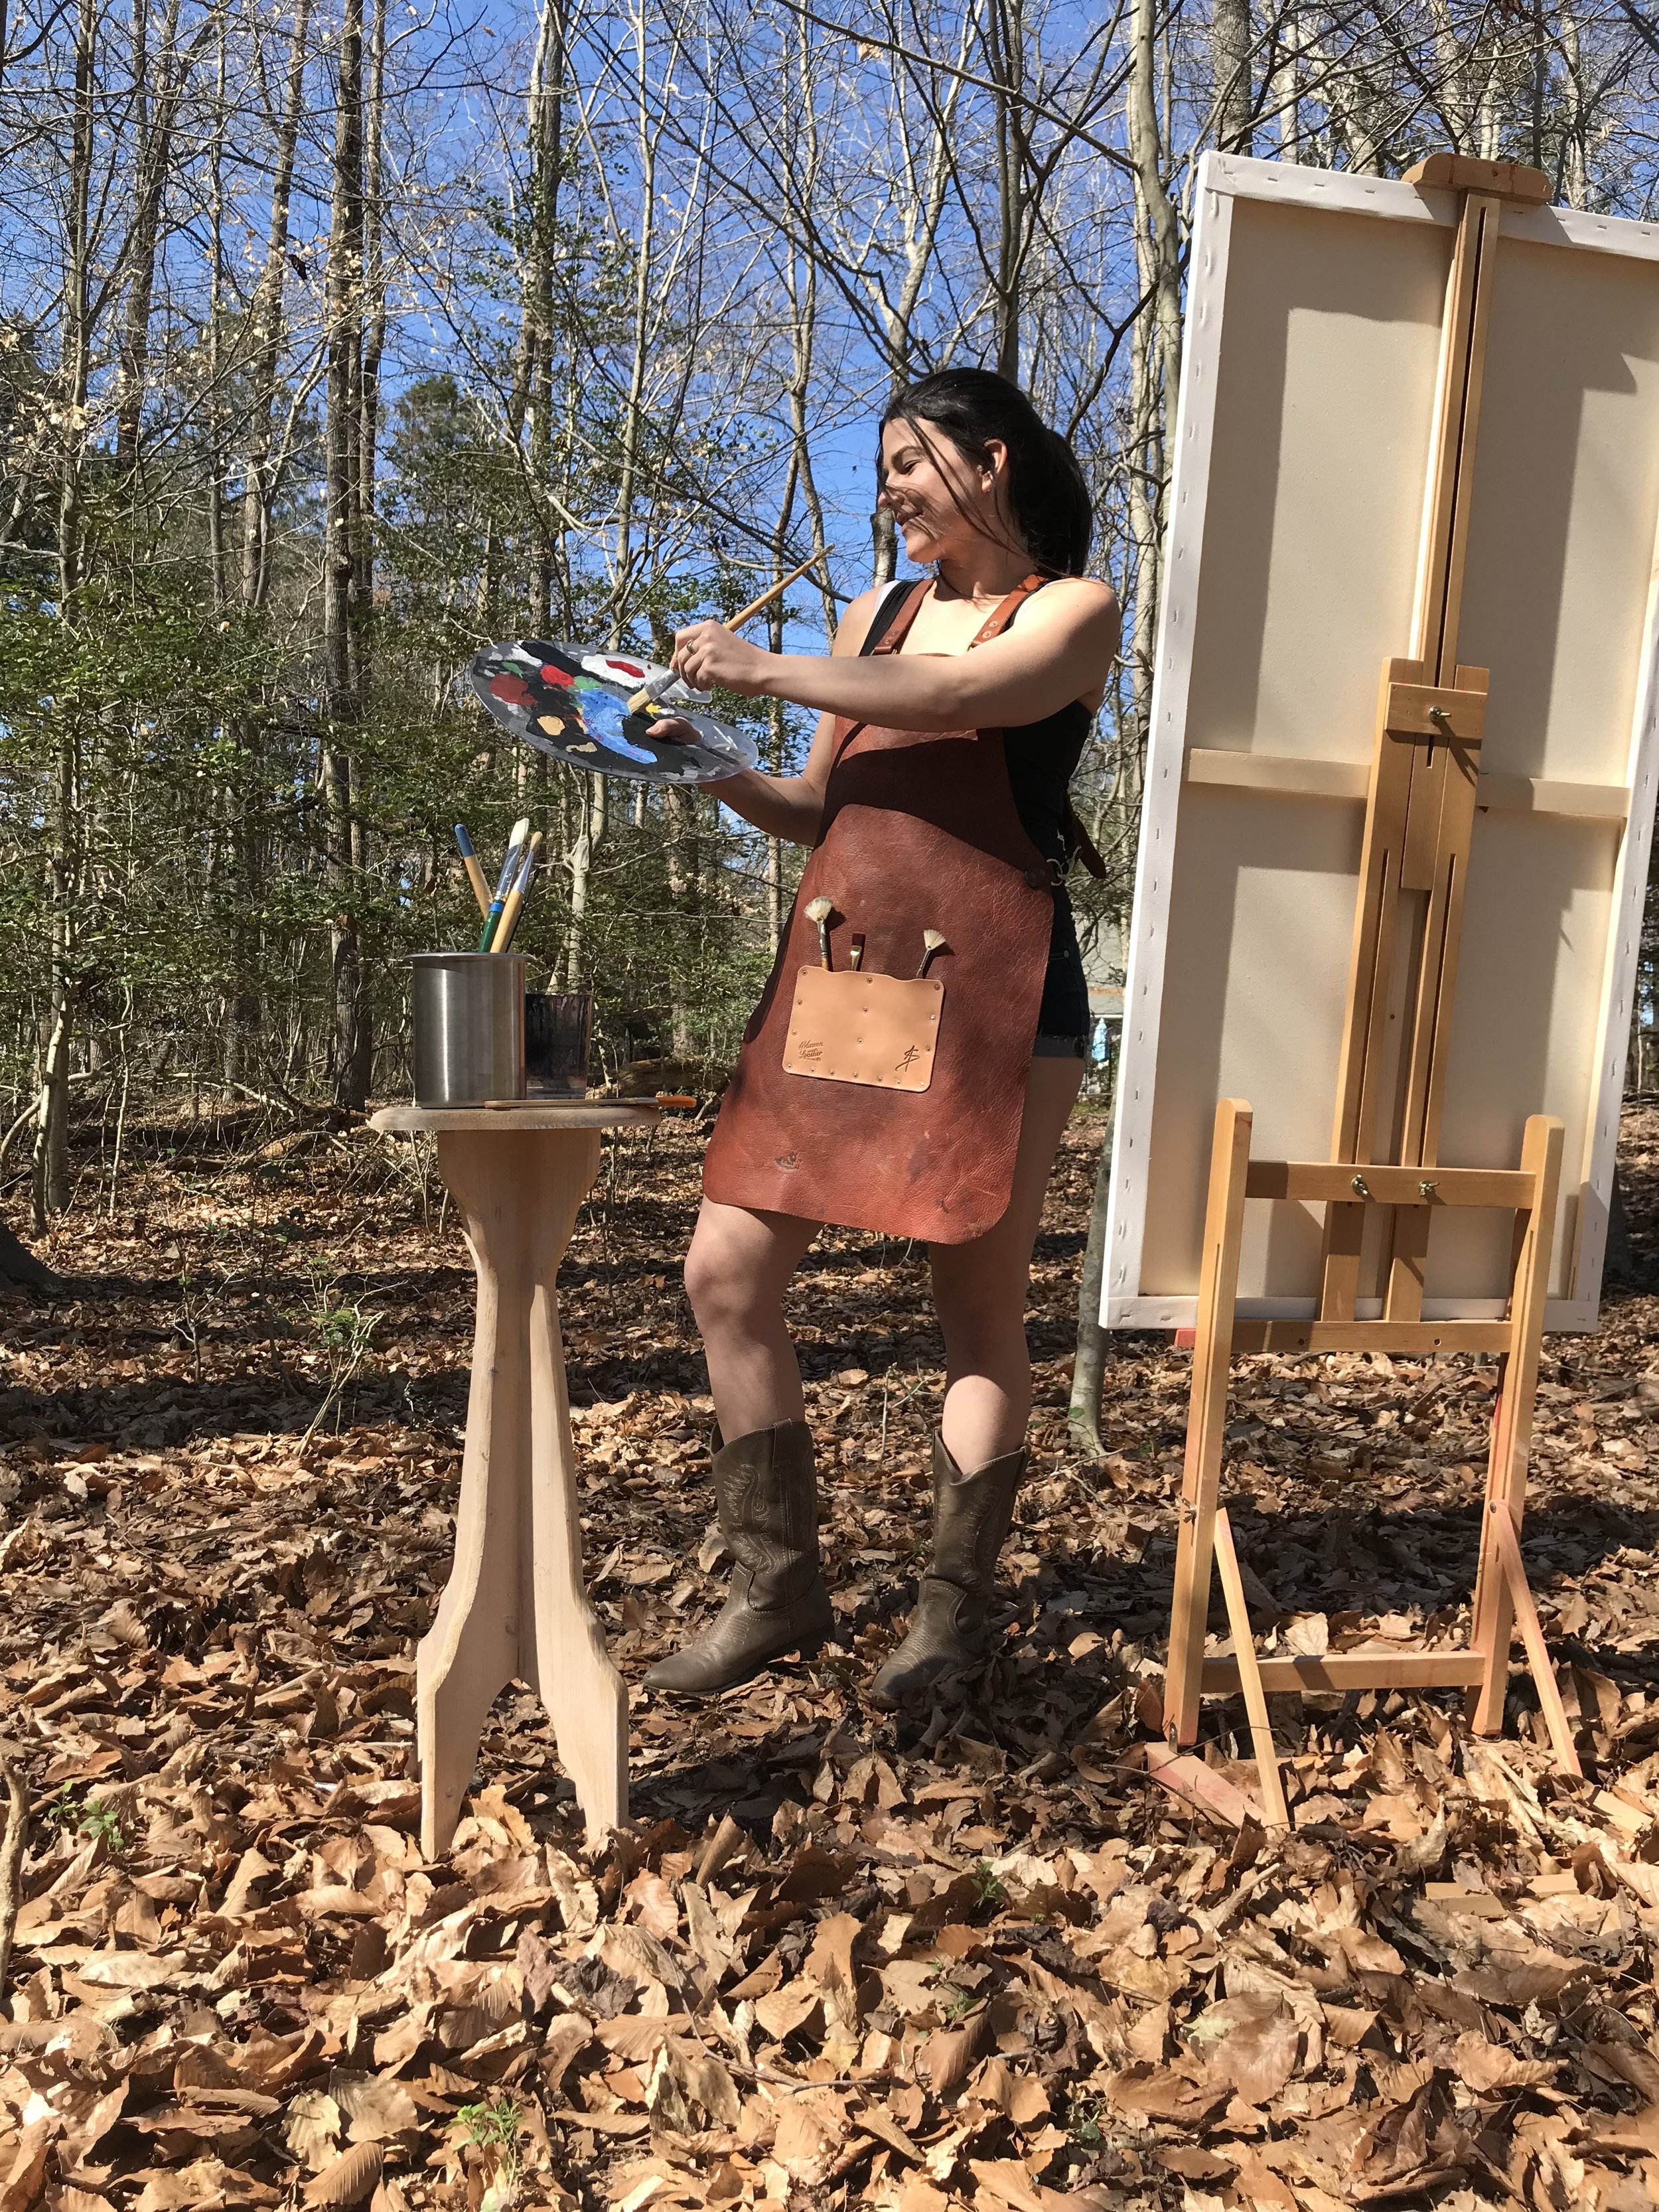
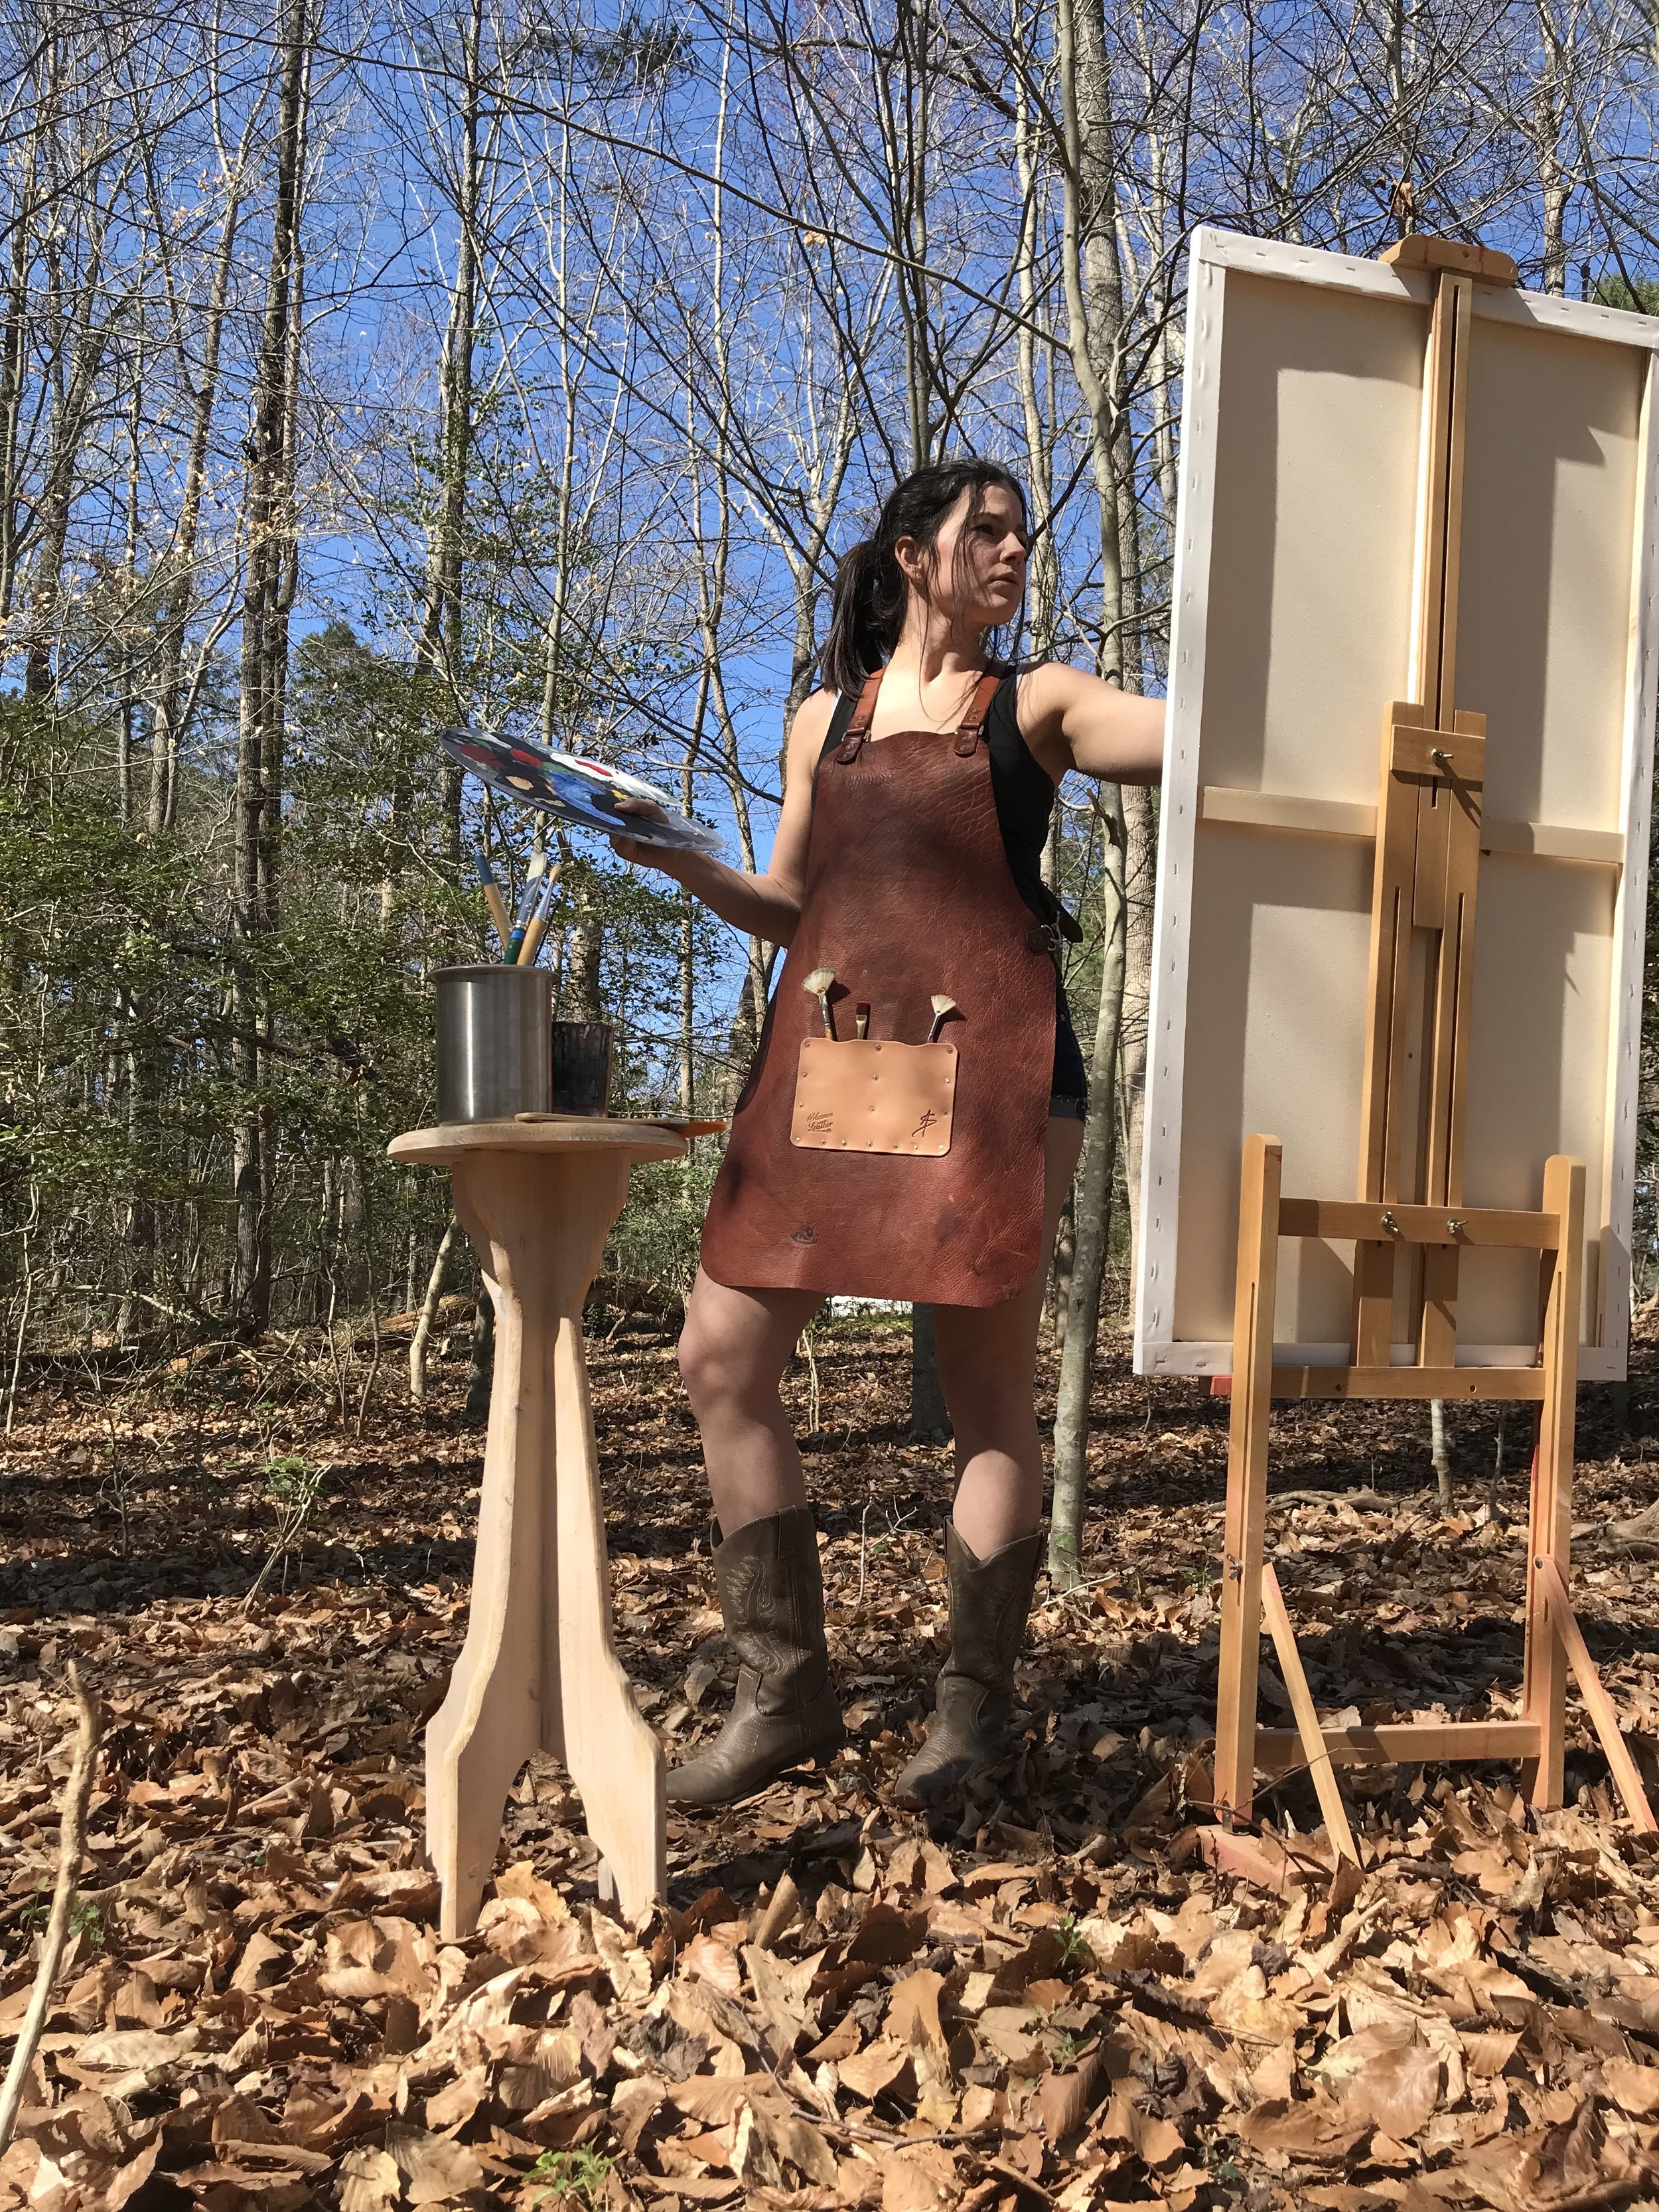
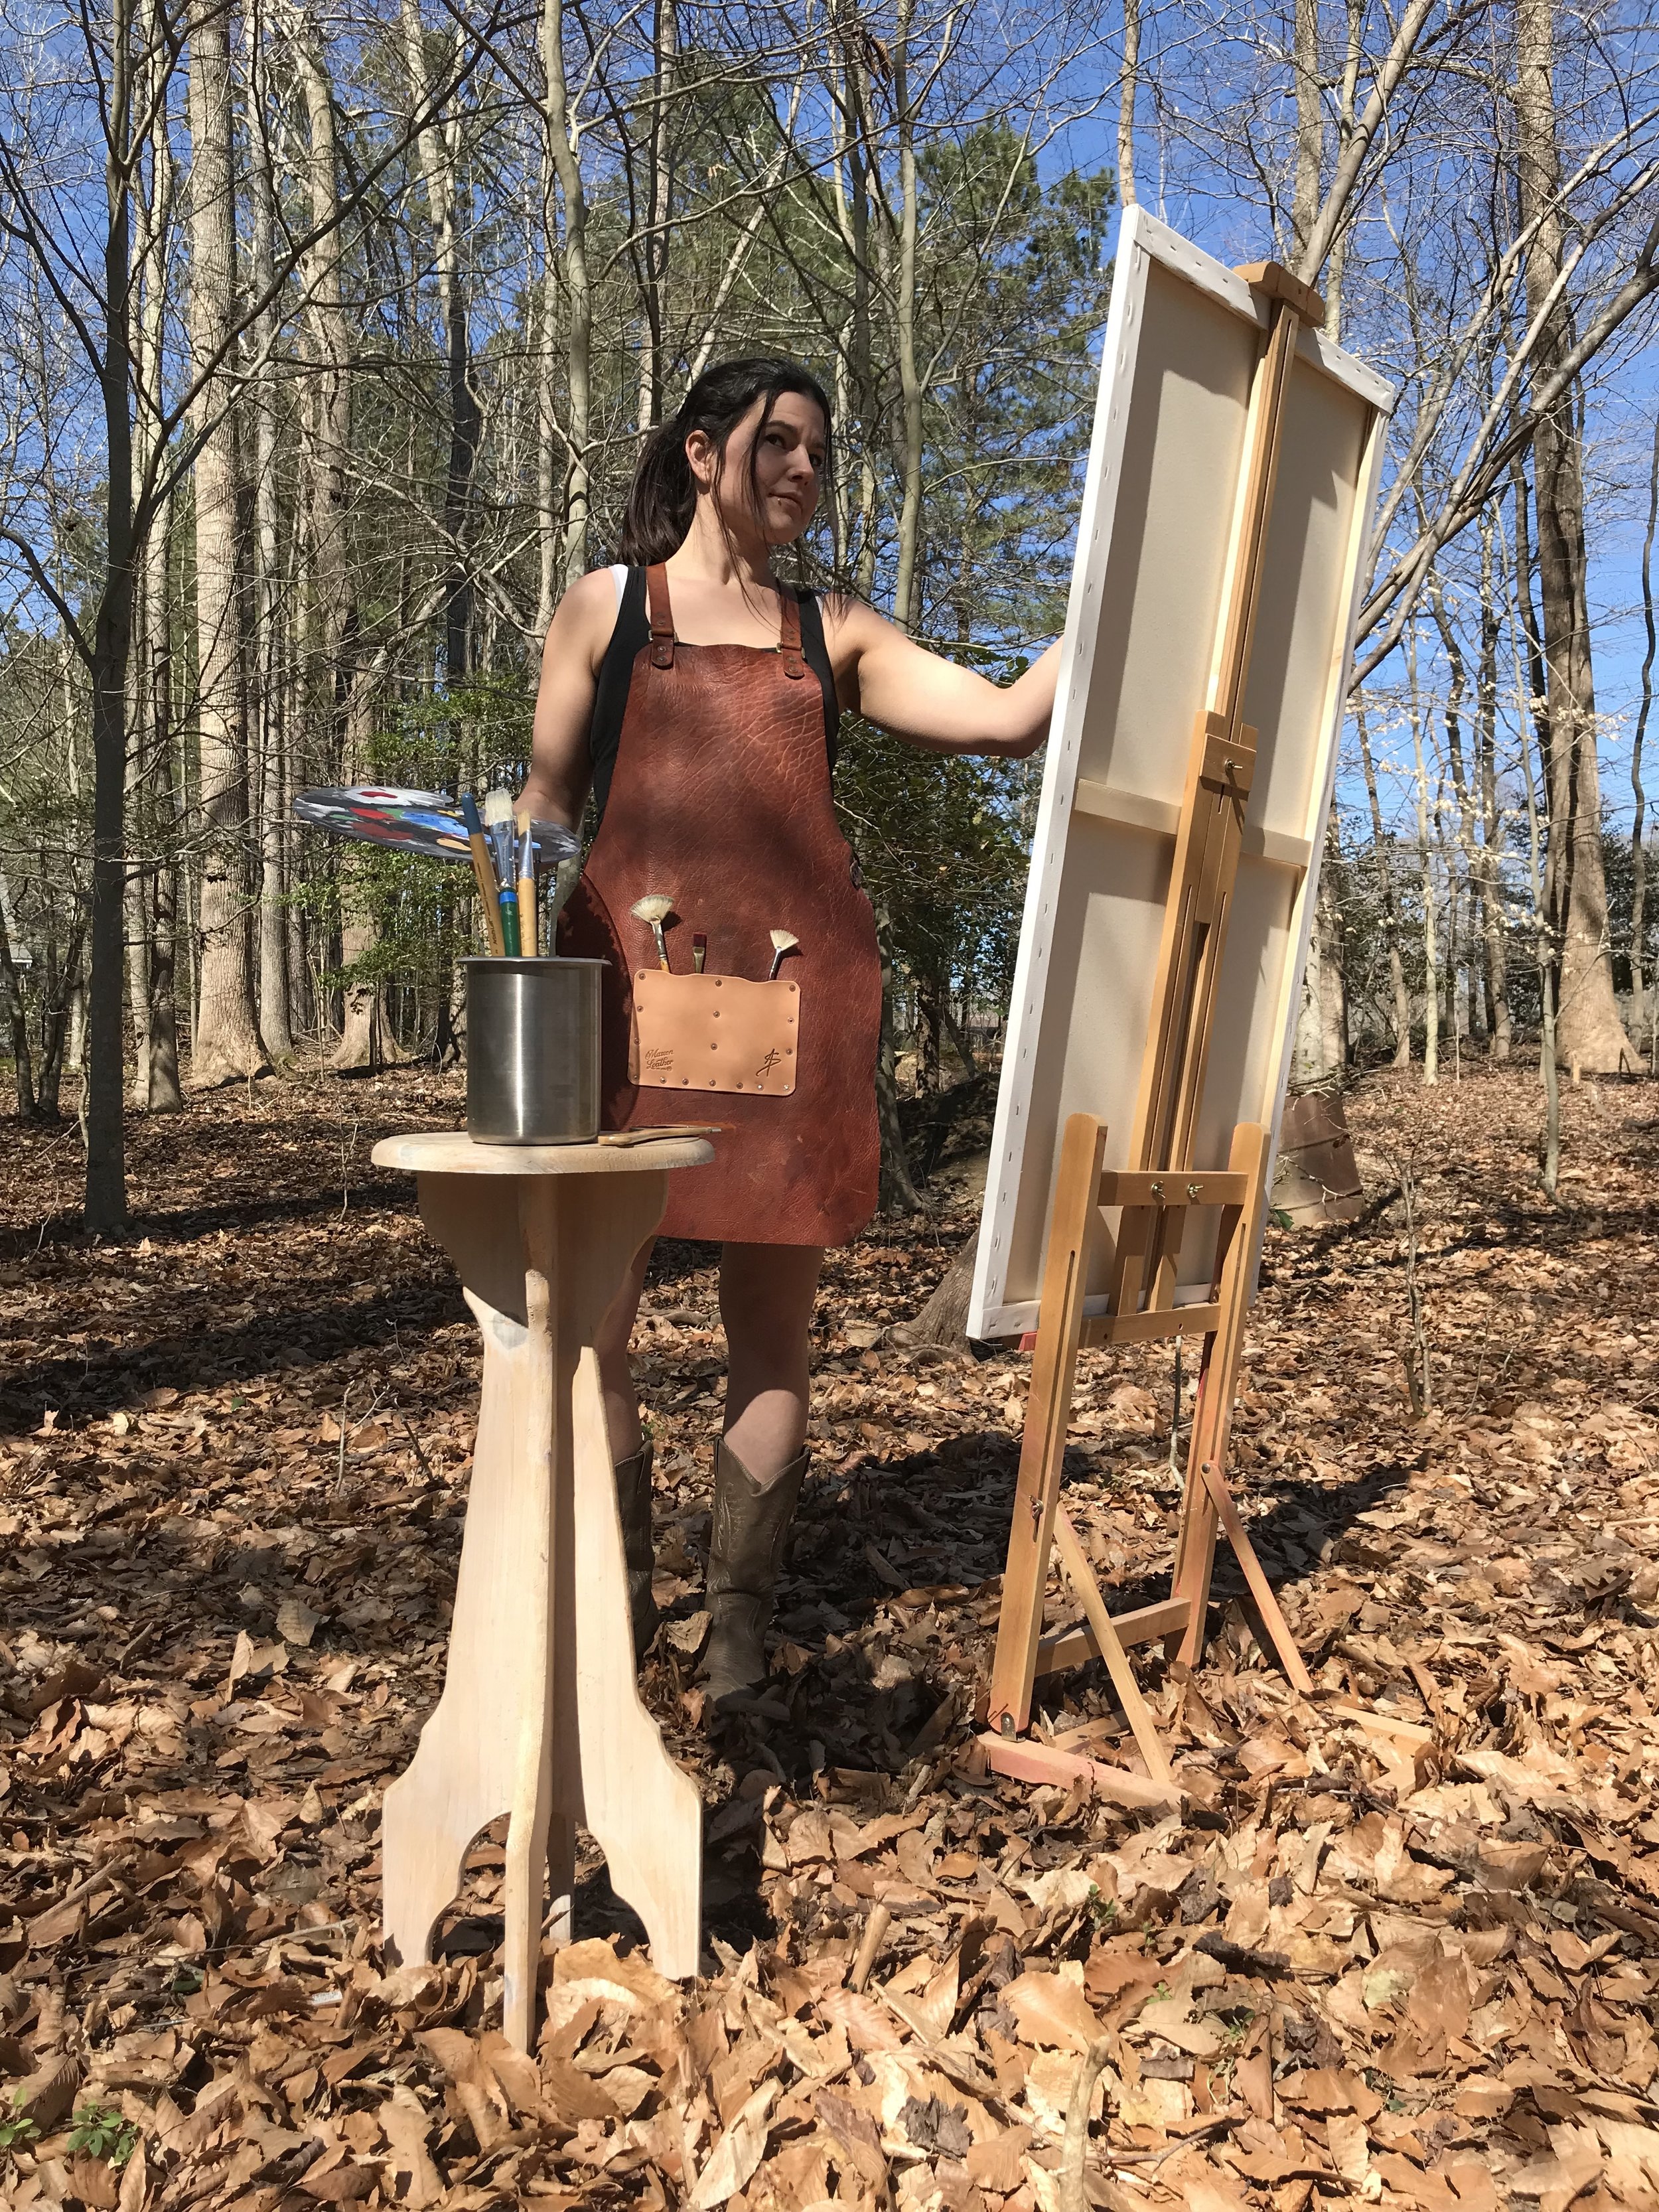
Behind the scenes - Apron Photo Shoot

The common misconception behind a photo the general public may see in advertising, in magazines, or on many social media outlets is that the image was spontaneous. As if someone was walking by, saw something interesting, and decided to snap a quick shot. I'm here to tell you (and show you), there's a lot more involved. It's slightly easier when outdoors, because of the use of natural lighting rather than studio lighting. But the location, positioning for the light source (sun), angles, composition, posing, etc. are still ever changing during the shoot.
Below are only a handful of the photos shot to achieve one final photo that is seen by the general public.


Vonnegut Valise (#2), Behind the Scenes
Due to the popularity of the first "The making of . . . " blog post, I've decided to add another post for the second build. Below is collection of photos taken during that build (which is still on-going). Because of the randomness of photos taken during the making of larger items, there are sure to be steps, angles, and shots that are different from the original blog / build.
As before, some shots are in focus and aesthetically pleasing. Others, are not. But, they're here for all to see.
(The final shots will be added upon completion)